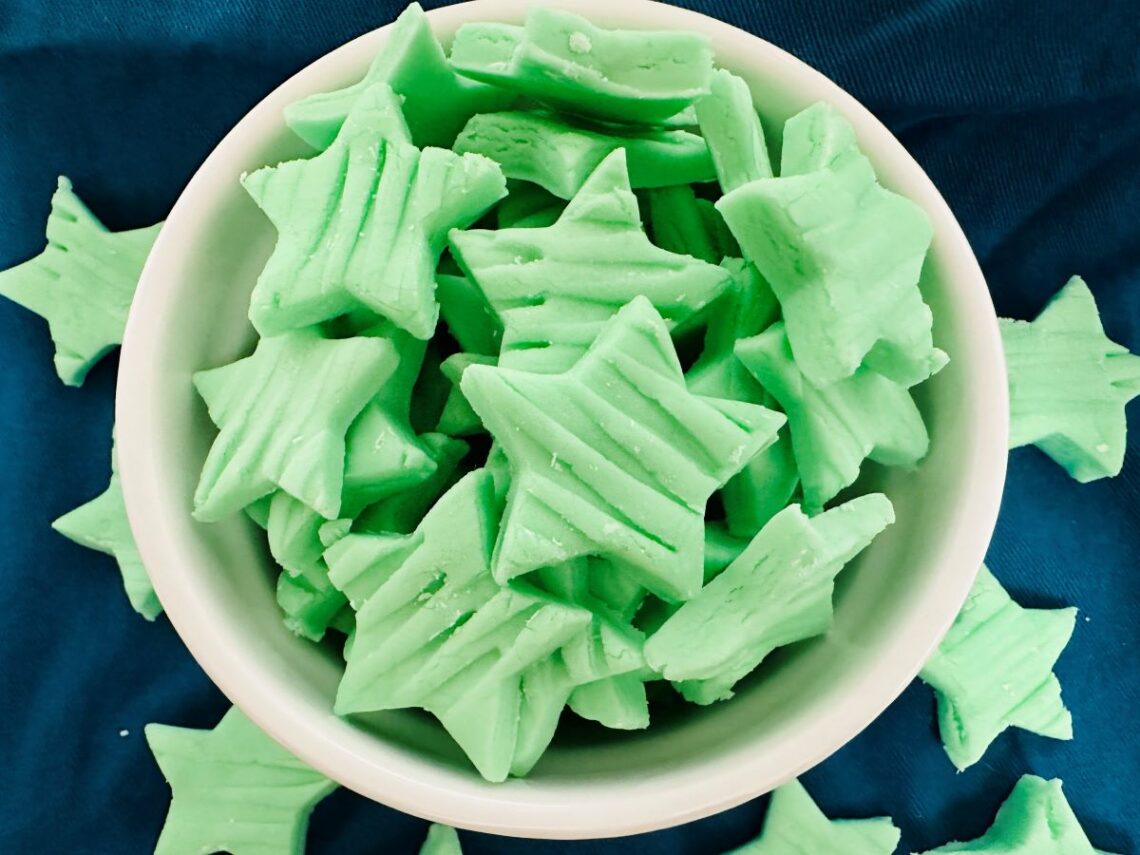
Easy Pastel Mints Recipe
Some of the links in this post are affiliate links. This means if you click on the link and purchase the item, I will receive an affiliate commission at no extra cost to you. All opinions remain my own.
As an Amazon Associate I earn from qualifying purchases.
Try out candy-making with our irresistible recipe for homemade pastel mints. Made with a handful of simple yet premium ingredients – butter, powdered sugar, egg whites, food coloring, and peppermint extract – these delightful treats offer a perfect balance of rich buttery goodness and refreshing peppermint. As you dive into the step-by-step process of creating these charming pastel mints, you’ll discover the joy of transforming basic ingredients into bite-sized confections that not only tantalize the taste buds but also add a touch of elegance to any occasion.

These pastel mints are not just a delightful treat for your palate but also a wonderful opportunity to be creative. With plenty of colors to choose from, you can customize these mints to suit any festive theme, making them a versatile addition to your dessert repertoire. Join us in this culinary adventure, and let the simple yet magical combination of ingredients whisk you away to a world of sweet indulgence and artistic expression.
Ingredients You Will Need
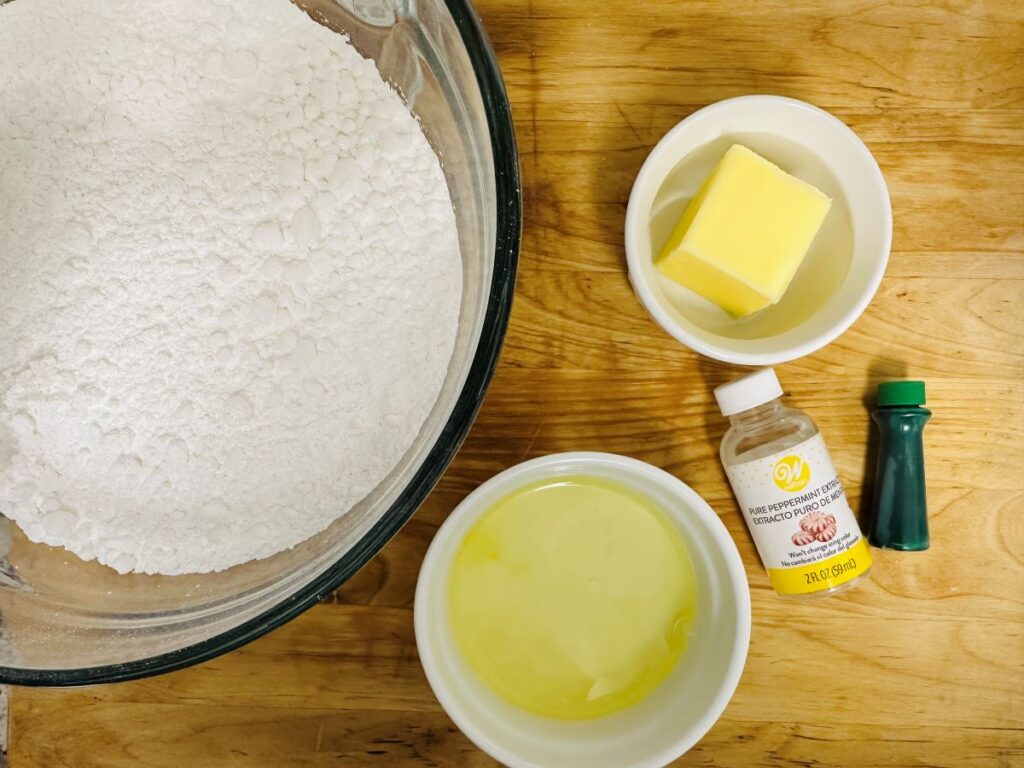
- Butter
- Powdered Sugar
- Eggs
- Food Coloring
- Peppermint Extract
Equipment You May Need
- Measuring Cups and Spoons
- Mixer
- Mixing Bowl
- Rubber Spatula
- Waxed Paper
- Fork
- Tiny (1″) Cookie Cutter
Frequently Asked Questions
Can I freeze pastel mints for later use? Yes, pastel mints freeze well. Place them in an airtight container with layers separated by parchment paper to prevent sticking. Thaw in the refrigerator before serving.
What is the best way to store pastel mints? Store pastel mints in an airtight container at room temperature, away from direct sunlight. They can last for several weeks when stored properly.
Can I make pastel mints in advance for a special occasion? Absolutely! Pastel mints are a great make-ahead treat. Prepare them a few days before your event and store them in a cool, dry place.
How do I troubleshoot if my pastel mints turn out too sticky or too dry? If they are too sticky, add a bit more powdered sugar. If they are too dry, a few drops of water can help. Adjust gradually to achieve the right consistency without compromising flavor.
Is it necessary to refrigerate the pastel mint dough before shaping? Chilling the dough is recommended as it makes it easier to handle and shape. It also helps the mints retain their form during the shaping process.
Substitutions and Variations
Chocolate Coating: Dip the finished mints in melted chocolate or drizzle with chocolate for an extra layer of decadence.
Flavor Variations: Experiment with different extracts like vanilla, almond, or citrus to create a variety of flavor profiles.
Seasonal Themes: Adjust the food coloring to match different holiday themes. For Christmas, stick to pastel shades, but for other occasions, customize the colors accordingly.
Shape Variations: Experiment with different shapes and sizes to suit the occasion. Heart shapes for Valentine’s Day or small rounds for elegant tea parties.
Other Recipes You May Enjoy
If you like these Pastel Mints, you might also like my Homemade Gumdrops or my Mint Truffles. This Cool Whip Candy and this Mint Chocolate Puppy Chow are both delicious, too.
Final Thoughts
Pastel Mints are delicious, but you must have the patience to refrigerate the dough and then later, wait for them to dry out. If you’re not in a hurry, these mints are perfect for any special occasion. They would be great for weddings, baby showers, and bridal showers. Pastel mints also make a great gift. I will be making another batch to give to friends and family for the holidays.
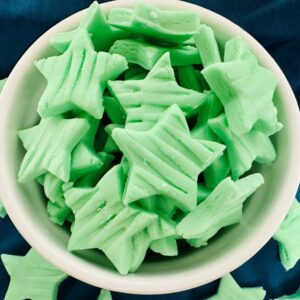
Pastel Mints
Ingredients
- ¼ Cup Butter softened
- 5¼ Cups Powdered Sugar
- 2 Egg Whites
- Food Coloring
- ¾ teaspoon Peppermint Extract
Instructions
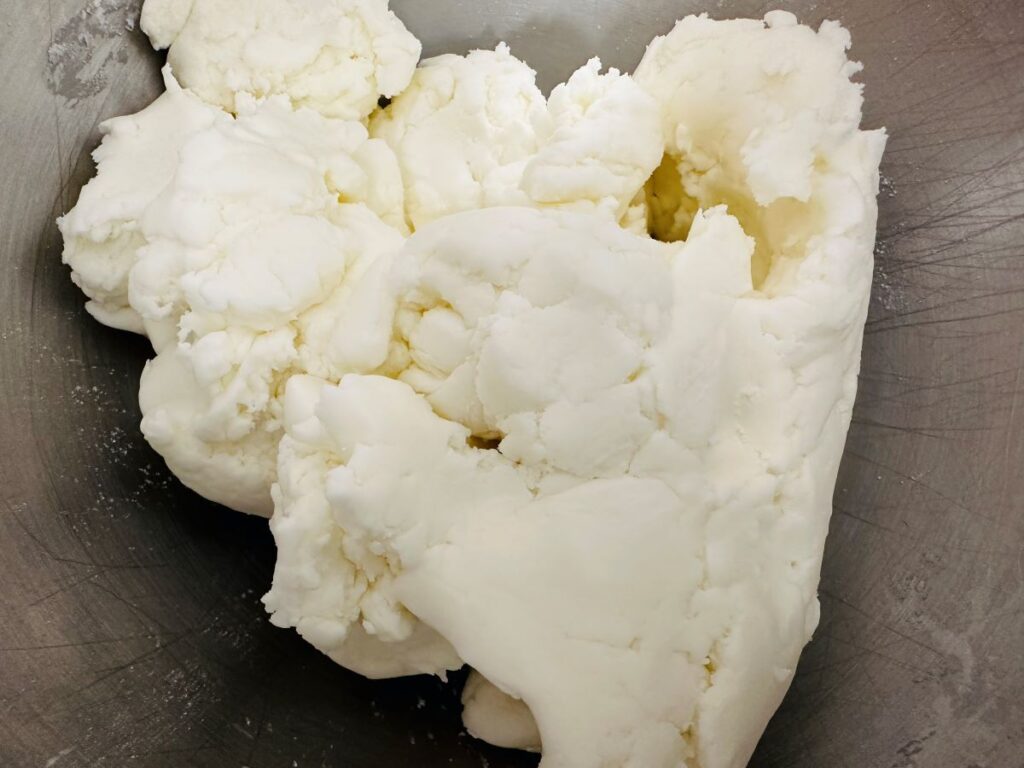
- In a large mixing bowl, cream the softened butter and powdered sugar. The dough will be powdery.
- Mix in unbeaten egg whites.
- Continue mixing until pliable and not sticky. Add more powdered sugar if necessary.
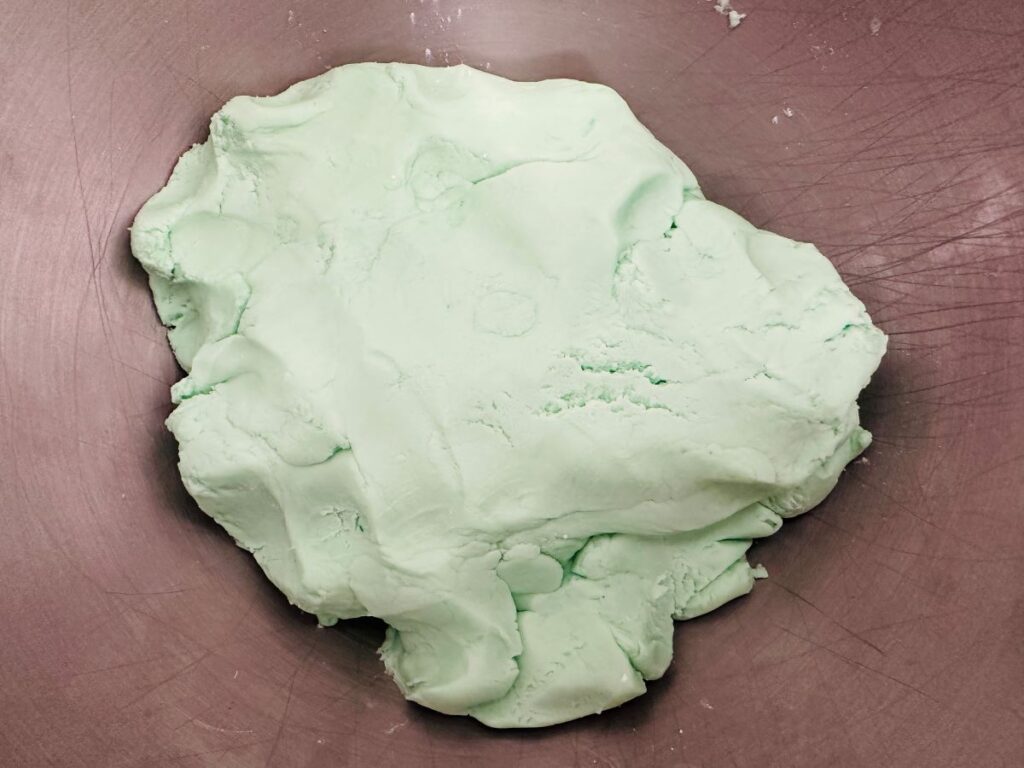
- Add food coloring and peppermint extract and blend in.
- Cover bowl tightly and refrigerate overnight.
- Take the dough out of the refrigerator about 30 minutes before you are ready to roll it out.
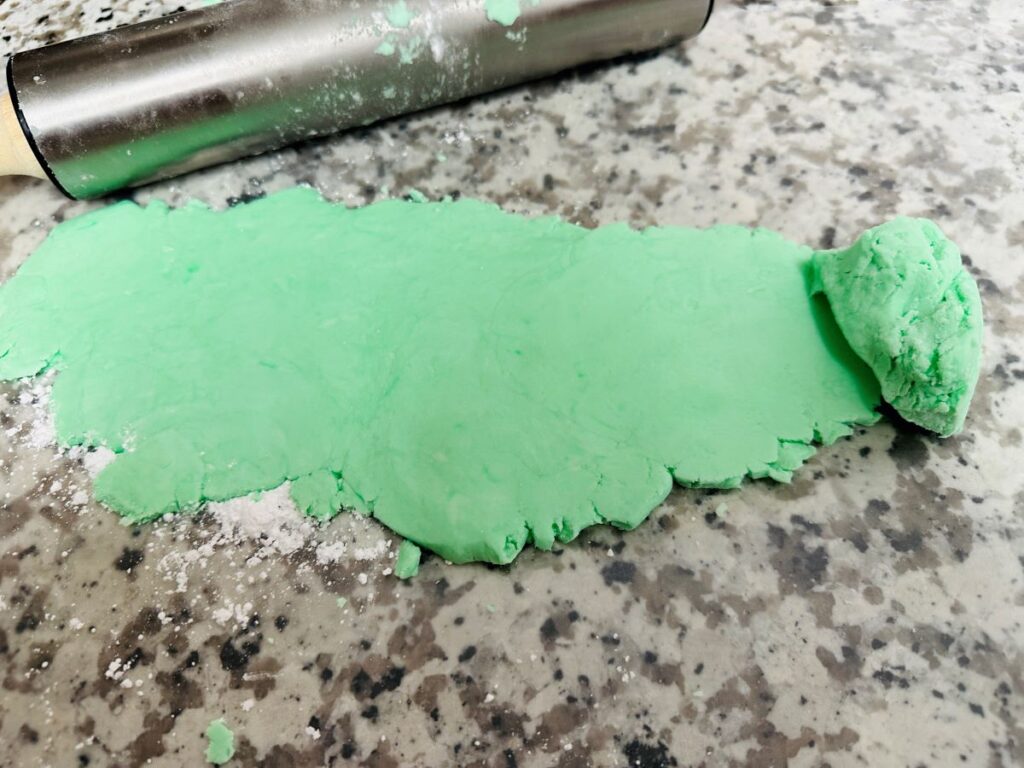
- Take the dough out in small pieces and work it with your hands before rolling it into a large sheet.
- Roll out on wax paper to ¼ inch thickness.
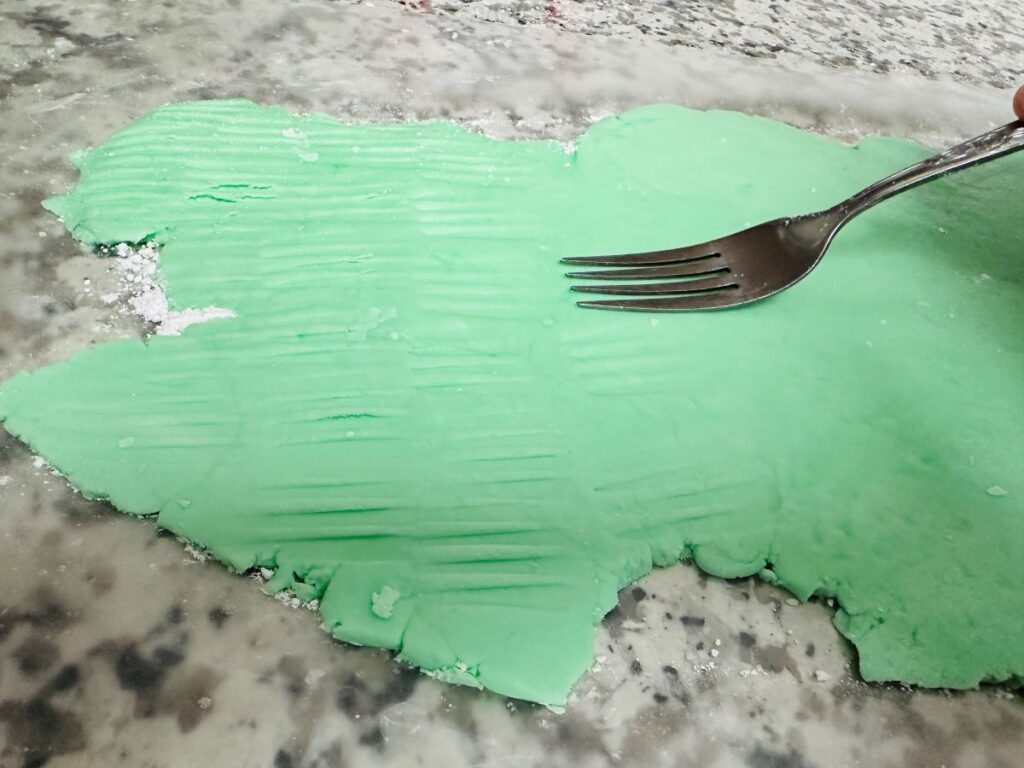
- Make ridges by pressing the tines of a fork gently into the dough.
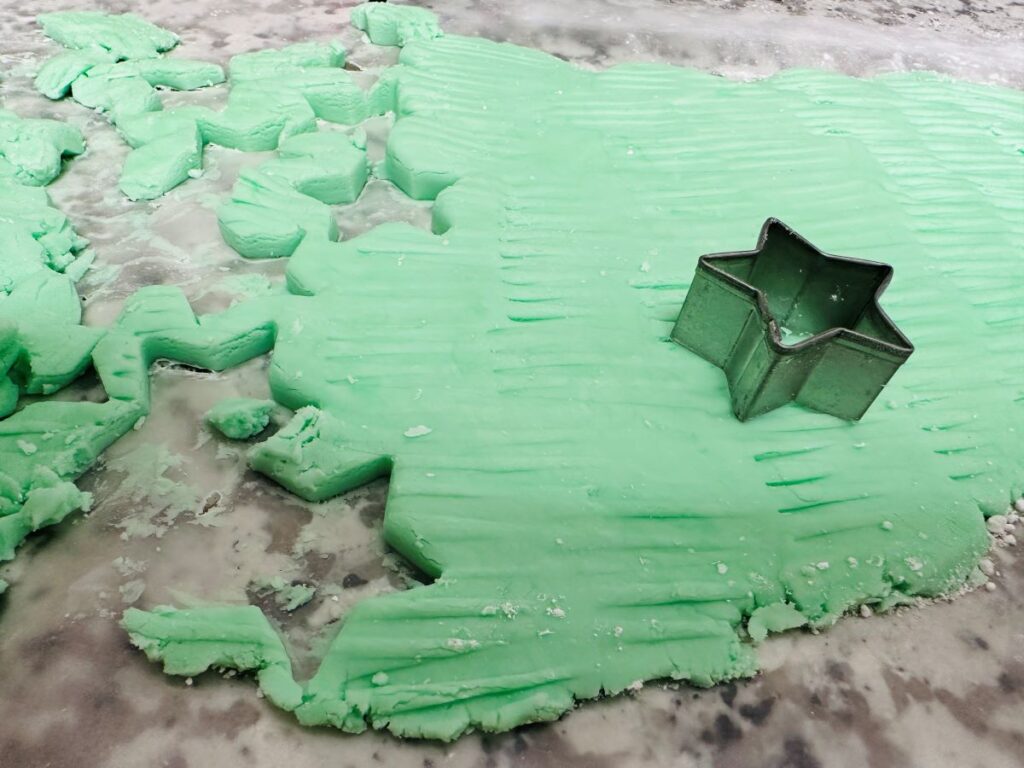
- Cut with a 1-inch cookie cutter of your choice.
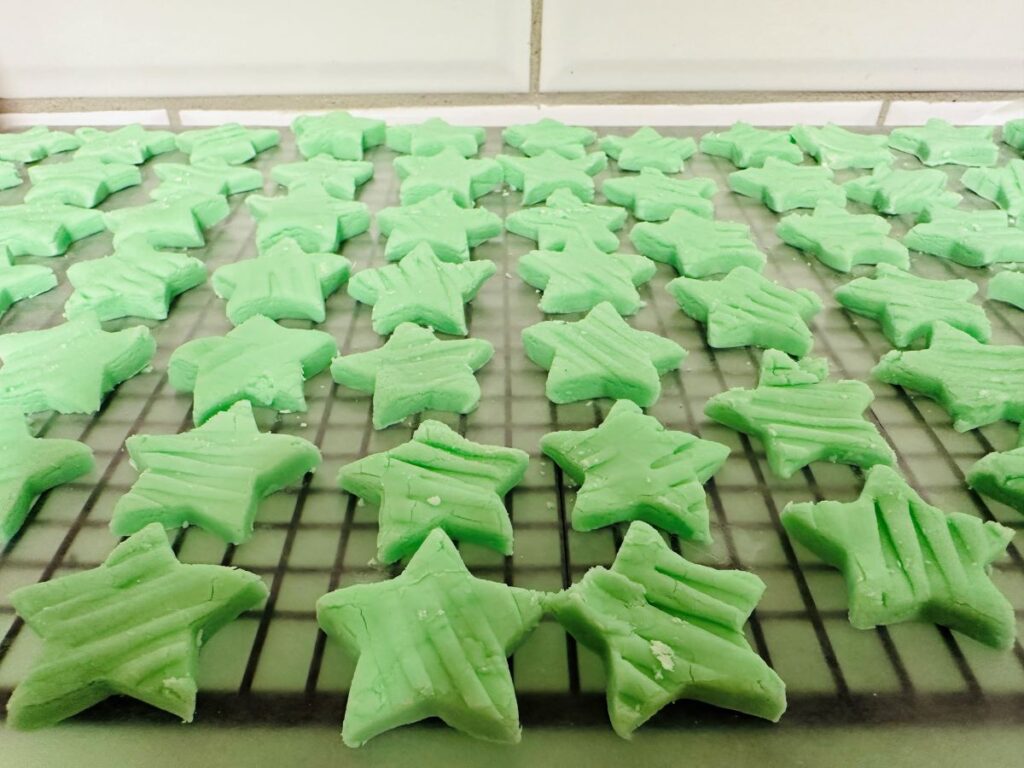
- Lay out to set on waxed paper for a few hours.
- Roll out leftover dough and continue cutting shapes until the dough is gone.

Amazon and the Amazon logo are trademarks of Amazon.com, Inc, or its affiliates.




2 Comments
Rhea Lövström
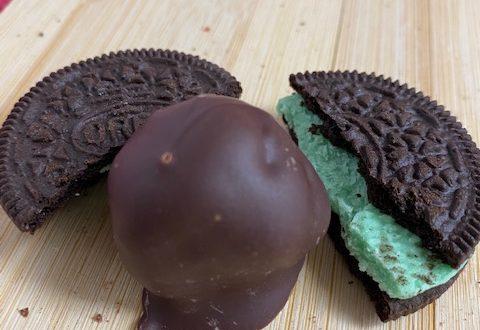
Can these be covered in chocolate? Or will they sweat out moisture.
Heidi Bruaw
I believe they can be if you do it after they are set. But I haven’t tried it myself so I can’t say for sure. You may want to dip just half of each one or do a small test batch to make sure it works. I hope that helps! 🙂