Peppermint Sugar Cookie Bars (Soft, Chewy, and Ready in 35 Minutes)
Some of the links in this post are affiliate links. This means if you click on the link and purchase the item, I will receive an affiliate commission at no extra cost to you. All opinions remain my own.
As an Amazon Associate I earn from qualifying purchases.
Last Updated on August 19, 2026 by Heidi Bruaw
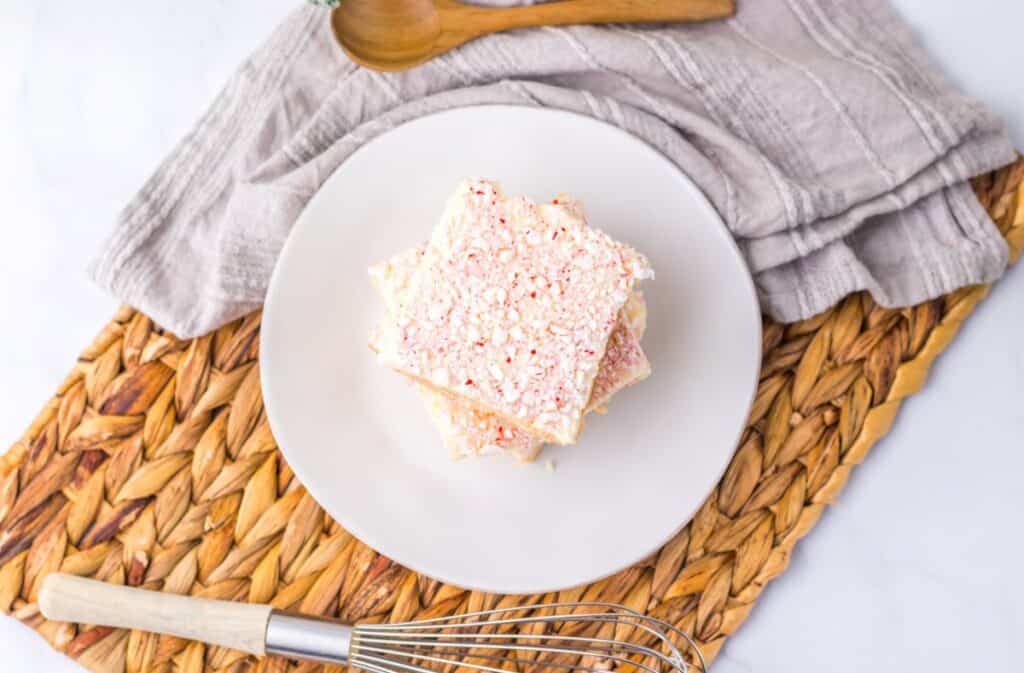
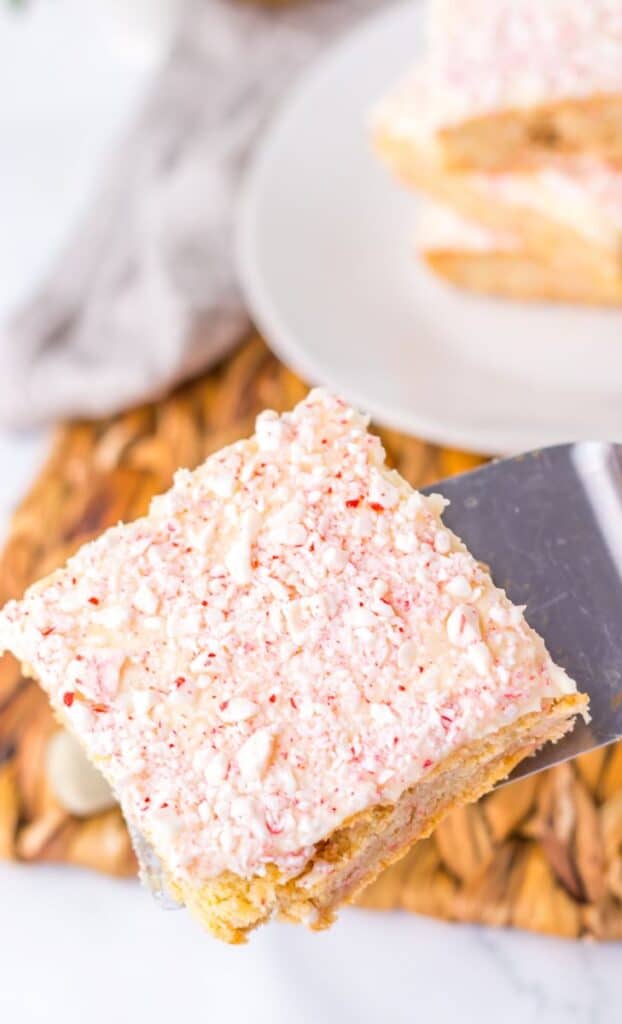
Peppermint sugar cookie bars are a bar-cookie twist on the classic cut-out sugar cookie: instead of rolling and cutting individual cookies, the dough gets pressed into one pan, studded with crushed peppermint, and topped with peppermint buttercream once baked. The style caught on alongside the broader peppermint bark and candy cane treat trend that shows up every holiday season. It keeps the familiar sugar cookie flavor but trades the cutter and icing work for something faster to pull together.
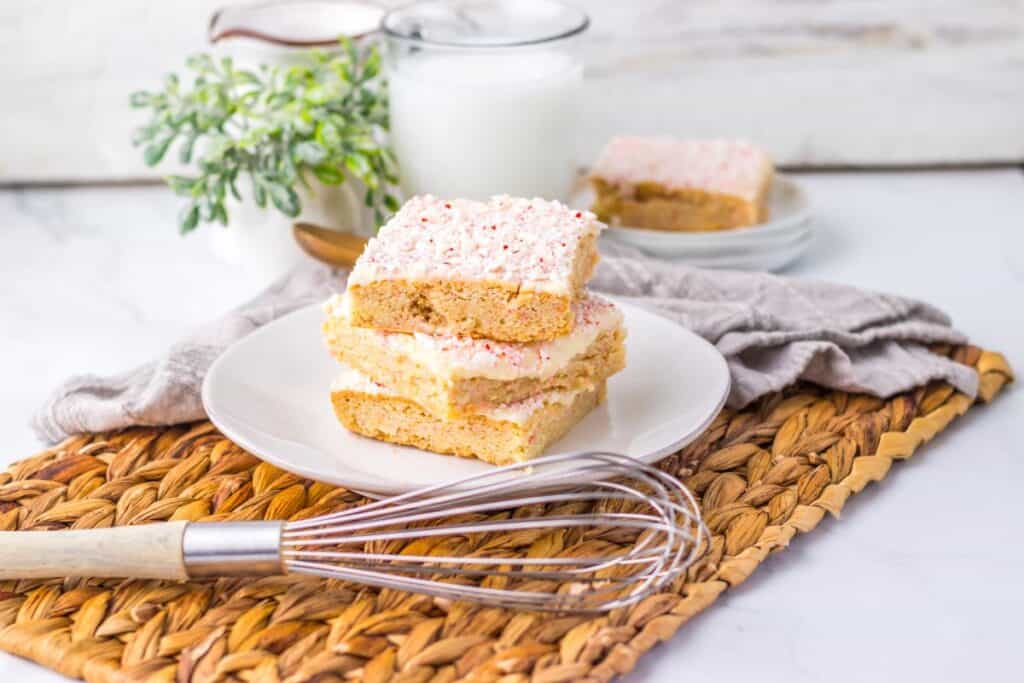
I still make my regular sugar cookie cutouts every year, but when I want that same flavor without the rolling, chilling, and cutting, these bars are what I reach for. One pan, one frosting, done. If you love sugar cookies but don’t always have time for the full cutout process, this is the shortcut version that still tastes like the holidays.
Quick Facts
- Prep Time: 15 minutes
- Cook Time: 20-25 minutes
- Total Time: 35 minutes
- Yield: 16 bars — from a 9×9-inch pan
- Difficulty: Easy, one bowl, no chilling required
- Flavor: Soft sugar cookie base, crushed peppermint, peppermint buttercream frosting
- Best For: Holiday baking, potlucks, cookie exchanges
What Each Ingredient Does
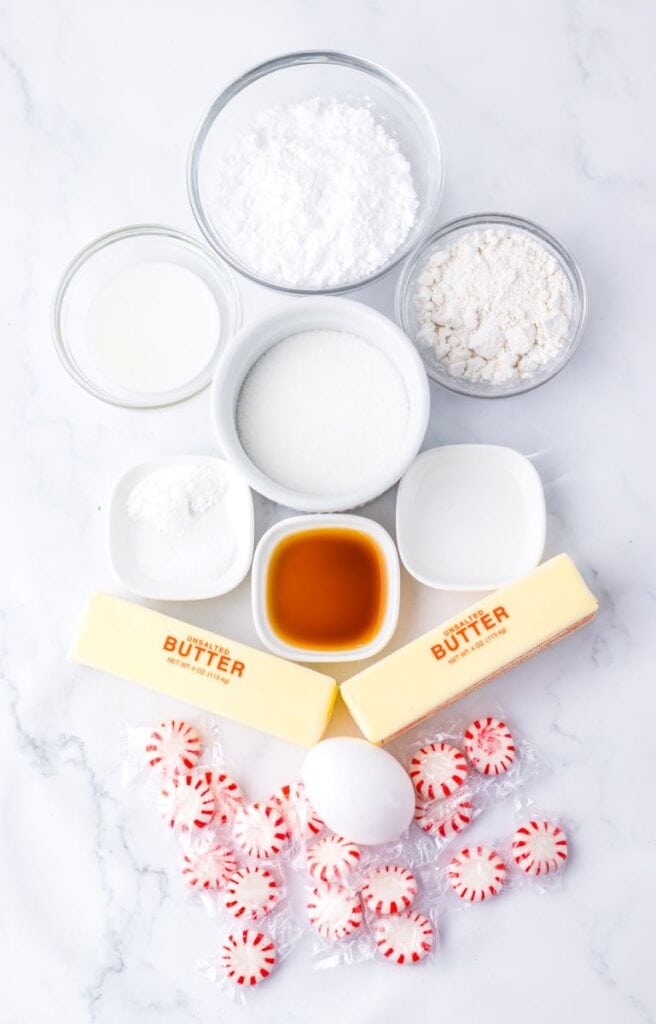
For the Cookie Bars
- Sugar — sweetens the bars and helps them stay soft instead of crisp.
- Butter (unsalted, room temperature) — creams with the sugar for that classic sugar cookie texture. Cold butter won’t cream properly, so let it soften first.
- Egg — binds the dough and adds structure.
- Vanilla extract — rounds out the sweetness and balances the peppermint.
- Flour — the base of the dough. This recipe uses 1¾ cups.
- Baking powder — the leavening agent that keeps the bars from turning dense.
- Salt — cuts the sweetness so the bars don’t taste flat.
- Crushed peppermints — folded into the dough for crunch and that signature peppermint flavor in every bite.
For the Peppermint Frosting
- Powdered sugar — the base of the frosting, dissolves smoothly with no graininess.
- Butter (unsalted, room temperature) — makes the frosting rich and spreadable.
- Peppermint extract — the main peppermint flavor in the frosting. Start with 1 teaspoon and add more if you want it stronger.
- Vanilla extract — softens the sharpness of the peppermint extract.
- Milk — thins the frosting to a spreadable consistency.
- Crushed peppermints — sprinkled on top for crunch and color.
Tips for Success
- Soften the butter all the way, but don’t melt it. Room-temperature butter creams properly with the sugar; butter that’s too cold won’t blend smoothly, and butter that’s too warm makes the dough spread too thin. It should feel slightly firm but give easily when you press it.
- Line the pan before you start. Parchment paper with a little overhang lets you lift the whole batch of bars out cleanly instead of digging them out square by square. A quick spray of non-stick cooking spray works too if you don’t have parchment on hand.
- Let the bars cool completely before frosting. Frosting warm bars melts the frosting and makes it slide right off. Give them time to come fully to room temperature in the pan first.
- Adjust the frosting one teaspoon at a time. Too thick, add milk a teaspoon at a time. Too thin, add powdered sugar a little at a time. Small adjustments keep you from overcorrecting.
- Let the frosting set before cutting. Thirty minutes to an hour firms up the frosting enough that it won’t smear when you slice the bars into squares.
Why You’ll Love Peppermint Sugar Cookie Bars
- Faster than cutout sugar cookies. No rolling, no cutting, no waiting for dough to chill — just press the dough into one pan and bake.
- One bowl, one pan. Less cleanup, and the whole batch bakes at once instead of tray after tray.
- Big peppermint flavor in every bite. Crushed peppermint goes into the dough itself, not just on top, so the flavor is throughout the bar.
- Make-ahead friendly. The dough can be made up to 24 hours ahead, and the frosting can be made up to 3 days ahead.
- Freezes well. Both the baked bars and the raw dough freeze, so you can make them ahead of a party or holiday.
- A crowd-pleaser beyond the holidays. Sweet, minty, and festive enough for Christmas, but simple enough to make any time you’re craving peppermint.
Substitutions and Variations
Turn them into chocolate peppermint bars. Add ¼ cup of cocoa powder to the cookie dough for a chocolate base, or drizzle melted chocolate over the frosted bars for a peppermint mocha-adjacent flavor.
Swap in festive toppings. Replace the crushed peppermint on top with holiday sprinkles or edible glitter if you want a different look without changing the flavor much.
Make a swirled frosting. Split the frosting batch in two, tint half with red food coloring, and swirl the two together on top of the bars for a candy-cane effect.
Try cream cheese frosting instead. Swap the butter frosting for a cream cheese frosting if you want a tangier, richer topping.
Add candy bar crunch. Top the bars with chopped peppermint chocolate candies or peppermint bark instead of plain crushed peppermint for extra texture.
Storage Tips
Room temperature: 3-4 days. Store the cooled bars in an airtight container. This keeps them from drying out and keeps the frosting from getting sticky.
Refrigerator: up to 1 week. Refrigerating keeps the frosting firmer for longer, though the texture of the cookie base may change slightly once chilled.
Freezer: up to 2 months. Wrap the bars tightly in plastic wrap or foil, then place them in a freezer-safe container or bag. Thaw at room temperature for a few hours, or overnight in the fridge.
Stack with parchment paper. If you’re layering bars in a container, put a sheet of parchment between layers so they don’t stick together and smear the frosting.
Keep them out of humid spots. Frosting can soften or melt in humidity, so store bars in a cool, dry place.
Storing without frosting. If you’d rather freeze or store the bars unfrosted, that works too; just frost them once you’re ready to serve.
Frequently Asked Questions
Can I make the dough ahead of time? Yes, the dough can be made up to 24 hours ahead. Refrigerate it, then let it sit at room temperature for a few minutes before pressing it into the pan.
Can I make the frosting ahead of time? Yes, the frosting keeps for up to 3 days in an airtight container in the fridge. Let it come to room temperature and stir it smooth before spreading.
Do I need to chill the dough before baking? No. Unlike cutout sugar cookies, this dough goes straight into the pan and into the oven, no chilling required.
Can I use candy canes instead of peppermint candies? Yes, crushed candy canes work the same as peppermint candies in both the dough and on top. Crush them small, so they don’t tear up the dough or frosting.
How can I make these more minty? Add extra crushed peppermint to the dough and frosting, or increase the peppermint extract slightly. Add extract in small amounts so it doesn’t overpower the other flavors.
What if I don’t have a 9×9-inch pan? A slightly smaller or larger pan works, but adjust the bake time. A smaller pan needs longer; a larger pan needs less time; check for doneness with a toothpick in the center.
Can I make these without frosting? Yes. Sprinkle extra crushed peppermint on top of the baked bars instead, or leave them plain.
What to Serve with No Bake Brownies
- These bars are rich and minty, so they pair best with warm drinks, other holiday cookies, and simple sides that don’t compete with the peppermint flavor. Here are a few ideas.
- Peppermint Hot Chocolate — Doubling down on peppermint might sound like a lot, but a rich, chocolatey hot cocoa is the classic pairing for a peppermint dessert.
- Classic Eggnog — The nutmeg and vanilla in eggnog play well against the mint without fighting for attention.
- Coffee or a peppermint mocha — The bitterness of coffee balances the sweetness of the frosting.
- Neapolitan Cookies — Add these to a holiday cookie tray alongside the peppermint bars for a mix of chocolate, vanilla, and strawberry flavors.
- Gingerbread Biscotti — The warm spice in these plays nicely against the cool peppermint, and biscotti holds up well on the same dessert table.
- Chocolate Pinwheel Cookies — Another make-ahead holiday cookie that rounds out a full cookie tray without overlapping flavors.
Other Recipes You May Enjoy
If you like Peppermint Sugar Cookie Bars, you might also like my Soft Pumpkin Cookies or my Rocky Road Cookies. Chocolate Mint Dreams Cookies are yummy, too. These Peppermint Mocha Cookies are also delicious.
Peppermint Sugar Cookie Bars


Equipment
Ingredients
- ¾ Cup Sugar
- ½ Cup Butter unsalted, room temperature
- 1 teaspoon Vanilla Extract
- 1 Egg
- 1¾ Cup Flour
- 1 teaspoon Baking Powder
- ¼ teaspoon Salt
- ½ Cup Peppermints crushed
Frosting
- 2 Cups Powdered Sugar
- ½ Cup Butter unsalted, room temperature
- 1 teaspoon Peppermint Extract
- 1 teaspoon Vanilla Extract
- 2 Tablespoons Milk
- ¼ Cup Peppermints crushed
Instructions
- Preheat the oven to 350℉.
- Spray a 9×9-inch baking dish with non-stick cooking spray or line with parchment paper. Set aside.
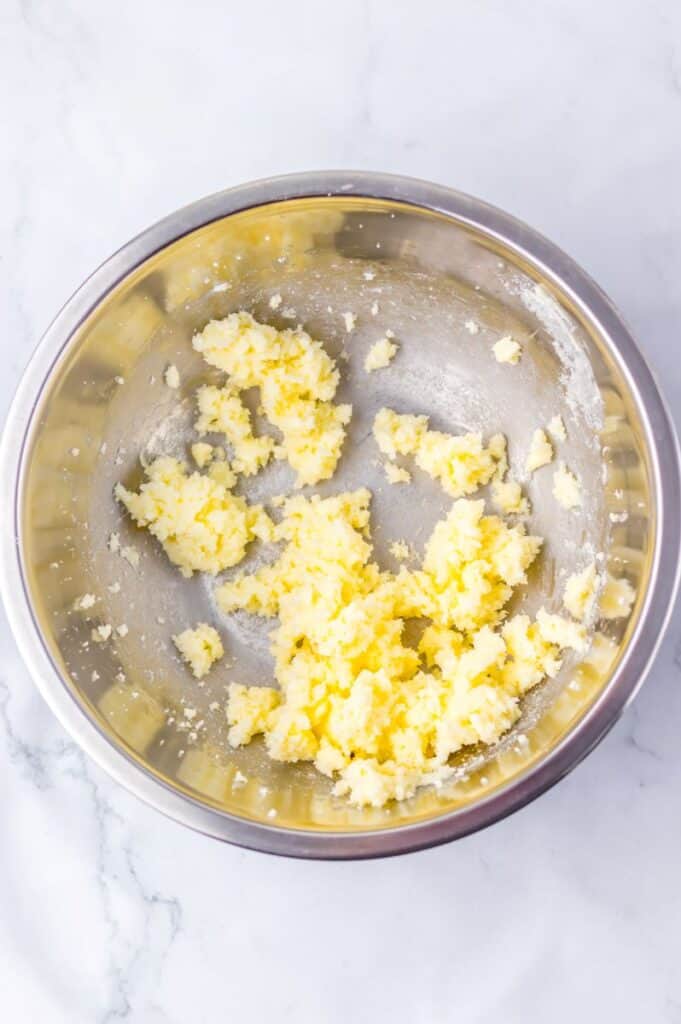
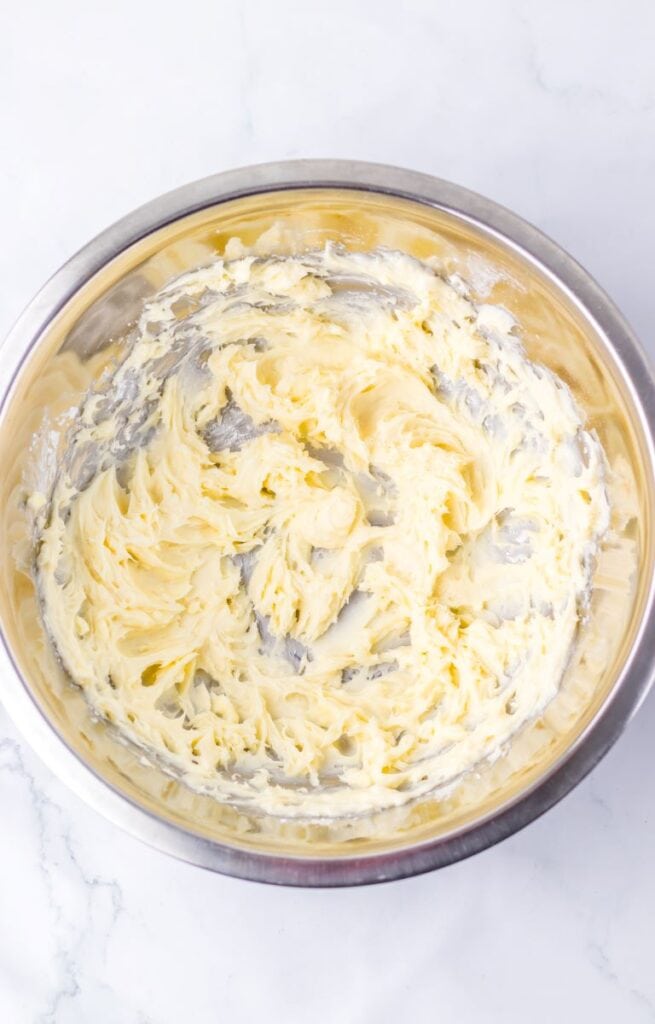
- In a large mixing bowl, combine the sugar and butter. Beat with a mixer until it is light and fluffy.
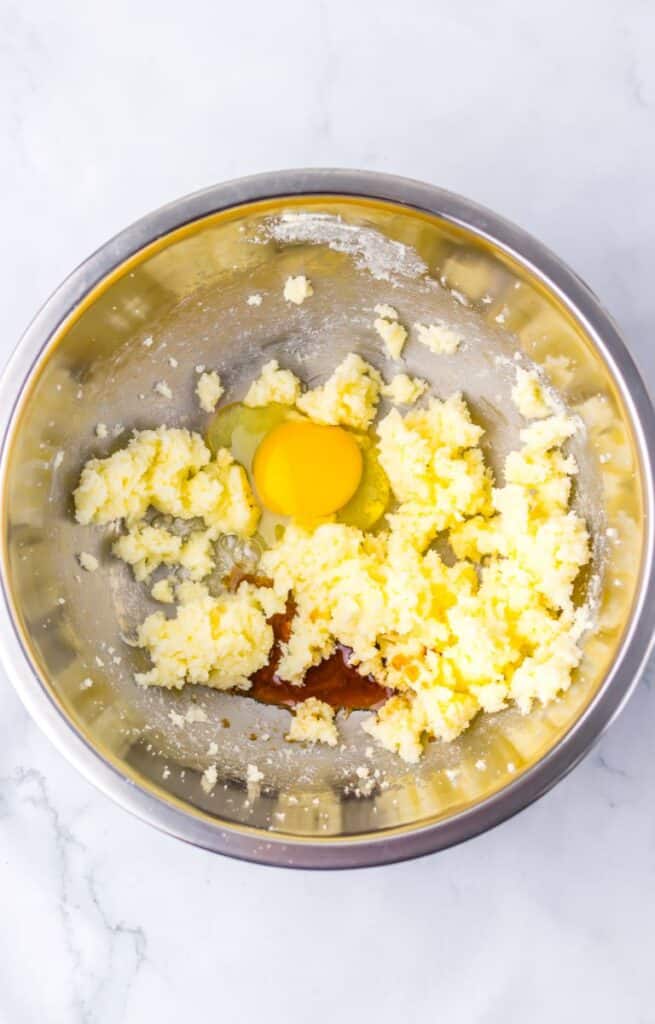
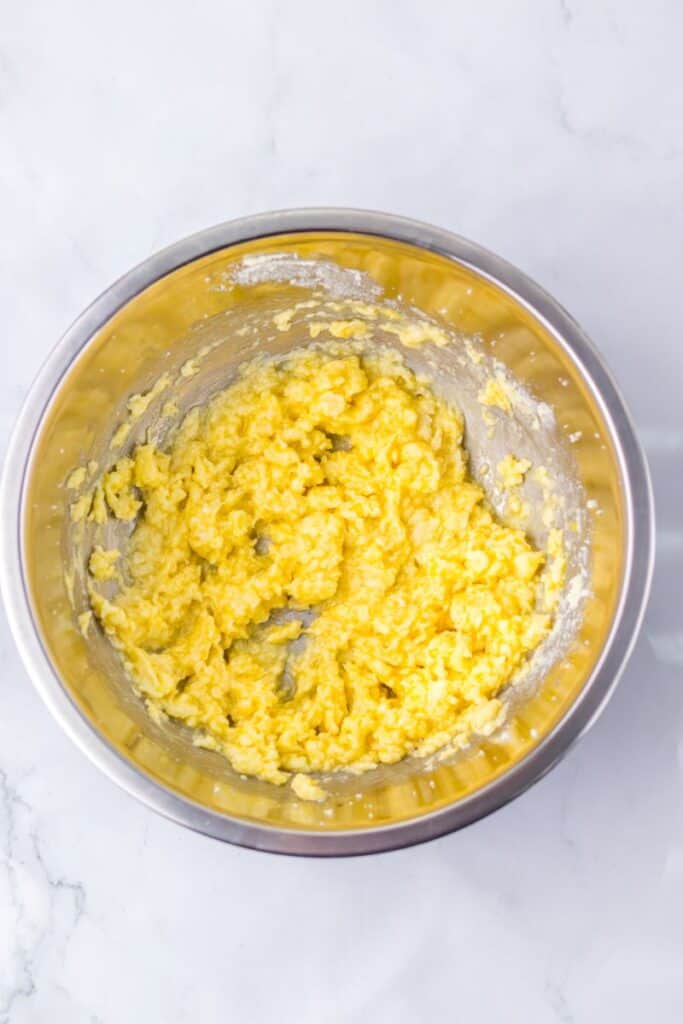
- Add the egg and vanilla and beat again.
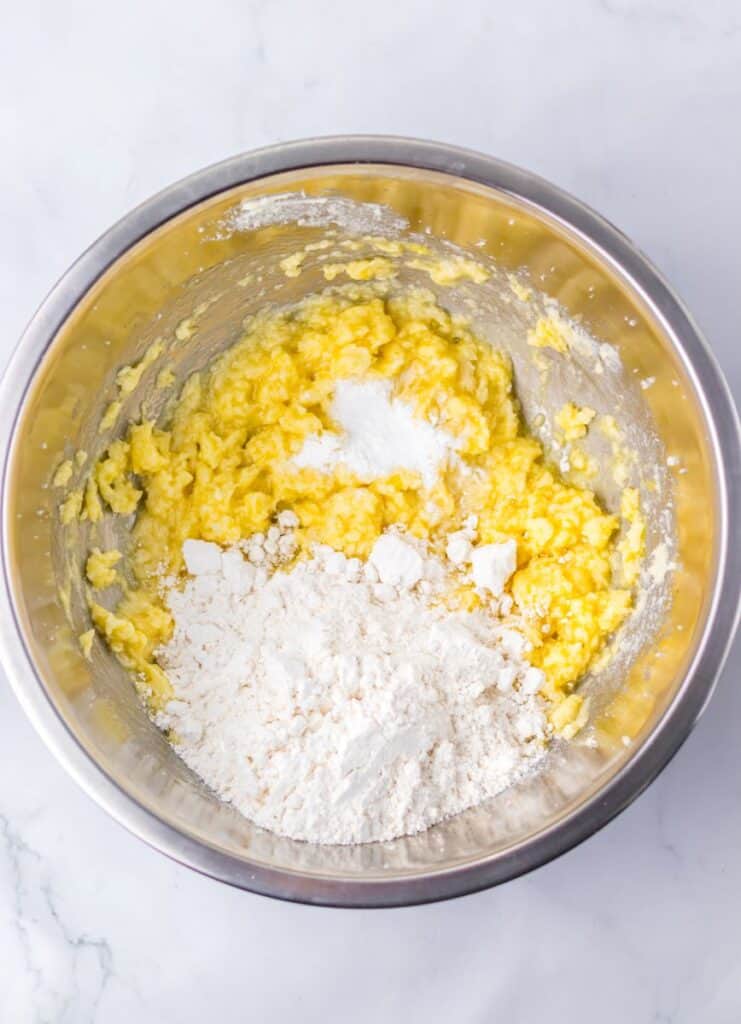
- Add the salt, baking powder, and about half the flour. Beat until combined.
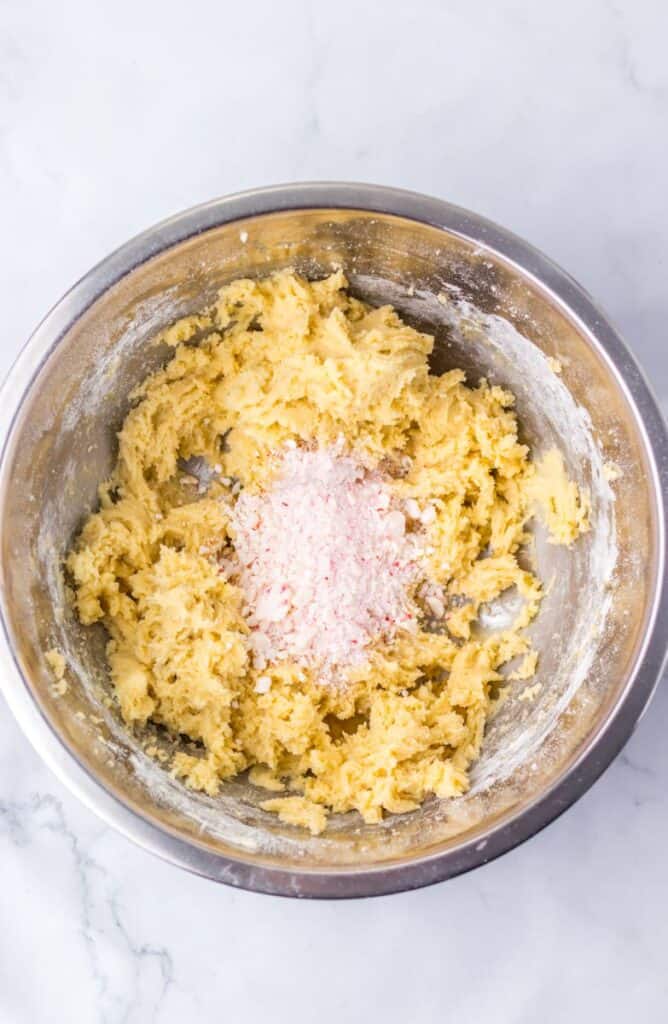
- Add the rest of the flour and beat until a batter forms.
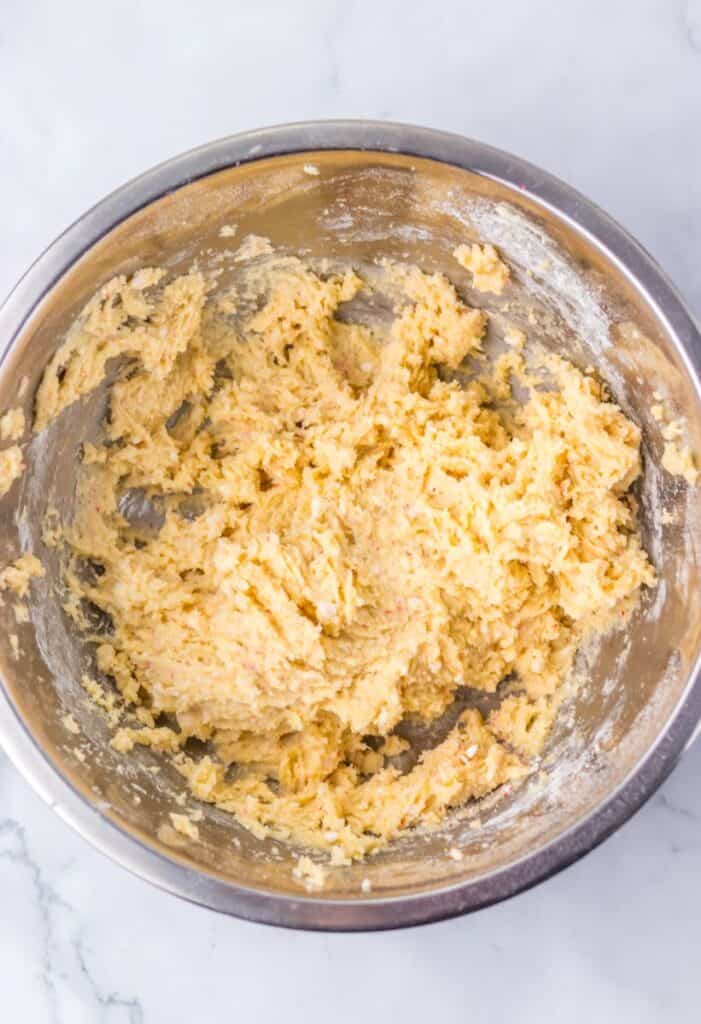
- Stir in the crushed peppermints until combined.
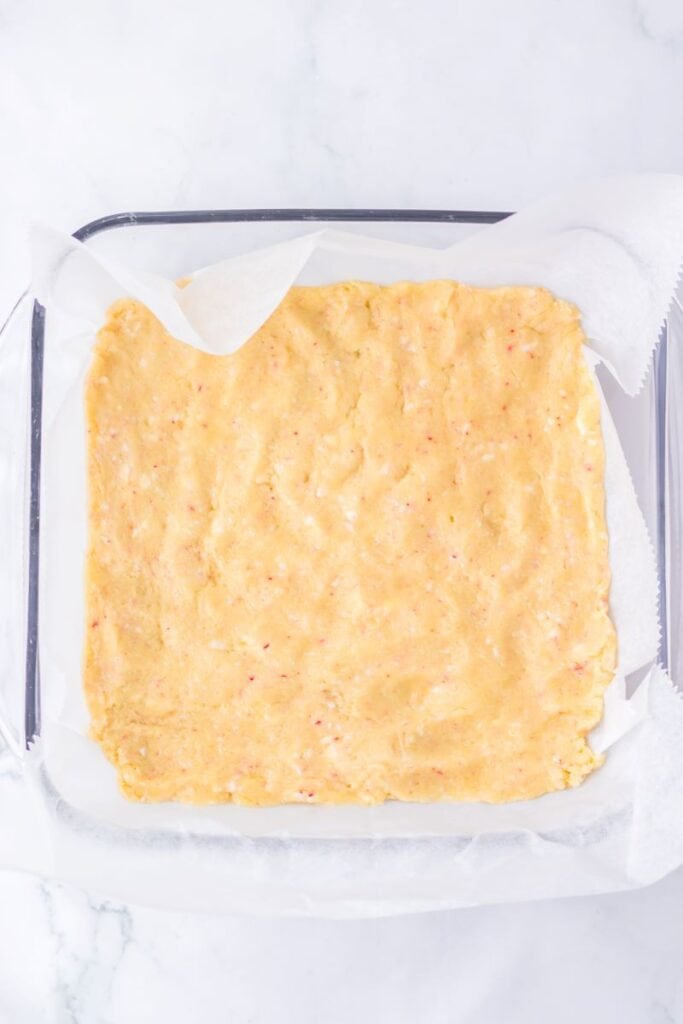
- Pour and scrape the batter into the prepared 9×9 baking dish.
- Spread the batter around evenly. If it's really thick, you might need to use your hand to spread it.
- Bake at 350℉ for 20-25 minutes.
- Let the bars cool completely in the baking dish on a wire rack.
- Once cooled completely, spread with peppermint frosting (see below).
Frosting
- In a large mixing bowl, mix the powdered sugar, butter, peppermint extract, vanilla extract, and milk until a frosting forms.
- Spread the frosting on top of the cookie bars evenly.
- Let the frosting set (at least 30 minutes) before cutting into squares.
Notes
- Soften the butter all the way, but don’t melt it. Room-temperature butter creams properly with the sugar; butter that’s too cold won’t blend smoothly, and butter that’s too warm makes the dough spread too thin. It should feel slightly firm but give easily when you press it.
- Line the pan before you start. Parchment paper with a little overhang lets you lift the whole batch of bars out cleanly instead of digging them out square by square. A quick spray of non-stick cooking spray works too if you don’t have parchment on hand.
- Let the bars cool completely before frosting. Frosting warm bars melts the frosting and makes it slide right off. Give them time to come fully to room temperature in the pan first.
- Adjust the frosting one teaspoon at a time. Too thick, add milk a teaspoon at a time. Too thin, add powdered sugar a little at a time. Small adjustments keep you from overcorrecting.
- Let the frosting set before cutting. Thirty minutes to an hour firms up the frosting enough that it won’t smear when you slice the bars into squares.
Amazon and the Amazon logo are trademarks of Amazon.com, Inc, or its affiliates.