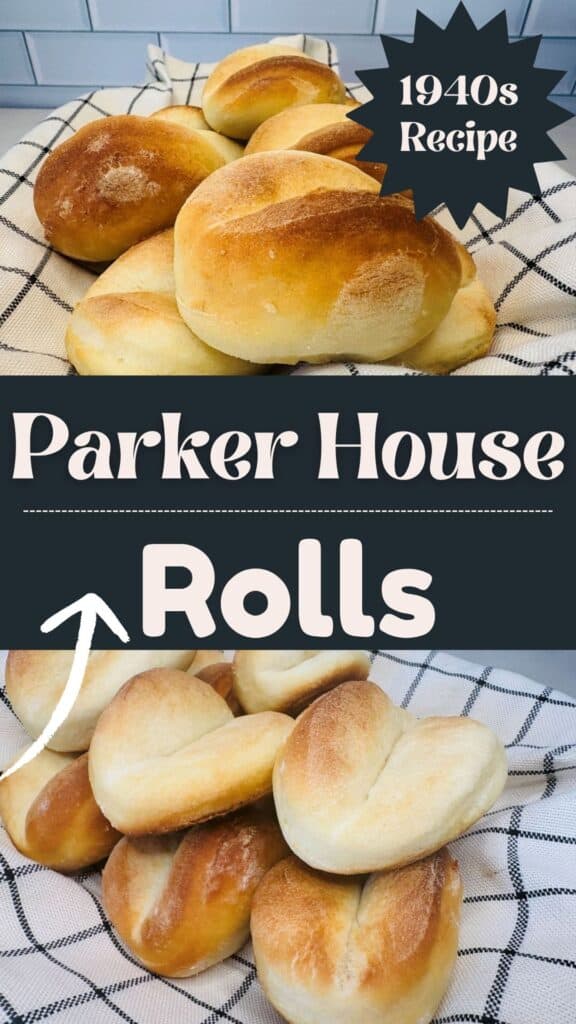
Old-Fashioned Parker House Rolls Recipe
Some of the links in this post are affiliate links. This means if you click on the link and purchase the item, I will receive an affiliate commission at no extra cost to you. All opinions remain my own.
As an Amazon Associate I earn from qualifying purchases.
This recipe for Parker House Rolls comes straight from my grandma’s 1940s cookbook. The smell of the dough rising and the promise of warm, buttery rolls are always something I look forward to. These rolls are perfect with any meal, whether it’s a regular weeknight or a holiday dinner.
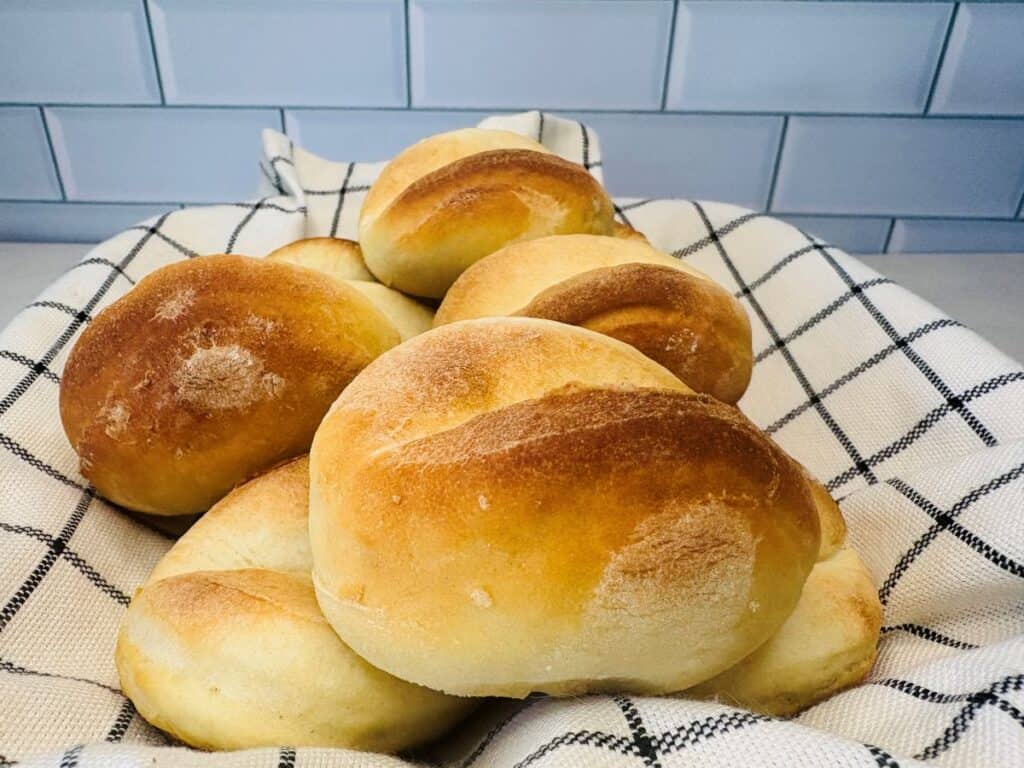
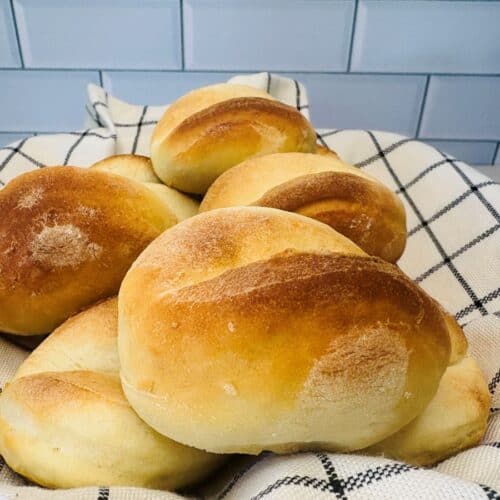
Grandma kept this recipe simple, and that’s exactly why it works so well. The rolls bake up soft, fluffy, and perfect for pulling apart while they’re still warm. If you love classic, homemade bread, you will love these.
Quick Facts
- From my grandma’s 1940s cookbook
- Classic old-fashioned yeast roll recipe
- Soft, fluffy texture with buttery folded layers
- Made with simple pantry staples
- Perfect for holidays, Sunday dinners, or special occasions
- Dough rises twice for that light, airy crumb
- Bakes in about 15–18 minutes
- Best served warm with a little extra butter
- Makes a great make-ahead bread for gatherings
- A nostalgic recipe that never goes out of style
Why You’ll Love this Recipe
True old-fashioned flavor — This recipe comes straight from a 1940s family cookbook, so every bite has that classic homemade taste.
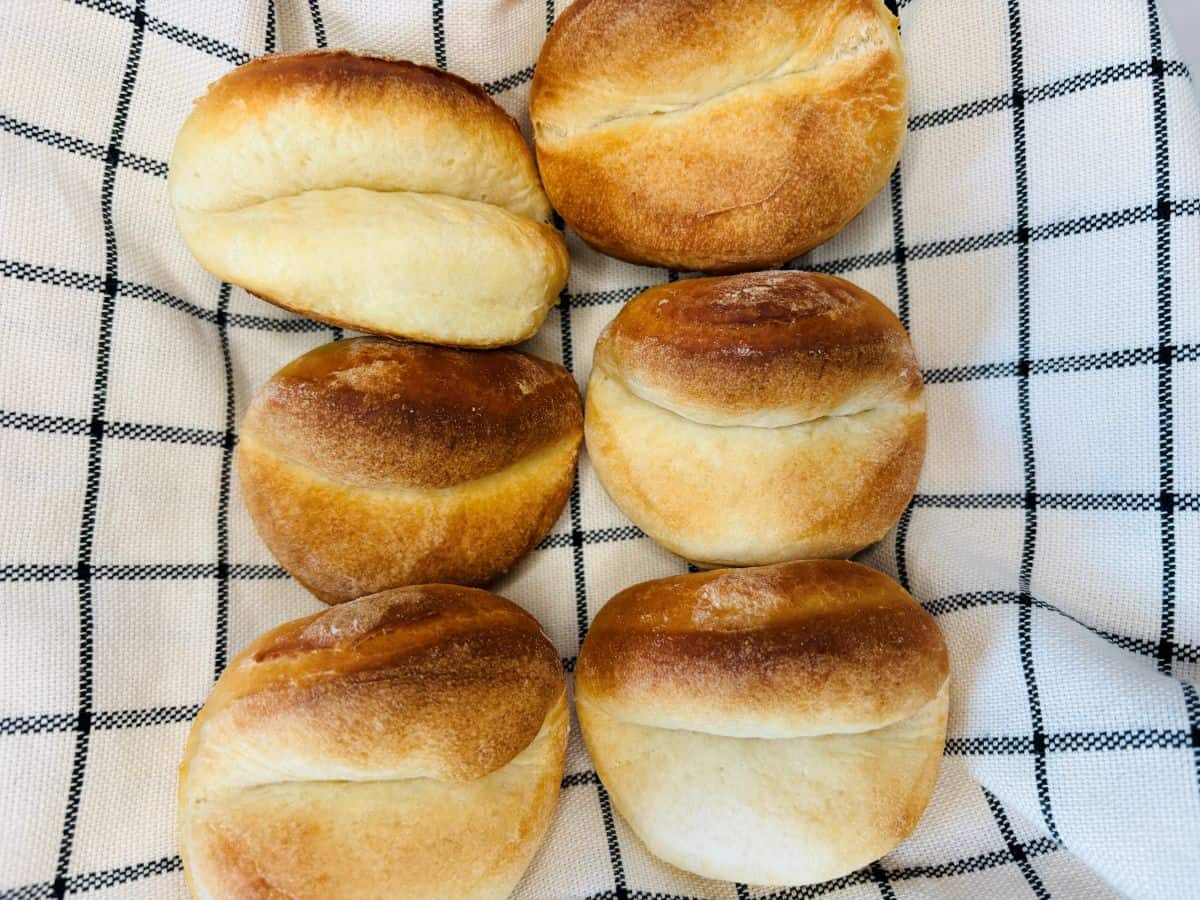
Soft, fluffy, and buttery — The folded shape creates tender layers that are perfect for pulling apart while they’re still warm.
Made with simple ingredients — Nothing fancy here, just pantry staples you probably already have.
Perfect for gatherings — These rolls are perfect for holiday tables, Sunday dinners, and any meal that could use a cozy touch.
A recipe worth keeping — Once you make them, they’re the kind of rolls you’ll want to make again.
Ingredients You Will Need
Yeast is the leavening agent in Parker House Rolls. Yeast feeds on sugars in the dough and produces carbon dioxide gas as a byproduct. This gas gets trapped in the dough as it rises, creating the characteristic light and fluffy texture of the rolls.
Sugar provides food for the yeast to activate and reproduce. It also adds a touch of sweetness to the dough. Finally, sugar helps with browning during baking, contributing to the golden color of the crust.
Salt enhances the flavor of the dough. It also strengthens the gluten structure in the flour, which helps the rolls hold their shape.
Shortening contributes to the tender, flaky texture of the rolls. Unlike some breads that use a lot of shortening for layering, Parker House Rolls incorporate it throughout the dough for even distribution of flavor and tenderness.
Water is necessary to hydrate the flour and activate the yeast.
Milk adds richness, flavor, and moisture to the dough. The milk sugar (lactose) also contributes a touch of sweetness and aids in browning.
Flour is the main structural component of Parker House Rolls. It give the dough structure and the rolls their body.
Helpful Tips
- Don’t over-knead the dough: You want to knead until it’s smooth and elastic, but not tough. Over-kneading can make the rolls dense.
- Let the dough rise fully: Both rise times are important. Be patient and let the dough rise until doubled in size for the first rise and tripled for the second. This ensures light and airy rolls.
- Brush with butter: Brush the rolls with melted butter before and after baking to add flavor and keep them moist.
For shaping and baking:
- Dust lightly with flour: When rolling out the dough, use a light dusting of flour to prevent sticking. Too much flour can make the rolls dry.
- Don’t overcrowd the pan: Leave some space between the rolls on the baking sheet so they have room to rise without touching each other.
- Watch for browning: Keep an eye on the rolls as they bake. Take them out when they’re golden brown, not burnt.
Substitutions and Variations
Yeast: You can substitute 1 packet (2 1/4 teaspoons) of instant yeast for the cake of compressed yeast. Just proof the instant yeast according to the package directions before adding it to the other ingredients.
Milk: You can replace whole milk with low-fat milk, reconstituted powdered milk, or even non-dairy milk like almond milk or oat milk. The rolls might not be quite as rich, but they will still be delicious.
Shortening: You can substitute the shortening with unsalted butter, melted coconut oil, or even olive oil. Butter will give the rolls the richest flavor, but the other options will work in a pinch.
Sugar: You can substitute honey or agave nectar for sugar for a slightly different flavor.
Honey Butter Rolls: Add honey to the melted butter you brush on the tops of the rolls after baking for a touch of sweetness.
Garlic Butter Rolls: For a savory twist, add minced garlic or garlic butter to the melted butter and brush it on the rolls after they come out of the oven.
Herb Rolls: Liven up the rolls by mixing in some chopped fresh herbs like rosemary, parsley, or dill to the dough before shaping.
Cheese Rolls: Sprinkle grated Parmesan cheese over the rolls after brushing them with melted butter for an extra cheesy flavor.

Storage Tips
Storing Baked Rolls:
- Room Temperature: Store leftover rolls in an airtight container at room temperature for up to 3 days. This is best for maintaining their soft texture.
- Freezing: For longer storage, freeze baked rolls in an airtight container or freezer bag for up to 3 months. Thaw at room temperature before reheating.
Reheating:
- Oven: Reheat rolls in a 350°F (175°C) oven for 10-15 minutes, covered with foil, then remove foil for a few minutes to crisp up.
- Microwave: Heat individual rolls briefly on low power in the microwave until warmed through. Be careful not to overheat and dry them out.
- Toaster: For a quick reheat, lightly toast the rolls for a crispy exterior and soft center.
Make-Ahead Options:
- Refrigerate Dough: After the first rise, punch down the dough and place it in a covered container in the refrigerator overnight. Let it come to room temperature before shaping and baking the next day.
- Freeze Shaped Dough: Shape the dough into rolls and freeze them on a baking sheet until firm. Transfer to a freezer-safe container for up to 3 months. Thaw in the refrigerator overnight before baking. Let them rise at room temperature for about 30 minutes before baking as directed.

Frequently Asked Questions
My yeast isn’t foaming. Is it bad? If you’ve used active dry yeast, it needs to be activated in warm water with a little sugar for 5-10 minutes before using. If it’s not foaming after that time, the yeast might be old and you’ll need to start over with fresh yeast.
My dough is too sticky! What do I do? Add a tablespoon of flour at a time until the dough is no longer sticking to your hands. Be careful not to add too much flour, or your rolls will be tough.
My dough is too dry! What do I do? Add a tablespoon of milk or water at a time until the dough comes together and is slightly tacky.
My rolls aren’t rising! What happened? There could be a few reasons for this. Make sure your yeast is fresh and active. Also, ensure the dough is in a warm place to rise. Ideally, the temperature should be around 70-80°F.
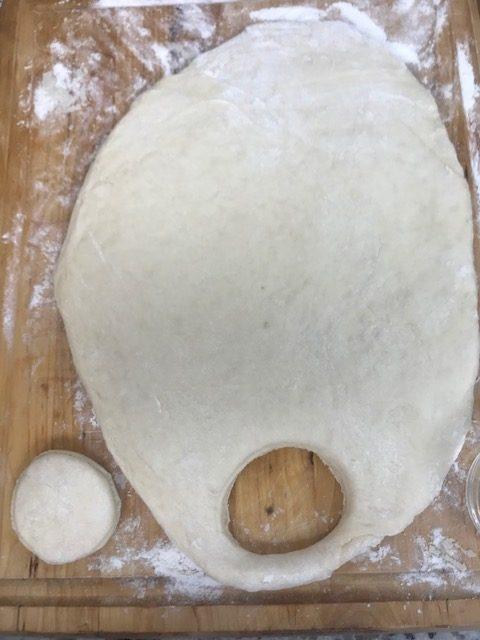
What’s the best way to roll out the dough for even shapes? Use a lightly floured rolling pin and roll the dough out on a lightly floured surface. Try to roll it out into an even thickness. Use a biscuit cutter or a mason jar for even circles.
How can I tell if my rolls are done? The rolls should be golden brown on top. You can also insert a toothpick into the center of a roll and make sure it comes out clean.
What to Serve with Parker House Rolls
Classic Roast Chicken: The buttery flavor of the rolls pairs perfectly with the savory taste of roast chicken. You can also stuff the rolls with herbs and garlic for an extra flavor boost.
Thanksgiving Dinner: Parker House Rolls are a popular choice for Thanksgiving dinner
Minestrone Soup: Rolls are always a great accompaniment to soup. The Parker House Rolls can soak up any leftover broth in the bowl, making for a satisfying meal.
Meatball Stew: Similar to soup, Parker House Rolls can help soak up the juices in a stew.
Olive Garden Chicken Alfredo Recipe: While pasta dishes don’t necessarily need a side, some people like bread with their meal, and these are the perfect addition.
Salads: For a lighter meal, Parker House Rolls can be served alongside a salad. This is a great option for a summer lunch or dinner.
Other Recipes You May Enjoy
If you like these Parker House Rolls, you might also like my Buttermilk Biscuits or my Cottage Cheese Bread. These Garlic Bread Rolls are also delicious.
Final Thoughts
The recipe says it makes 24 rolls. I was able to make 23, which is fairly good. Normally, in my experience, recipes make much less than they say. In order to make sure I got the most out of the recipe, I made sure to follow the measurements closely. The recipe states how thick the dough should be and how big the diameter should be. I used a small mason jar to cut out the circles. It wasn’t the exact size it called for, but it was pretty close.
Grandma’s Parker House Rolls
Ingredients
- 1 Cake Compressed Yeast
- 6 Tablespoons Sugar
- 1¾ teaspoon Salt
- ¼ cup Shortening Melted
- ¾ cup Water Lukewarm
- ¾ cup Milk Scalded and Cooled
- 5-5¼ cups Flour
Instructions
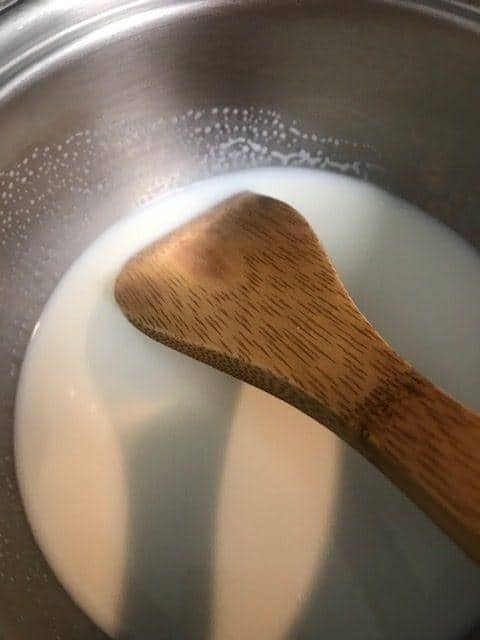
- Scald milk.
- Let milk cool.
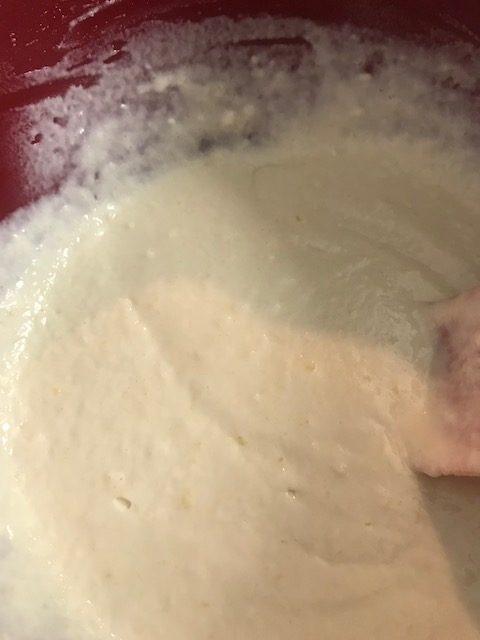
- Soften yeast in cooled milk.
- Add salt, shortening, sugar, and water.
- Add flour, a cup at a time, stirring thoroughly after each cup is added.
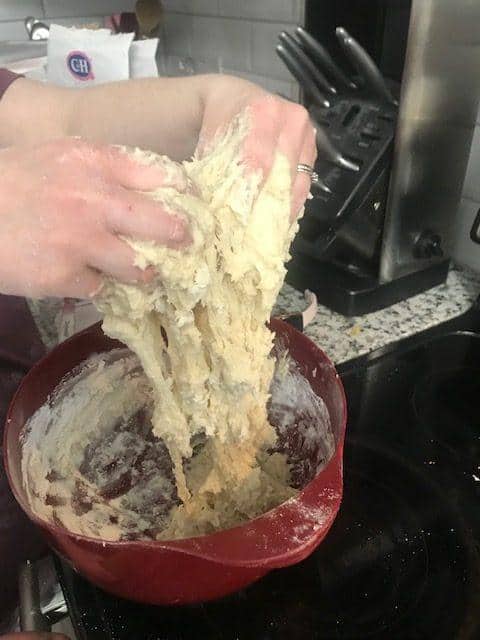
- Mix with hands for the last couple of cups of flour.
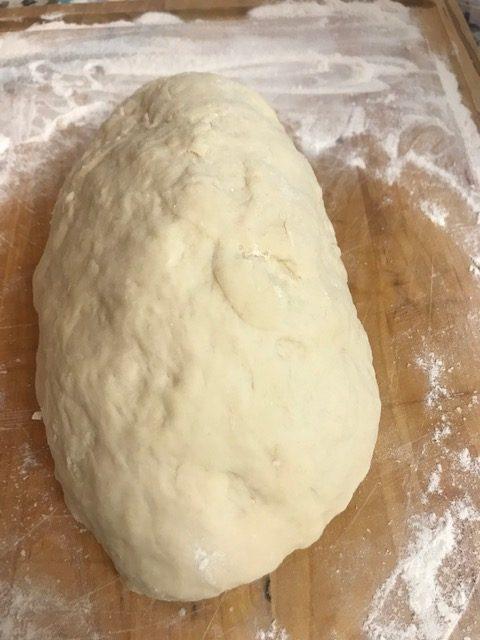
- Place onto lightly floured board and knead until smooth.
- Cover with a warm, damp cloth.
- Let rise until double in size (about 1 hour).
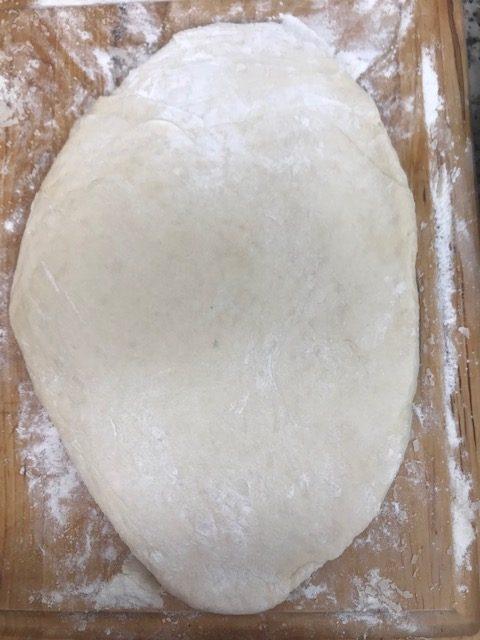
- Roll to ⅓ inch thickness.
- Cut in circles approximately 2 inches in diameter.
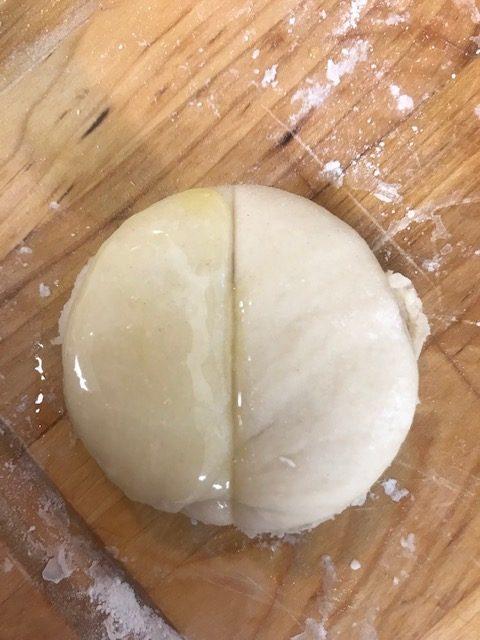
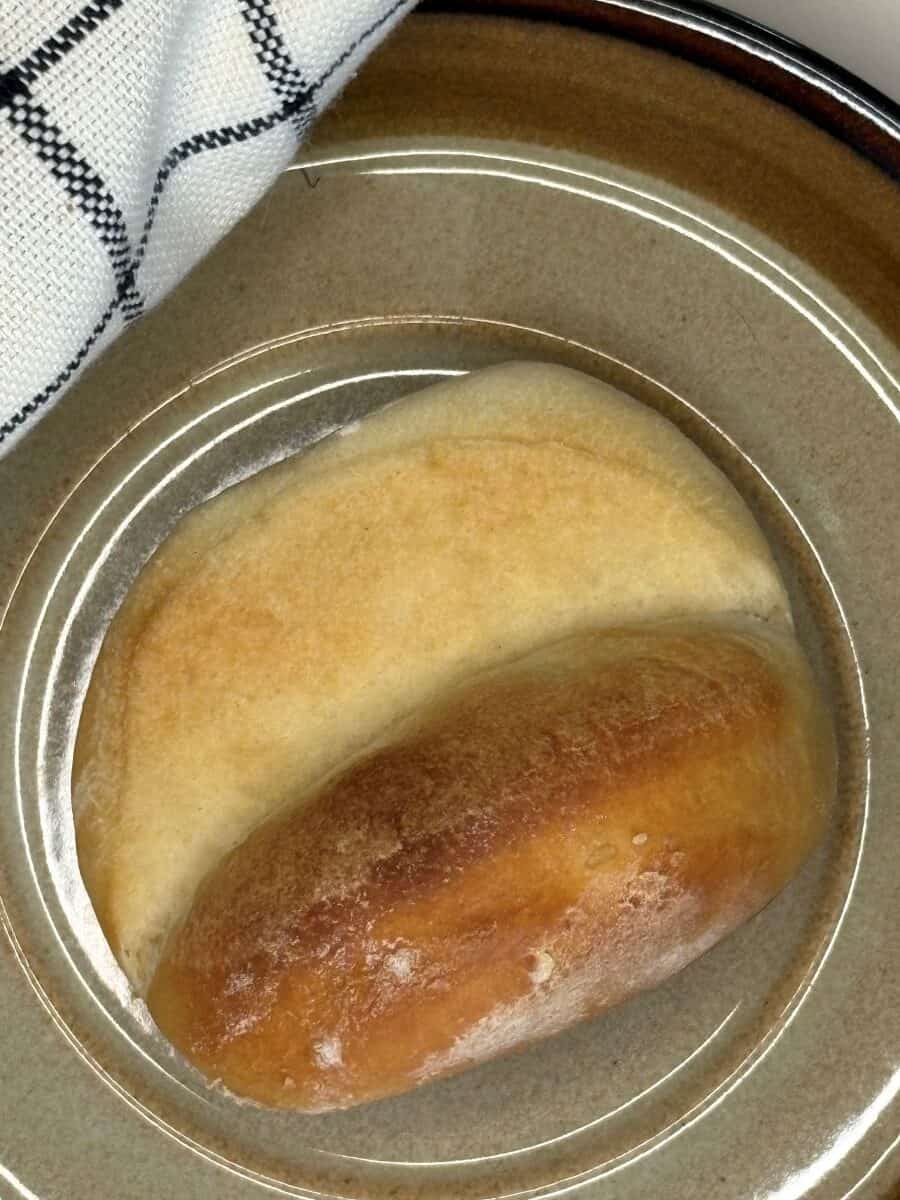
- Crease middle of each with the dull edge of a knife.
- Brush ½ with butter.
- Fold over and press together with the palm of your hand.
- Place close together in rows on well-oiled cookie sheet.
- Cover and let rise until triple in size (about 1-2 hours).
- Bake at 450° for 15-18 minutes.
- Brush tops with melted butter.
Notes
- Don’t over-knead the dough: You want to knead until the dough is smooth and elastic, but not tough. Over-kneading can make the rolls dense.
- Let the dough rise fully: Both rise times are important. Be patient and let the dough rise until doubled in size for the first rise, and tripled in size for the second rise. This ensures light and airy rolls.
- Brush with butter: Brushing the rolls with melted butter before and after baking adds flavor and keeps them moist.
- Dust lightly with flour: When rolling out the dough, use a light dusting of flour to prevent sticking. Too much flour can make the rolls dry.
- Don’t overcrowd the pan: Leave some space between the rolls on the baking sheet so they have room to rise without touching each other.
- Watch for browning: Keep an eye on the rolls while baking. Take them out when they’re golden brown, not burnt.
Amazon and the Amazon logo are trademarks of Amazon.com, Inc, or its affiliates.


These look great! Honestly, I’ve never baked with yeast before, but I feel like I really need to give this a try!
Thank you!
Thank you! It really isn’t as bad as I thought it would be. I’m not sure why I was so scared of yeast! Let me know if you try it.
Following from Pinterest!
Thank you!
You’re welcome
These rolls look and sound amazing. Going to it them a try. Thank you for sharing.
Thank you! They are so delicious and they are always a hit at our family gatherings. 🙂
Yum! I’m definitely still learning how exactly to use yeast haha slowly but surely!! These rolls look incredible! Thank you for sharing xx
Lynn | https://www.lynnmumbingmejia.com
Thank you! Yeast definitely has a learning curve but you will get it! 🙂