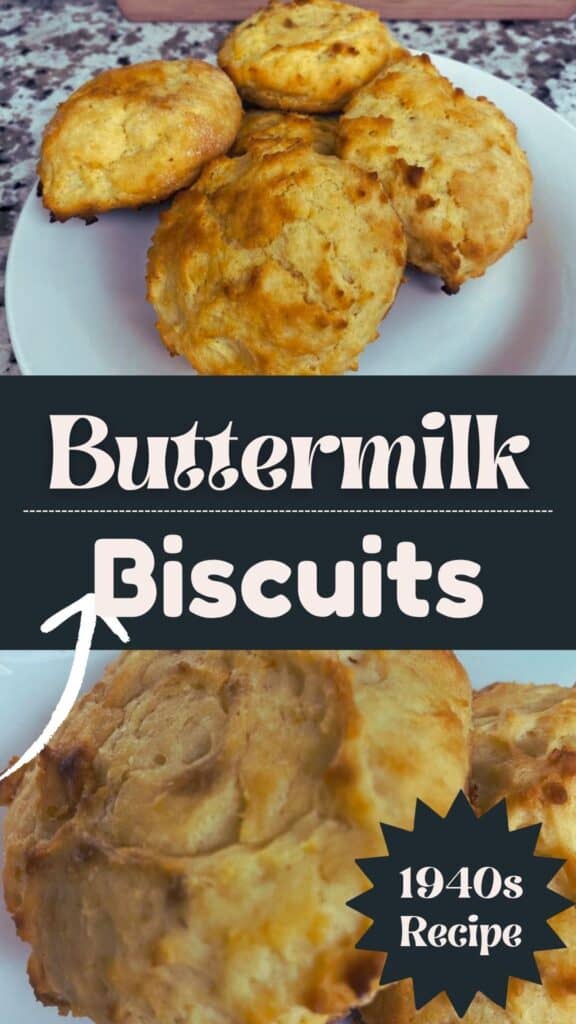
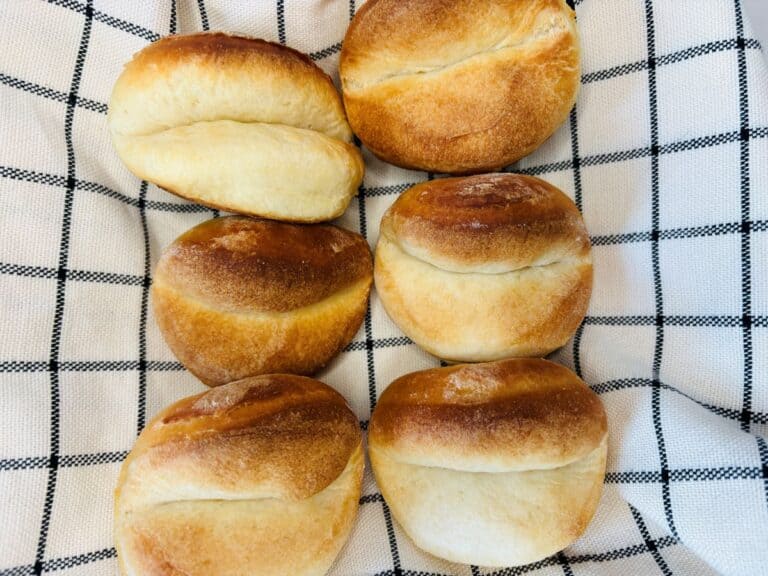
Old-Fashioned Buttermilk Biscuits Recipe
Some of the links in this post are affiliate links. This means if you click on the link and purchase the item, I will receive an affiliate commission at no extra cost to you. All opinions remain my own.
As an Amazon Associate I earn from qualifying purchases.
To me, old-fashioned buttermilk biscuits go with every meal. You can have biscuits and gravy for breakfast, a biscuit sandwich for lunch, and biscuits for your bread at dinner. Am I right or am I right? Haha.
One of the reasons I like biscuits is that they don’t require yeast or rising time. It’s nice to be able to whip up bread fairly quickly. While I do love homemade bread and rolls, they take much longer to make, and most of us don’t have time these days.
These biscuits came from my Victory Cookbook, which features recipes from during and after World War II. They are pretty basic, and I had all of the ingredients in my pantry except the buttermilk.
Quick Facts
- Taste: Buttery, slightly tangy, and perfectly savory
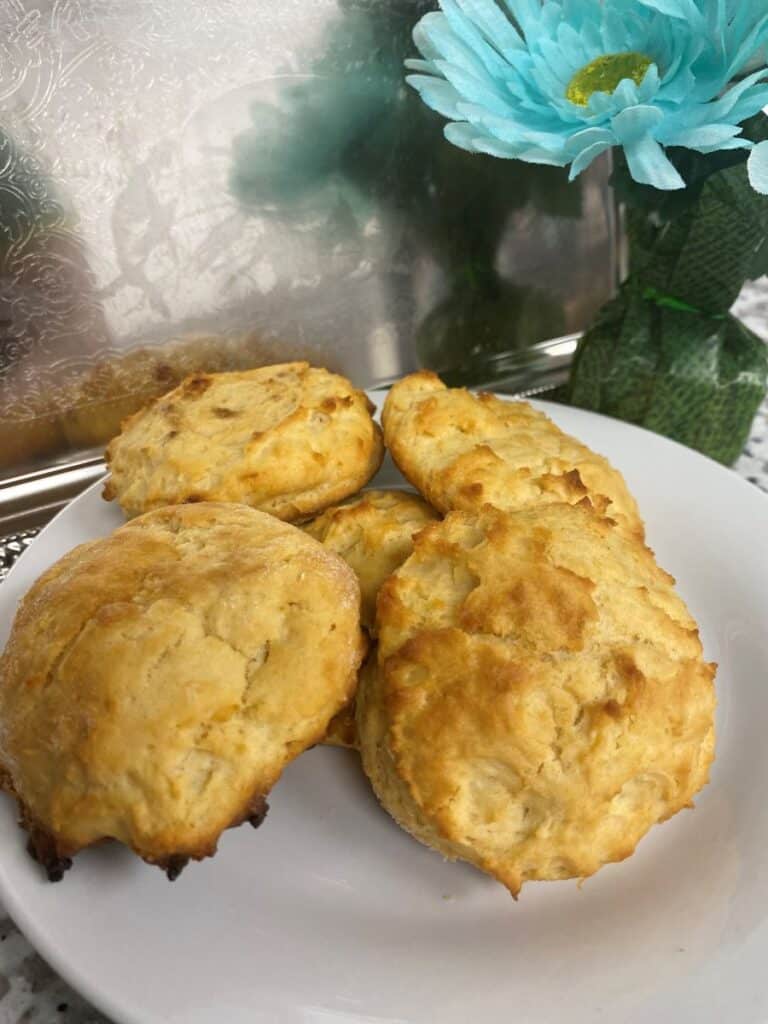
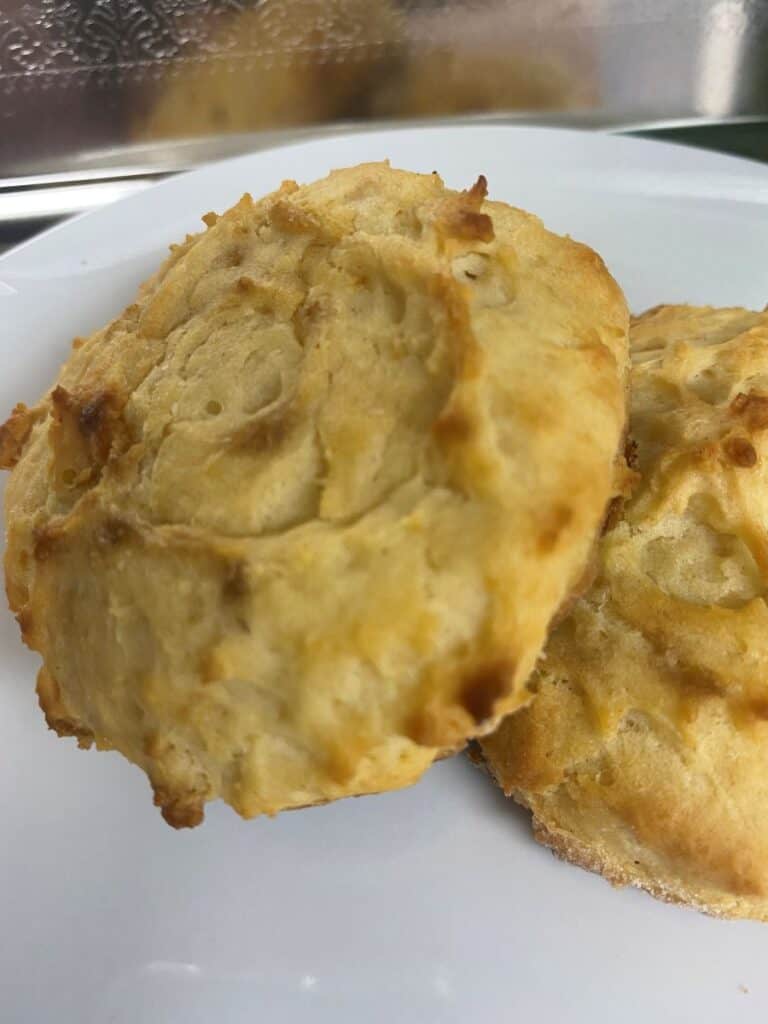
- Texture: Tender and flaky inside with a lightly crisp, golden exterior
- Skill Level: Easy
- Prep Time: About 10 minutes
- Bake Time: 10–12 minutes
- Total Time: About 20–25 minutes
- Yield: Approximately 8–10 biscuits (depending on cutter size)
- Best For: Breakfast, brunch, holiday meals, or serving alongside soups, stews, and fried chicken
Why You’ll Love this Recipe
Made with simple ingredients. You only need a handful of basic pantry staples and buttermilk to make a batch of homemade biscuits.
Soft, flaky, and buttery. These biscuits bake up tender on the inside with golden tops and plenty of flaky layers.
Ready in under 30 minutes. From mixing the dough to pulling them out of the oven, this recipe comes together quickly.
Easy enough for beginners. The straightforward method makes homemade biscuits feel approachable, even if you’ve never made them before.
Great fresh from the oven. Few things beat a warm biscuit with butter, jam, honey, or a drizzle of gravy.
Ingredients You Will Need
- Flour: Forms the structure of the biscuits. Sifting helps create a lighter dough and contributes to a more tender texture.
- Baking Soda: Reacts with the acidity in the buttermilk to help the biscuits rise and develop a light, fluffy interior.
- Baking Powder: Provides additional leavening, giving the biscuits extra lift and helping them bake up tall and tender.
- Salt: Enhances the flavor of the biscuits and balances the richness of the shortening and buttermilk.
- Cold Shortening: Creates flaky layers and a tender crumb. Keeping it cold allows small pockets of fat to remain in the dough, which helps produce a lighter biscuit when baked.
- Cold Buttermilk: Adds moisture, richness, and a slight tangy flavor. Its acidity works with the baking soda to create a better rise, while the cold temperature helps keep the dough tender and flaky.
Helpful Tips
- I didn’t want to buy a whole carton of buttermilk, so I bought the powdered kind, which lasts about a year in the fridge once opened.
- Instead of using a biscuit cutter, I used the top of a small glass jar to cut the dough. This dough was a bit sticky, so I will probably use a biscuit cutter next time.
- Instead of a flour sifter, I used a whisk, which is what I do most of the time. I don’t use my flour sifter too often unless I am trying to be really authentic and old-school like my grandma.
- Keep everything cold. Cold shortening and cold buttermilk are the keys to flaky, tender biscuits. Warm ingredients can lead to denser biscuits.
- Don’t overmix the dough. Stir just until the ingredients come together. Overmixing develops the gluten and can make biscuits tough.
Substitutions and Variations
- You can make your own buttermilk.
- Use butter instead of shortening. Substitute an equal amount of cold butter for a richer flavor. The biscuits may be slightly less tender, but they will have a delicious buttery taste.
- Cheddar Biscuits: Stir in 1 cup shredded cheddar cheese before adding the buttermilk.
- Herb Biscuits: Add 1 to 2 tablespoons chopped fresh herbs such as chives, parsley, rosemary, or thyme.
- Garlic Biscuits: Mix ½ teaspoon of garlic powder into the dry ingredients, then brush the baked biscuits with melted garlic butter.
- Honey Butter Biscuits: Add 1 tablespoon of honey to the buttermilk and brush the tops with melted butter after baking.
- Pepper Biscuits: Add ½ teaspoon freshly ground black pepper for a little extra flavor.
- Bacon Cheddar Biscuits: Fold in ½ cup cooked, crumbled bacon and 1 cup shredded cheddar cheese.
Frequently Asked Questions
Why didn’t my biscuits rise very much? The most common causes are old baking powder, overworked dough, or warm ingredients. Make sure your baking powder is fresh and keep the shortening and buttermilk cold.
Can I make the dough ahead of time? Yes. You can prepare and cut the biscuits, then refrigerate them for a few hours before baking. Bake them straight from the refrigerator.
Why are my biscuits tough instead of tender? Tough biscuits are usually caused by overmixing or kneading the dough too much. Mix only until combined and handle the dough as little as possible.
Do I need a biscuit cutter? No. A drinking glass, mason jar ring, or even a sharp knife can be used if you don’t have a biscuit cutter.
Can I make these biscuits without a pastry blender? Absolutely. Two knives, a fork, or even your fingertips can be used to cut the shortening into the flour mixture.
Why are my biscuits dry? Too much flour or overbaking are the usual culprits. Measure flour carefully and start checking for doneness at the lower end of the baking time.
Storage Tips
Room Temperature: Store cooled biscuits in an airtight container or zip-top bag at room temperature for up to 2 days. Make sure they are completely cool before storing to prevent condensation and sogginess.
Refrigerator: If you’d like them to last a little longer, store the biscuits in an airtight container in the refrigerator for up to 1 week. Warm them before serving for the best texture.
Freezer: Baked biscuits freeze well. Place them in a freezer-safe bag or container and freeze for up to 3 months. For easy portioning, freeze them in a single layer first, then transfer them to a storage bag.
Freezing Unbaked Biscuits: Cut the biscuits and place them on a baking sheet. Freeze until solid, then transfer to a freezer bag. Bake directly from frozen, adding a few extra minutes to the baking time.
Reheating:
- Oven: Warm at 350°F for 5–10 minutes.
- Microwave: Heat for 10–20 seconds per biscuit.
- Air Fryer: Reheat at 325°F for 2–3 minutes.
Best Quality Tip: Homemade biscuits are always best the day they’re baked, but a quick warm-up with a little butter can make leftover biscuits taste almost fresh from the oven.
What to Serve with Buttermilk Biscuits
- Breakfast Favorites: These biscuits are perfect with scrambled eggs, fried eggs, bacon, sausage, breakfast casseroles, or country ham. Add a little butter, jam, or honey for a classic breakfast plate.
- Soups and Stews: Warm biscuits are made for soaking up hearty dishes like beef stew, Cheeseburger Chowder, potato soup, chili, Butternut Squash Soup, or vegetable soup.
- Comfort Food Dinners: Serve them alongside fried chicken, meatloaf, pot roast, pork chops, roast chicken, or beef tips and gravy for a comforting, old-fashioned meal.
- Southern Classics: Pair them with favorites like sausage gravy, collard greens, black-eyed peas, Creamed Corn, fried apples, or chicken-fried steak.
- Holiday Meals: These biscuits fit right in on holiday tables with roast turkey, baked ham, mashed potatoes and gravy, green bean casserole, Sweet Potato Puffs, and cranberry sauce.
- Sandwiches and Sliders: Split them open and use them for breakfast sandwiches, ham biscuits, pulled pork sliders, fried chicken sandwiches, or turkey sandwiches.
- Sweet Treats: Turn them into an easy dessert with fresh strawberries and whipped cream, peach preserves, apple butter, cinnamon honey butter, or your favorite fruit jam.
Other Recipes You May Enjoy
If you want a biscuit recipe that doesn’t require buttermilk, you can try my Baking Powder Biscuits. Most people have all of those ingredients in their kitchen. Another great bread to try is Irish Soda Bread. This Recipe for Scones is also quite yummy. These biscuits would be great with my Old Fashioned Shepherd’s Pie or with this Lamb Rogan Josh from Shilpa at Easy Indian Cookbook! You could also top them off with this Honey Butter Recipe from Mary at Dine Dream Discover. That would be delicious!
Old-Fashioned Buttermilk Biscuits
Ingredients
- 2 Cups Flour Sifted
- ½ teaspoon Baking Soda
- 2 teaspoons Baking Powder
- 1 teaspoon Salt
- ¼ Cup Shortening Cold
- 1 Cup Buttermilk Cold
Instructions
- Preheat oven to 450°F and spray cookie sheet with nonstick cooking spray.
- Sift flour, baking soda, baking powder, and salt together.
- Cut in shortening using 2 knives or a pastry blender.
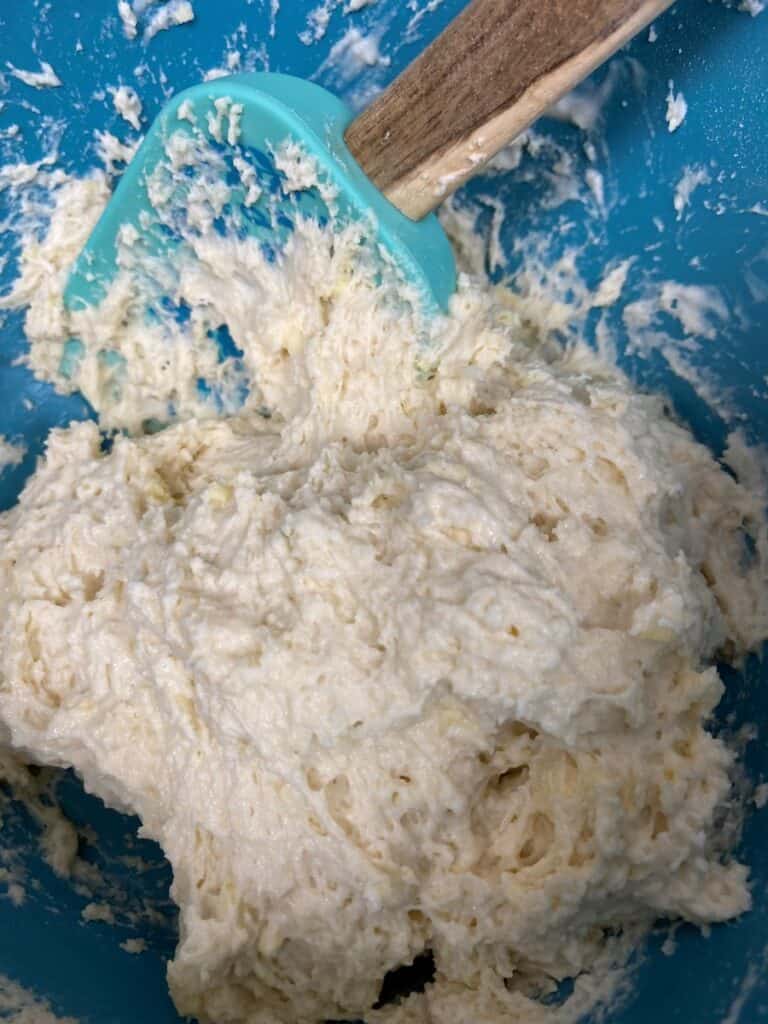
- Add cold buttermilk and stir quickly.
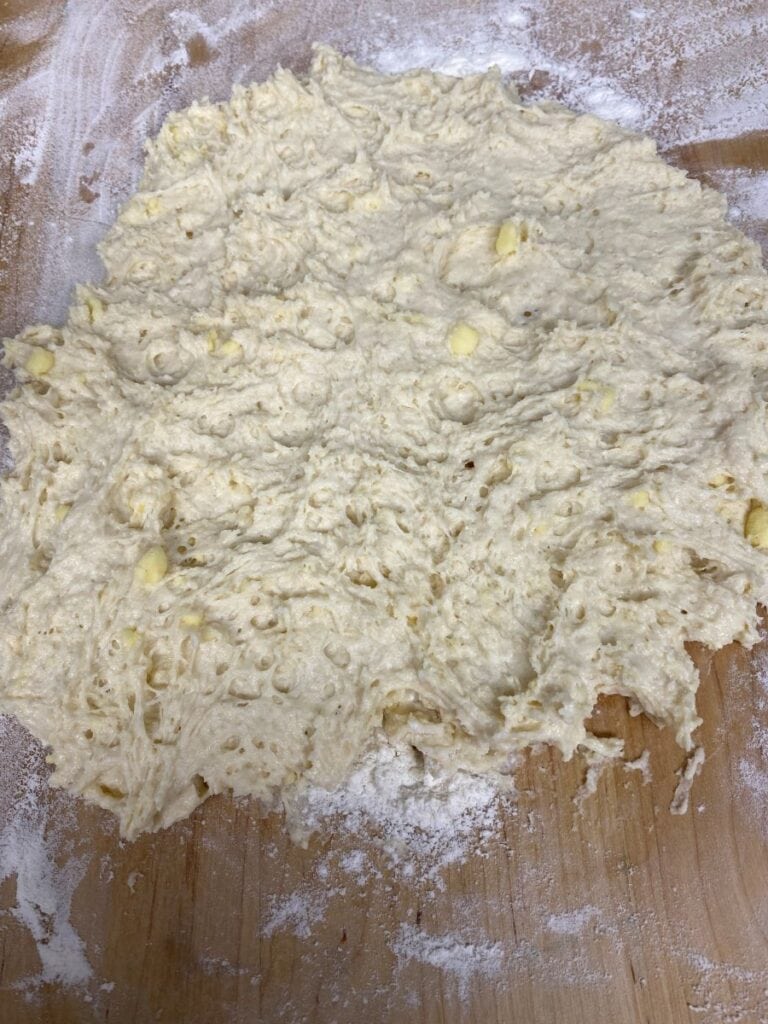
- Place dough on lightly floured board and knead for a few seconds.
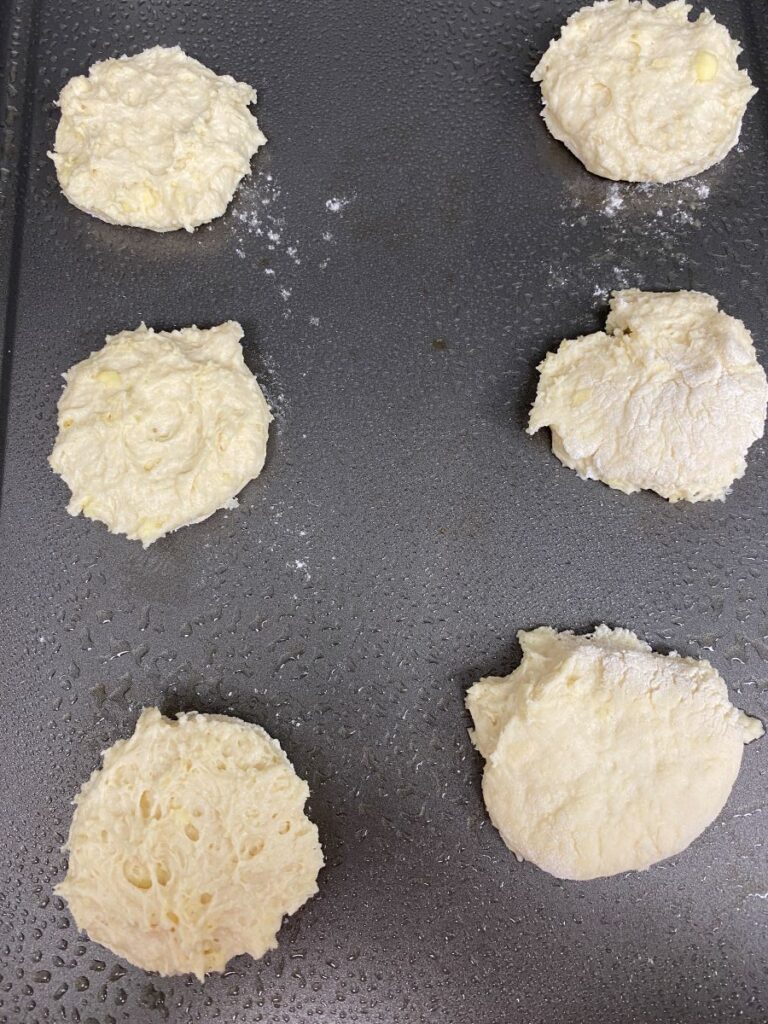
- Use hands to flatten dough to ½ inch thickness and cut with biscuit cutter.
- Place on cookie sheet at least 1 inch apart.
- Bake at 450° for 10-12 minutes or until golden brown.
Notes
- I didn’t want to buy a whole carton of buttermilk, so I bought the powdered kind, which lasts about a year in the fridge once opened.
- Instead of using a biscuit cutter, I used the top of a small glass jar to cut the dough. This dough was a bit sticky, so I will probably use a biscuit cutter next time.
- Instead of a flour sifter, I used a whisk, which is what I do most of the time. I don’t use my flour sifter too often unless I am trying to be really authentic and old-school like my grandma.
- Keep everything cold. Cold shortening and cold buttermilk are the keys to flaky, tender biscuits. Warm ingredients can lead to denser biscuits.
- Don’t overmix the dough. Stir just until the ingredients come together. Overmixing develops the gluten and can make biscuits tough.
Amazon and the Amazon logo are trademarks of Amazon.com, Inc, or its affiliates.


love the look of these! It reminds me of the ones that used to be sold at KFC back in the days in Jamaica.
Thank you so much! I bet those were yummy too!
This is a real throwback for me. My nan use to make buttermilk biscuits all the time.
That is great to hear! xx
These are so simple and old school but I love the look of them – great recipe xx
Thank you! Simple is sometimes best. 🙂
Oh Yum! I love a good homemade biscuit. I will have to try this out!
Yes, they are the best! Let me know if you try it. 🙂
I find that when a recipe has shortening instead of butter, the baked goods are often sweeter. And it
takes some of the edge off for the lactose intolerant among us! Thanks!
I would agree with that as well. I hadn’t thought about it taking the edge off but it probably does. 🙂
I love how easy it is to make these. This is a great option for breakfast for me.
Thank you! Yes, they are very quick and easy to make. Definitely a great breakfast option. 🙂
These look so good! I’ll have to try making my own biscuits!
Thank you! Let me know if you try them. 🙂
Yummy! I love homemade biscuits especially a warm one with jam and butter! This looks super easy, Thanks for sharing, Heidi! x
Lynn | https://www.lynnmumbingmejia.com
That sounds so good right now! I definitely agree. That is how my husband always eats biscuits no matter what meal he has them with. 🙂
Homemade biscuits are the best! I love a good cheddar drop biscuit, but these look divine too. Wartime recipes are so simple and tasty and, while I never have buttermilk on hand either, I make my own by adding one tablespoon apple cider vinegar per one cup of milk. 🙂
Yes, they are! Cheddar drop biscuits are yummy too! That is a great alternative to buttermilk as well. Thank you for mentioning that. 🙂
Wow these look amazing. They sound delicious!! I might have to try to make them!
https://whereintheworldismaria.com
Thank you! They are pretty easy to make, too. 🙂
These look and sound great. You have shared such simple steps to help people follow the recipe. Thank you for sharing this post.
Lauren
Thank you, Lauren!
Lovely recipe, these look delicious! Definitely need to try this recipe out soon 🙂
Thank you. They are very simple and delicious. 🙂
Oh these look so delicious and so simple to make!! Thank you so for sharing your recipe – I may just have to make them this evening
You’re welcome! Let me know if you try them. 🙂
These look so simple to make, I do love dipping bread in gravy so I may have to give these a try. Is buttermilk really that bad on its own? I’ve never had it.
Thank you! Buttermilk is quite sour so most people don’t prefer it. 🙂
they look so good! You literally can’t go wrong with some delicious homemade butter biscuits!
Thank you! That is so true. 🙂
Thanks for sharing, these look easy to prepare and make 🙂
You’re welcome. They are pretty simple and yummy!
These look lovely! I love a good biscuit, always so tasty. Great post!
Those look soo good! My partner is the baker in the house, I will show him the recipe and hope he makes them ahah! Actually, they seem pretty easy to make but don’t want to burn the house down lol
Haha, I totally understand! I hope you get to enjoy them! 🙂
Great recipe! I’ve never tried to make biscuits before, but this recipe doesn’t seem to be too difficult to do. Thanks for sharing!
Thank you! They are pretty simple, that’s for sure. 🙂
Wow, these look and sound amazing!!! Delicious Xo
Elle – ellegracedeveson.com
Thank you!
This is the same recipe my grandmother used to make fruit cobblers too. A Dutch oven full of fruit (strawberries, apples, peaches, whatever was in season) bubbling with the addition of sugar in it’s own juices. Then she would drop the biscuit dough by the tablespoon full allowing the hot liquid to “set” the biscuit as she flipped them over. They would float on top of the fruit and she would put them into the hot oven and they would brown lightly on top as they continued to soak up the richness of the fruit juices. So very good. Ice cream or softly beaten heavy cream suggested but not required!
Hi Brenda,
Thank you for sharing! I love that your grandma made cobblers with them. That is a great idea! I’ll have to try this soon! 🙂
Hello. Your biscuits look wonderful. Instead of solid shorting, can I use canola oil? Thanks in advance.
Hi Carol,
Thank you so much. Canola oil won’t work because it’s not solid, but you can use cold butter instead. I hope that helps!
Best,
Heidi (aka Lulu)