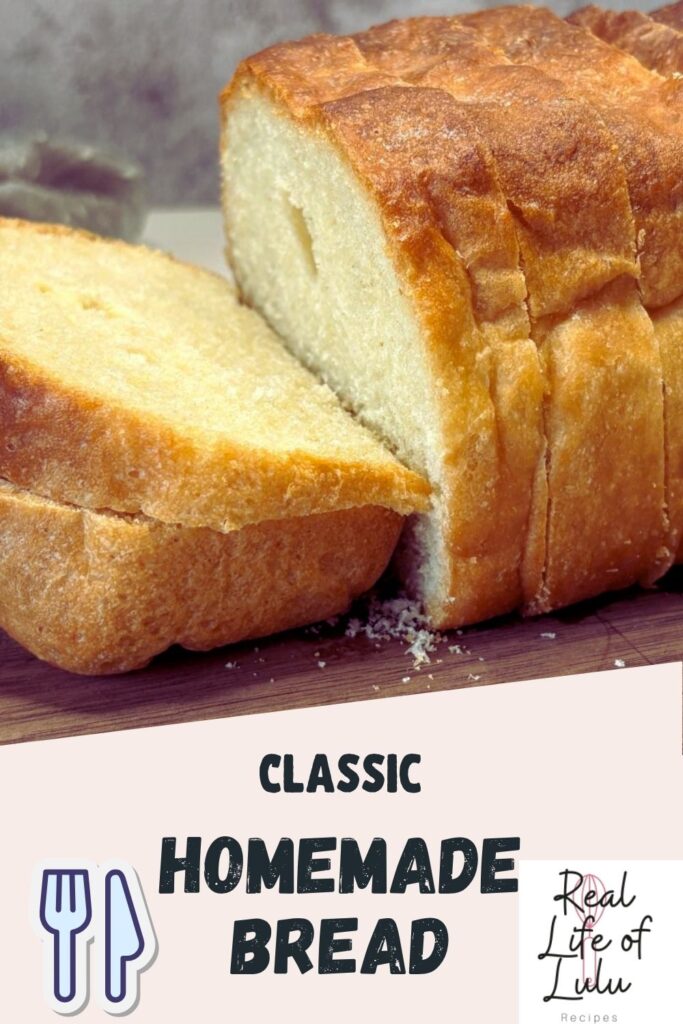
Old-Fashioned Homemade Bread Recipe
Some of the links in this post are affiliate links. This means if you click on the link and purchase the item, I will receive an affiliate commission at no extra cost to you. All opinions remain my own.
As an Amazon Associate I earn from qualifying purchases.
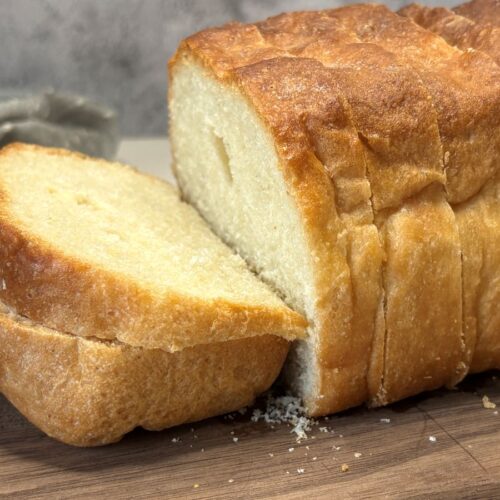
This homemade bread comes straight from my grandma’s 1940s recipe book, and it’s a recipe you’ll definitely make again and again. It uses basic pantry staples and a little hands-on time, but the payoff is a delicious loaf of homemade bread. There’s just something about making bread the old-fashioned way that feels extra satisfying.
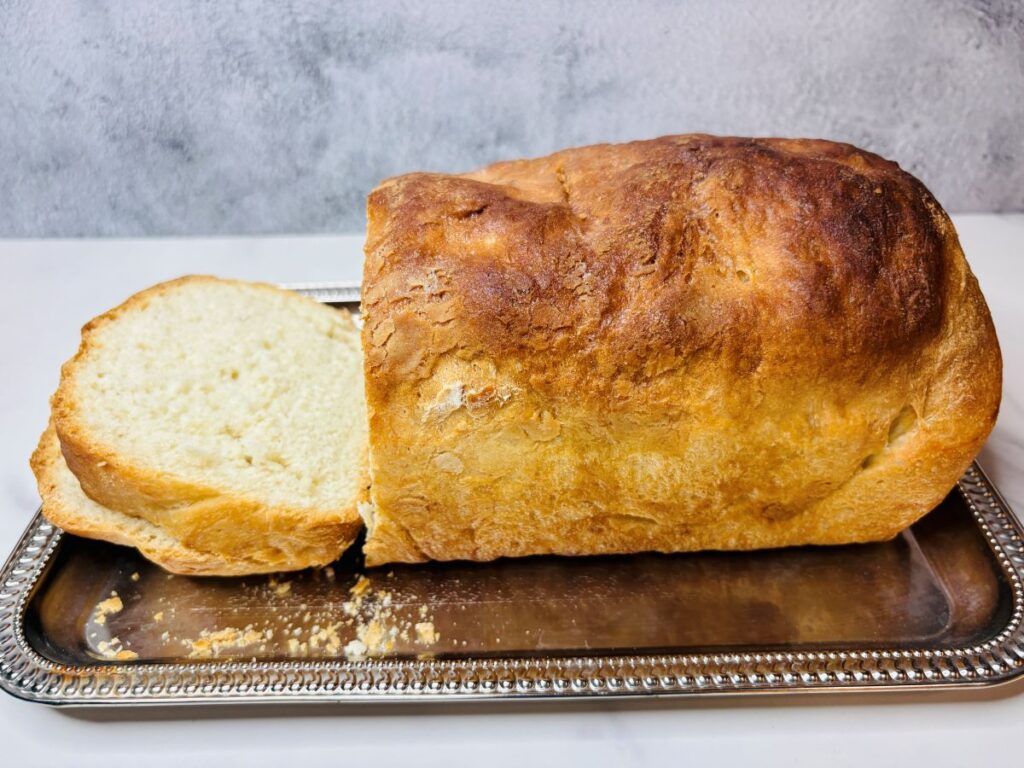
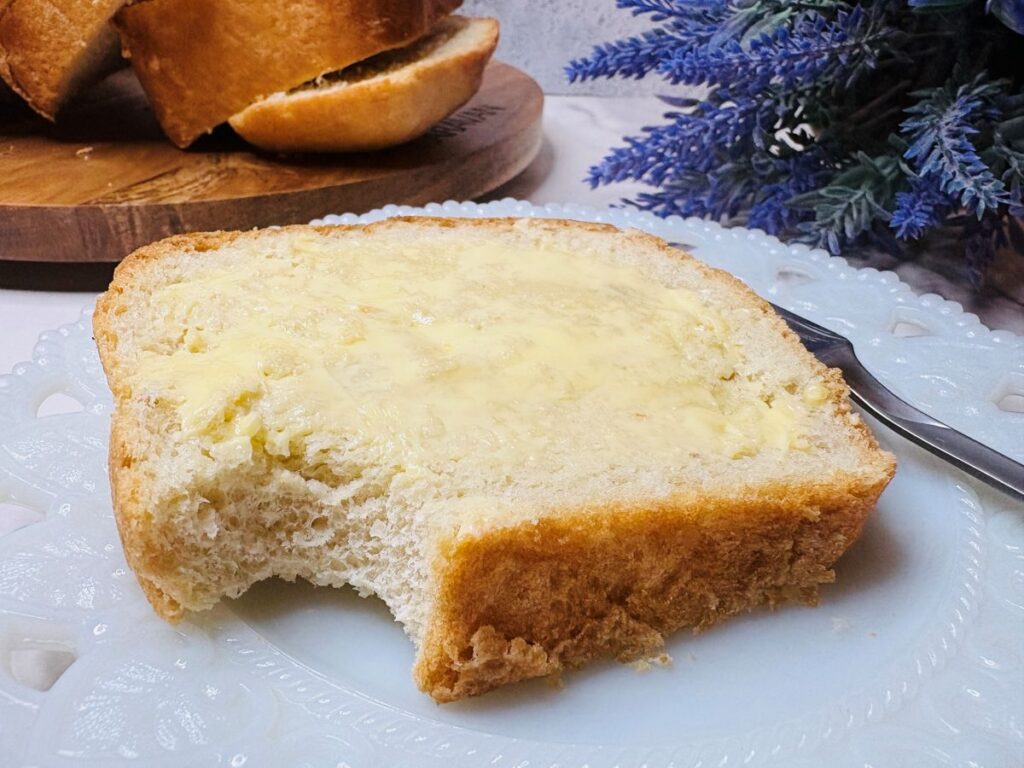
The loaves come out soft and fluffy with a golden crust that’s perfect for butter, sandwiches, or eating while it’s still warm. It’s the kind of bread that makes everything on the table a little better. After you bake it once, don’t be surprised if it starts showing up in your kitchen on repeat.
Quick Facts
If you want the highlights before you start, here’s everything to know about this classic homemade bread from my grandma’s 1940s recipe book.
- Recipe origin: Grandma’s 1940s handwritten recipe
- Type of bread: Classic homemade white bread
- Skill level: Beginner-friendly
- Yield: 2 loaves
- Texture: Soft and fluffy with a golden crust
- Flavor: Mild, classic bread flavor
- Rise time: Two rises until doubled
- Best uses: Sandwiches, toast, or warm with butter
- Ingredients: Simple pantry staples
- Storage: Keeps well and freezes beautifully
Why You’ll Love this Recipe
- It’s straight from my grandma’s 1940s recipe book. There’s something special about baking a loaf that’s been around for generations, and it still holds up today.
- Soft, fluffy loaves every time. The texture is classic homemade bread: tender inside with a golden, sliceable crust.
- Perfect for everyday use. It works just as well for sandwiches as it does for toast or a warm slice with butter.
- Beginner friendly but totally reliable. If you’re new to bread baking, this is a great place to start, and if you’re not, it’s the kind of recipe you’ll keep coming back to.
Ingredients You Will Need
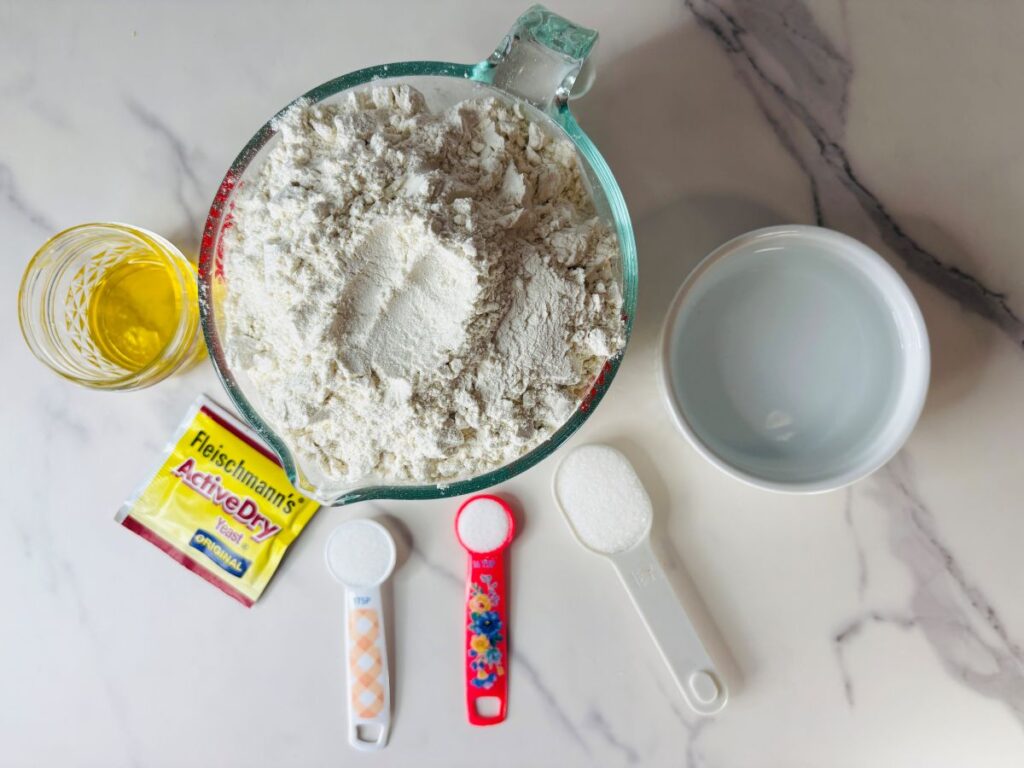
- Yeast: This is what makes the dough rise and gives the bread its soft, airy texture.
- Sugar: Feeds the yeast so it can do its thing and adds a faint touch of sweetness to balance the flavor.
- Salt: Brings out the flavor of the bread and keeps the yeast from going wild. It’s small but essential.
- Melted Shortening: Adds tenderness and keeps the crumb soft instead of dry.
- Lukewarm Water: Wakes up the yeast and brings the dough together. The temperature matters here so the yeast stays happy.
- Flour: The structure of the whole loaf. It gives the dough body and turns into that classic chewy, sliceable texture once baked.
- Butter (optional finish): Melts into the crust for a soft, shiny top and a little extra flavor that makes homemade bread feel special.
Helpful Tips
- If you have packets of yeast like I did, empty one packet into ¼ cup lukewarm water and stir for about 5 minutes (until it is foamy and smells yeasty).
- Expect it to take 4-5 hours from start to finish.
- Give the dough enough time to rise. Look for the dough to double in size rather than watching the clock. A warm, draft-free spot helps a lot.
- Add flour gradually. Stop once the dough is soft and slightly tacky. Too much flour can make the loaves dense.
- Knead until smooth and elastic. The dough should feel springy and hold its shape; this is what gives you that classic fluffy texture.
- Don’t skip the second rise. It’s what helps the bread bake up light instead of heavy.

Substitutions and Variations
- Shortening substitute: Swap the melted shortening with butter for a slightly richer flavor, or use a neutral oil for a softer crumb.
- Flour options: You can replace up to half of the all-purpose flour with whole wheat flour for a heartier loaf. Add an extra tablespoon or two of water if the dough feels dry.
- Sandwich loaf version: Bake in slightly smaller pans for taller, more sandwich-friendly slices.
- Rustic free-form loaf: Shape the dough into rounds and bake on a sheet pan for a more rustic look and crustier exterior.
Storage Tips
Room Temperature
- Best method: Store cooled bread in a bread box oran airtight container.
- How long it lasts: About 2–3 days.
- Tip: Keep it in a cool, dry spot and avoid the fridge, which can dry bread out faster.
Refrigeration (if needed)
- When to refrigerate: Only if your kitchen runs very warm.
- How long it lasts: Up to 5 days.
- Tip: Wrap tightly so it doesn’t absorb fridge odors or lose moisture.
Freezing Homemade Bread
- How to freeze: Wrap the loaf (or slices) tightly in plastic wrap, then place in a freezer bag.
- How long it lasts: Up to 3 months for the best quality.
- How to thaw: Let it thaw at room temperature or toast slices straight from the freezer.
Keeping Bread Fresh Longer
- Slice only what you need to prevent drying.
- Store with the cut side down if keeping on a board.
- A quick warm-up in the oven brings back that fresh-baked texture.
Frequently Asked Questions
- How do I know if my yeast is still good? If the yeast mixture gets foamy and smells yeasty after a few minutes in warm water, it’s active and ready to use. If nothing happens, it’s best to start with fresh yeast.
- Why didn’t my bread rise? This usually comes down to inactive yeast, water that was too hot or too cool, or a room that’s too cold. Try letting the dough rise in a warmer spot next time.
- How do I know when the bread is fully baked? The loaves should be golden brown and sound hollow when tapped on the bottom. You can also check that the internal temperature is around 190–200°F.
- Why is my bread dense instead of fluffy? Too much flour or not enough rise time are the most common reasons. The dough should feel soft and slightly tacky before the first rise.
Other Recipes You May Like
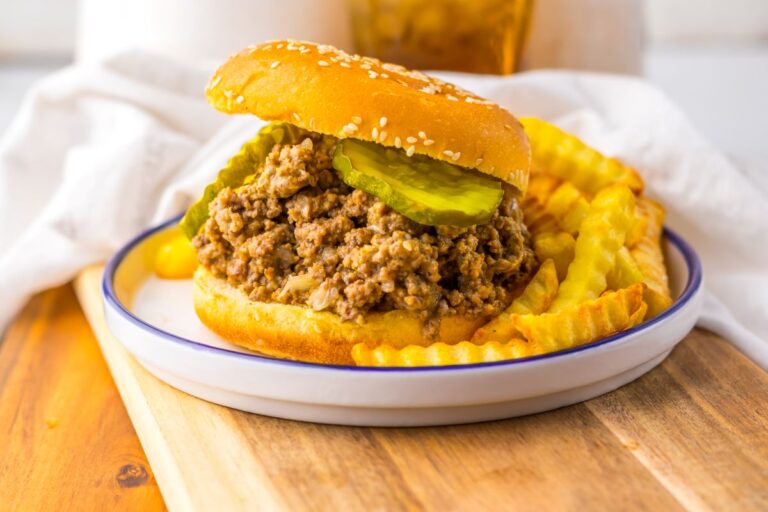
If you like my Homemade Bread, you might also like Grandma’s Parker House Rolls or Cottage Cheese Bread. This Small Batch Crusty Bread and this Jimmy John’s Bread are also delicious.
Homemade Bread
Equipment
- 1 Loaf Pan
Ingredients
- 1 Cake Dry Yeast
- 1 Tablespoon Sugar
- 1½ teaspoon Salt
- 1 Tablespoon Melted Shortening
- 1½ Cups Lukewarm Water
- 5 Cups Flour
- 1 Tablespoon Butter optional
Instructions
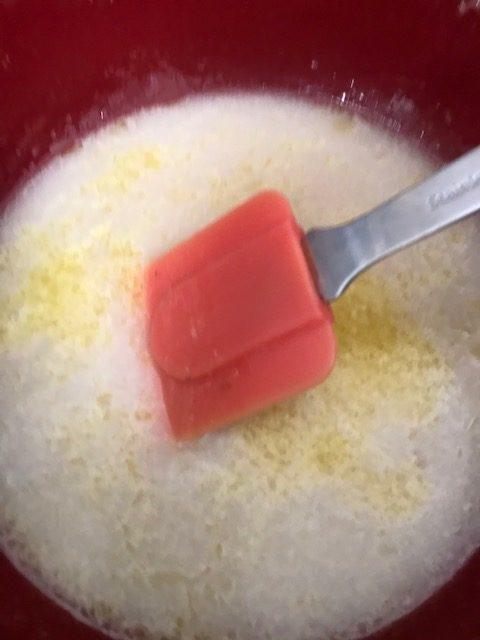
- Soften yeast in ¼ cup of lukewarm water.
- Stir for approximately 5 minutes, until mixture is foamy and smells yeasty.
- Add sugar, salt, and shortening.
- Add the rest of the water (1¼ Cups).
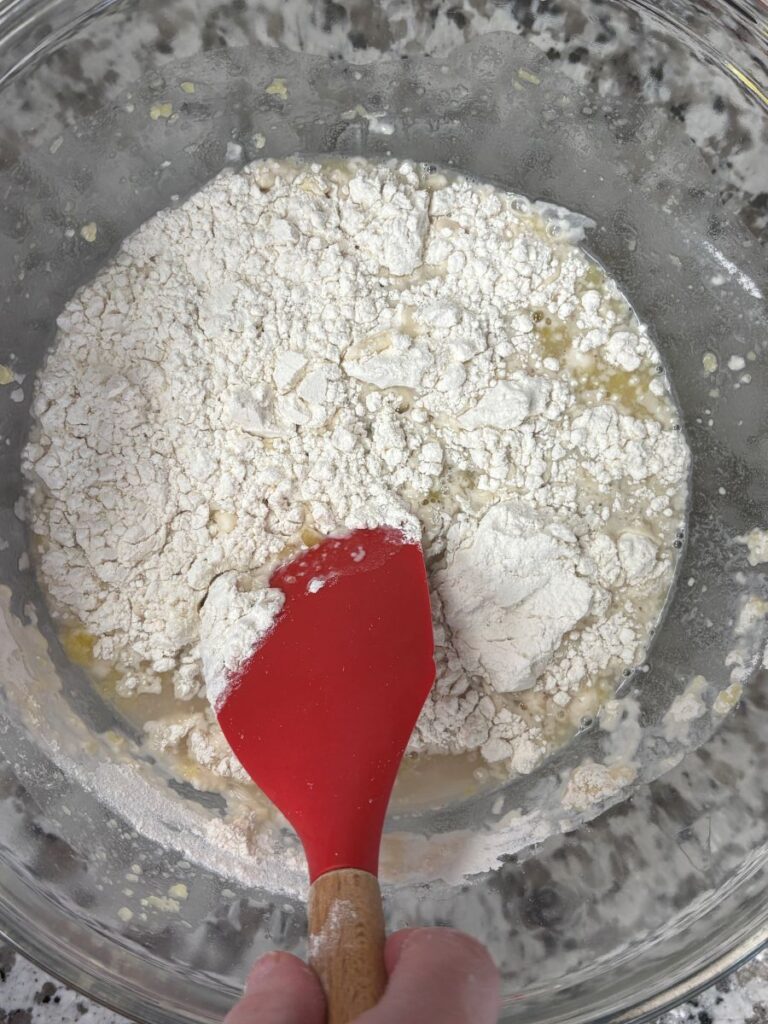
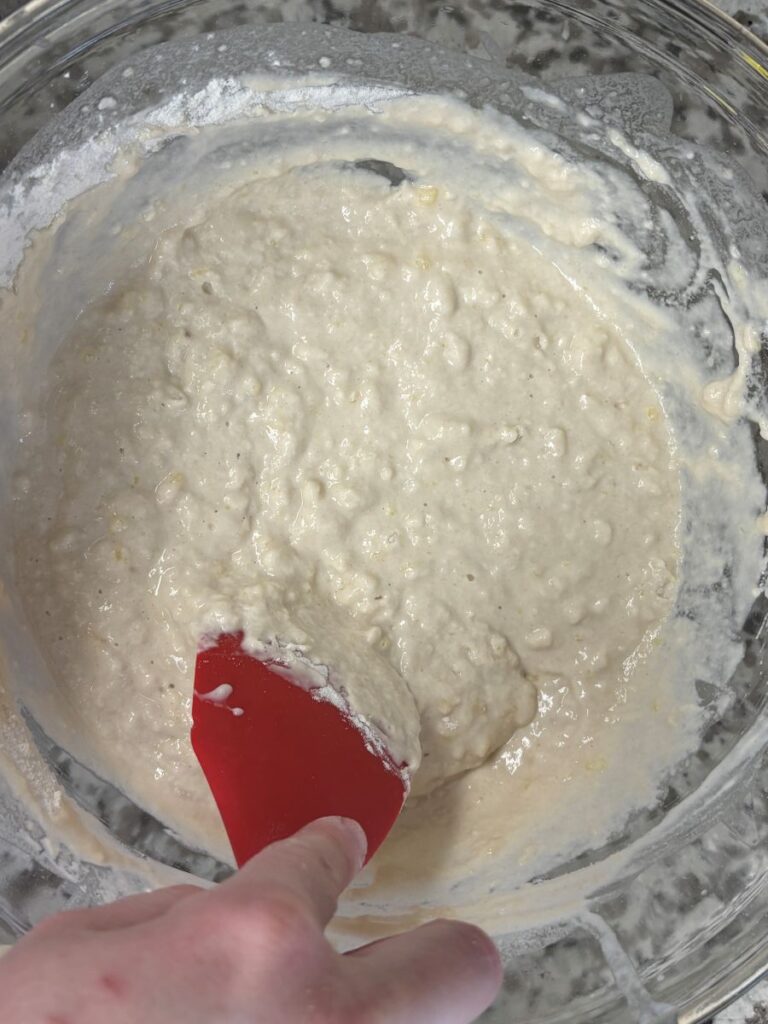
- Add flour one cup at a time, stirring thoroughly after each addition until the dough is just stiff enough to knead.
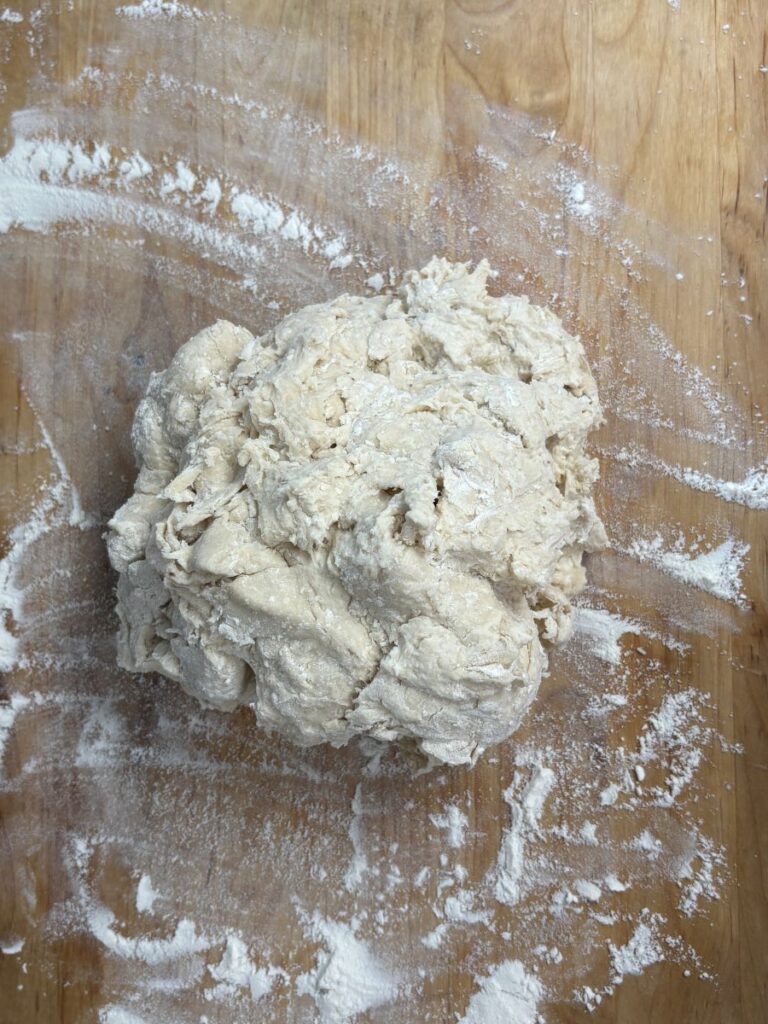
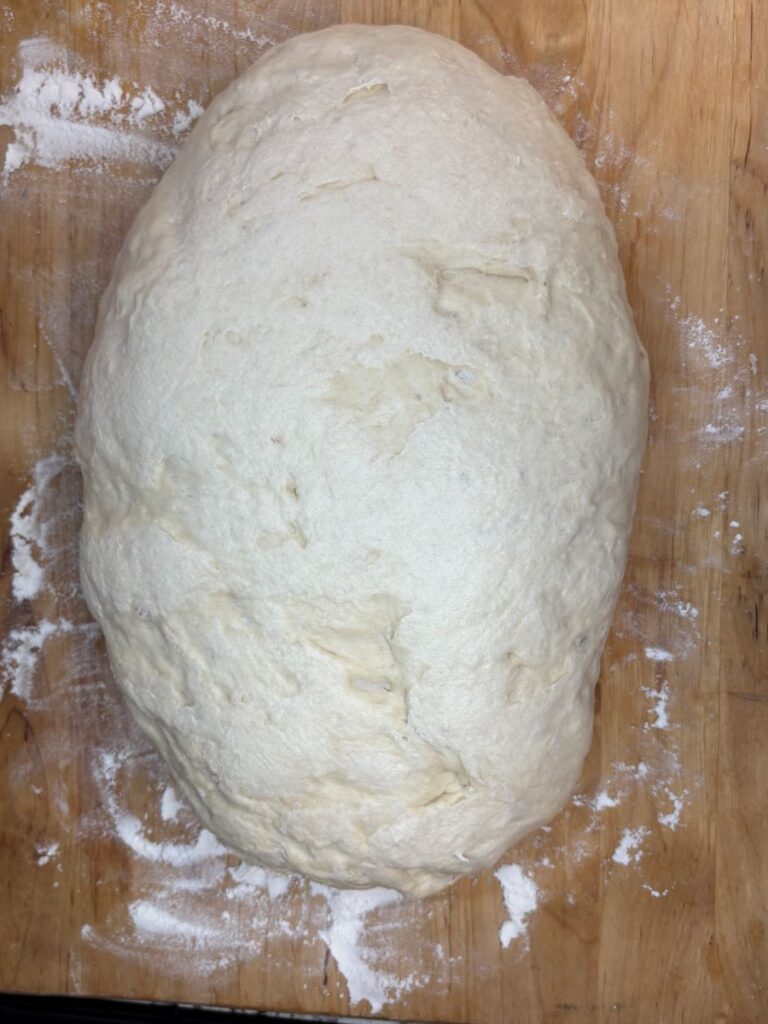
- Place on lightly floured board.
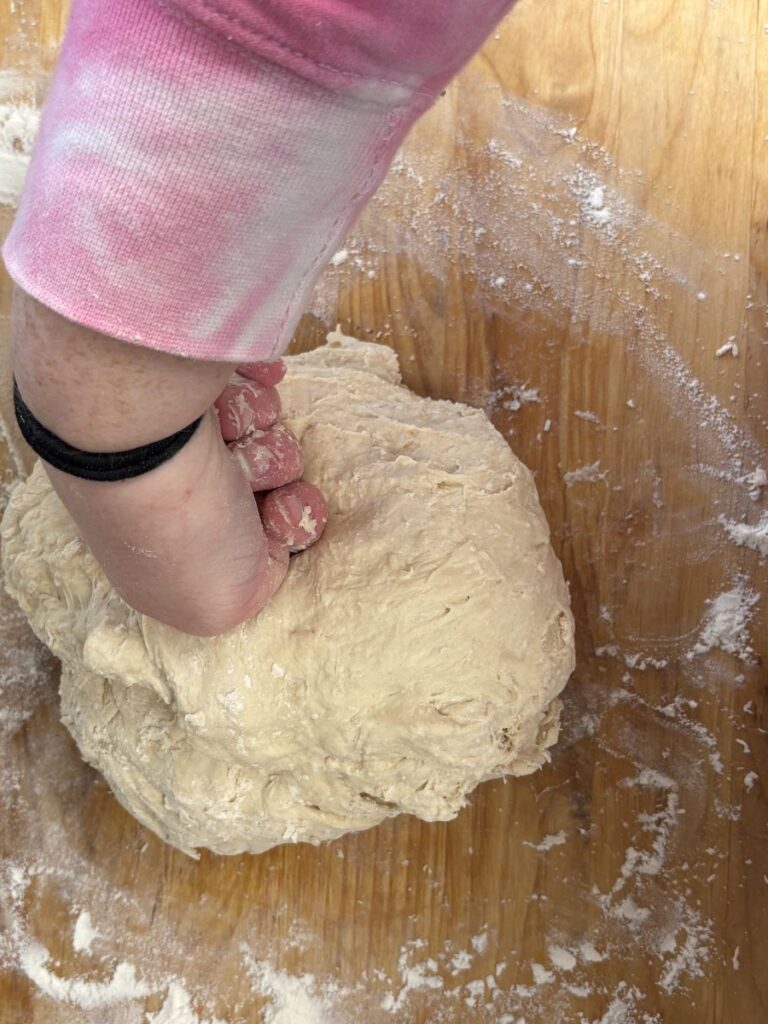
- Knead until dough is smooth and elastic.
- Cover with a warm, damp cloth.
- Put in warm place and allow to double in size.
- Work down, cover with a warm, damp cloth, and allow dough to again double in size.
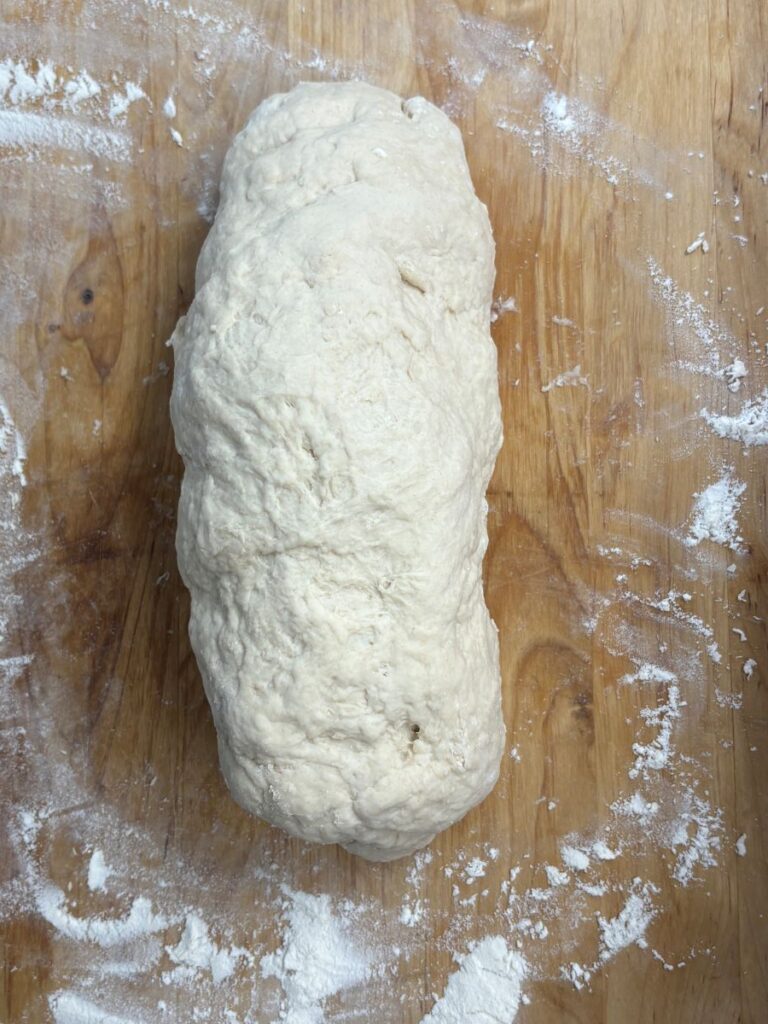
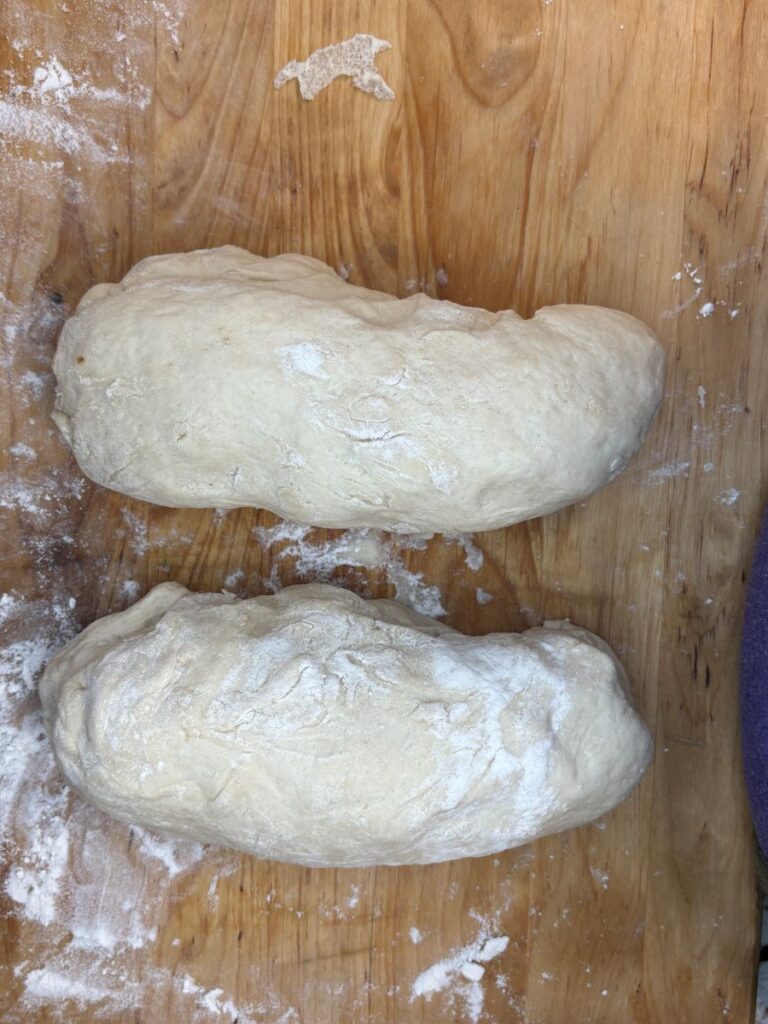
- Work down lightly.
- Form into 2 loaves.
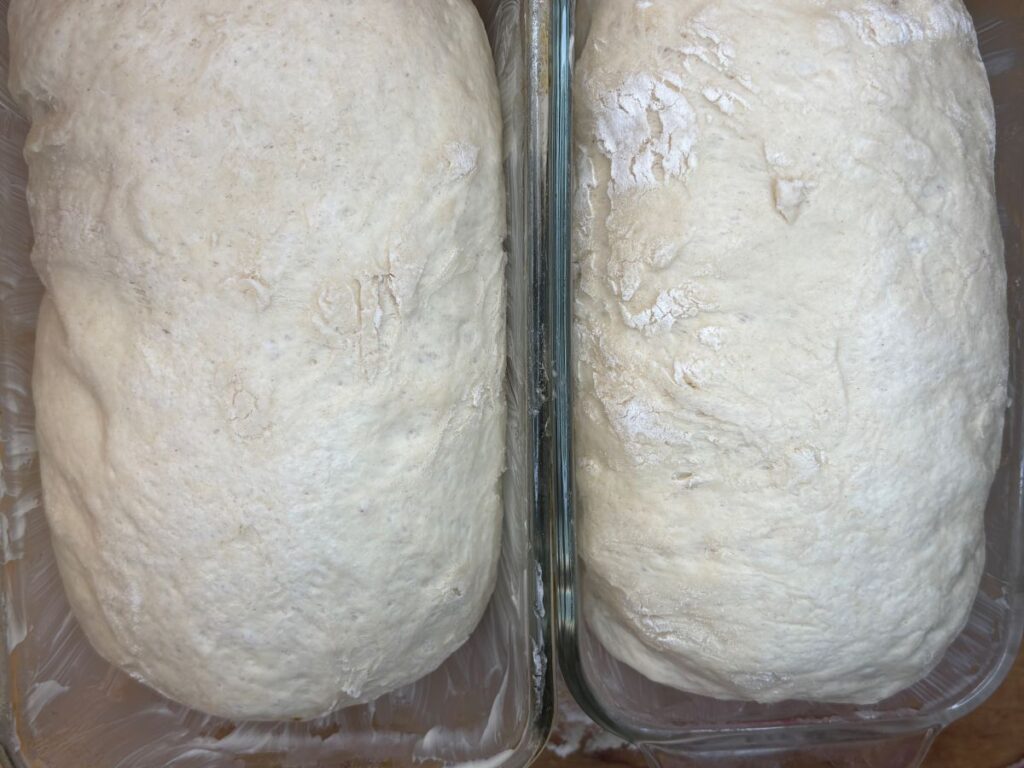
- Put in well-oiled bread pans.
- Cover with a warm, damp cloth.
- Put in a warm place, cover, and let rise until double in size.
- Bake at 450° for 15 minutes.
- Lower heat and continue baking (410°-425°) for an additional 25-30 minutes.
- Place a tablespoon of butter on top (if you wish) of each loaf and allow to melt.
Notes
- If you have packets of yeast like I did, empty one packet into ¼ cup lukewarm water and stir for about 5 minutes (until it is foamy and smells yeasty).
- Expect it to take 4-5 hours from start to finish.
- Give the dough enough time to rise. Look for the dough to double in size rather than watching the clock. A warm, draft-free spot helps a lot.
- Add flour gradually. Stop once the dough is soft and slightly tacky. Too much flour can make the loaves dense.
- Knead until smooth and elastic. The dough should feel springy and hold its shape; this is what gives you that classic fluffy texture.
- Don’t skip the second rise. It’s what helps the bread bake up light instead of heavy.
Amazon and the Amazon logo are trademarks of Amazon.com, Inc, or its affiliates.


Thanks for sharing. I have never been a bread maker. That was before the quarantine. I have made several loaves since then and I love it. I am saving this post so I can make your bread!
Awesome! I can’t wait to hear what you think!
Thanks for sharing. I have never been a bread maker. That was before the quarantine. I have made several loaves since then and I love it. I am saving this post so I can make your bread!
Yum! I’ve only worked with Yeast when I made cinnamon rolls last year and the process is so long Lol! I’m a bit traumatized from the 4 hour process but I do want to try a nice focaccia soon! This recipe looks simple enough! Thanks for sharing xx
Lynn | http://www.lynnmumbingmejia.com
I completely understand! You definitely have to plan ahead, lol! It is long but so worth it. 🙂 Let me know if you find a good focaccia recipe!
Oh my goodness. This looks absolutely delicious. I haven’t ever made homemade bread before but now you are making me want to try it out. Thanks for sharing the recipe!
Thank you! It’s a process, but it’s definitely worth it.
I’ve never made homemade bread before but I would love to try it out. This looks so delicious!
how much is a cake of yeast?
Hi Rebecca, a cake of yeast is equal to 1 packet (2 1/4 teaspoons) of dry yeast. Thank you for asking. 🙂