
No Churn Custard Ice Cream (Old-Fashioned Recipe, No Ice Cream Maker)
Some of the links in this post are affiliate links. This means if you click on the link and purchase the item, I will receive an affiliate commission at no extra cost to you. All opinions remain my own.
As an Amazon Associate I earn from qualifying purchases.
Last Updated on August 11, 2026 by Heidi Bruaw
Last week I was asked to bring dessert for the Fourth of July party at my parents’ house. I wanted to make ice cream myself instead of buying it, and the first time I flipped through my grandma’s cookbook, this recipe caught my eye. She’d written the measurements for a full gallon right in the margin, in her own handwriting.
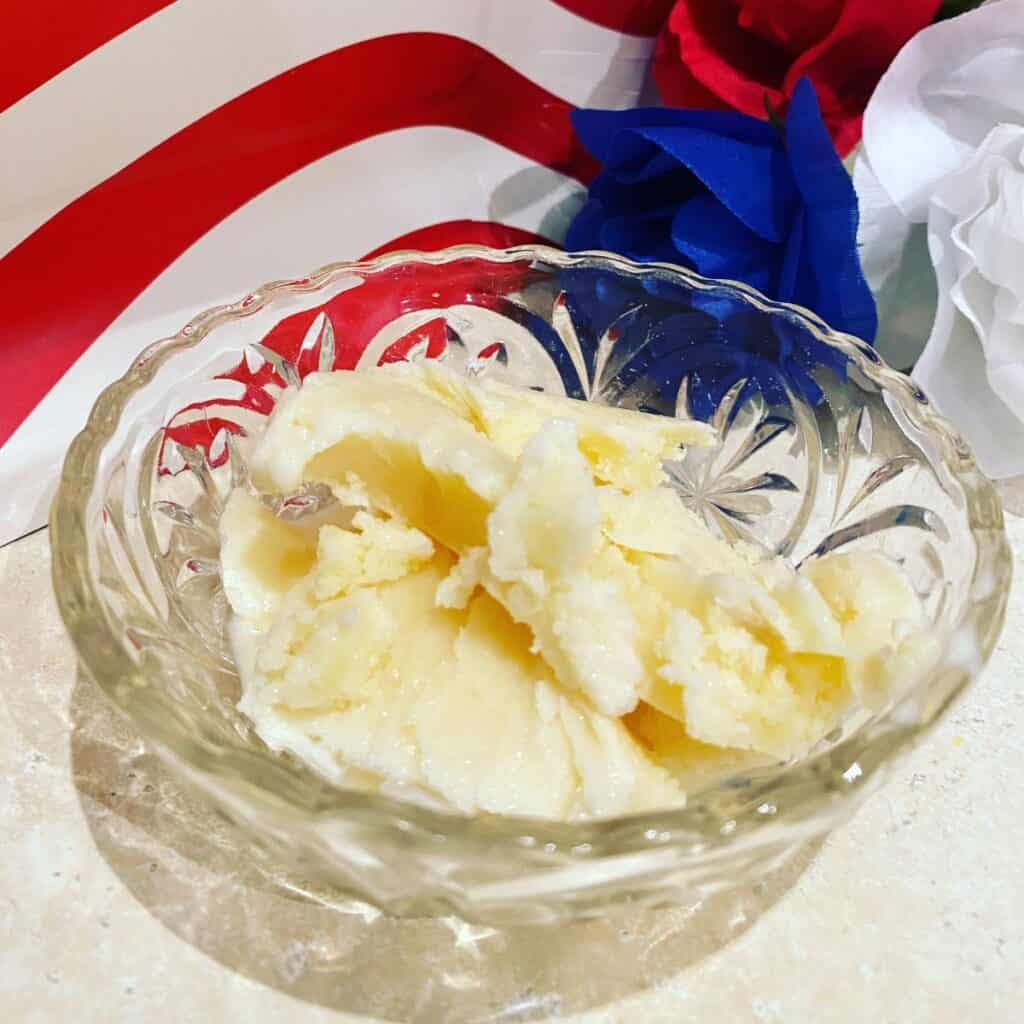
I imagine she made this on hot summer days so her boys could cool off after playing outside. It does involve the stove, so she probably cooked the custard in the evening once things cooled down, then let it freeze overnight. This is a custard-based ice cream, which means it’s cooked with eggs on the stovetop before freezing, not the whipped-cream-and-condensed-milk version most “no churn” recipes use today.
Quick Facts
- Recipe type: Custard-based, no churn, no ice cream maker needed
- Origin: Grandma’s handwritten cookbook
- Prep time: 45 minutes
- Freezing time: 8 hours (best made the night before)
- Serving size: 8 servings, sliced like a loaf instead of scooped
- Texture: Dense and rich, closer to old-fashioned custard than fluffy no-churn ice cream
- Keeps for: About 2 weeks in the freezer at peak texture
What Makes This Custard Ice Cream Different
Most no-churn ice cream recipes skip the stove entirely, just whipped cream folded into sweetened condensed milk. This one is a true custard base, cooked slowly with eggs, sugar, and milk until it thickens enough to coat a spoon. That extra step is what gives it a richer, denser texture, closer to old-fashioned custard-style ice cream than the fluffy version you’ll find in most modern recipes. No ice cream maker required either way; this one just freezes solid in a loaf pan and gets sliced instead of scooped.
Why You’ll Love this Recipe
- No ice cream maker required. It freezes right in a loaf pan and gets sliced, so you don’t need any special equipment.
- It’s genuinely custard, not just whipped cream and condensed milk. That stovetop step gives it a richer, denser texture you won’t get from most no-churn recipes.
- It’s made ahead. Cook it one evening, freeze it overnight, and it’s ready by the next afternoon with zero last-minute effort.
- It’s a real family recipe. This one comes straight from my grandma’s handwritten cookbook, not a recipe box or a magazine clipping.
What Each Ingredient Does
- Eggs: These are what make it a true custard. Cooked slowly with the milk, they thicken the base and give the ice cream its dense, rich texture instead of an icy one.
- Milk: The main liquid base. Scalding it first helps the proteins break down slightly, which helps the custard thicken faster once the eggs are added.
- Sugar: Sweetens the custard and also helps keep the ice cream scoopable (or in this case, sliceable) once frozen, since sugar lowers the freezing point slightly.
- Salt: Just a pinch, but it balances the sweetness and makes the vanilla and dairy flavors taste more rounded instead of flat.
- Vanilla: Added after the custard is cooked and chilled, so the flavor stays fresh instead of cooking off on the stove.
- Evaporated milk: Adds extra richness and creaminess without needing an ice cream maker to churn air into it. It’s what keeps the texture smooth instead of icy once frozen.
Helpful Tips
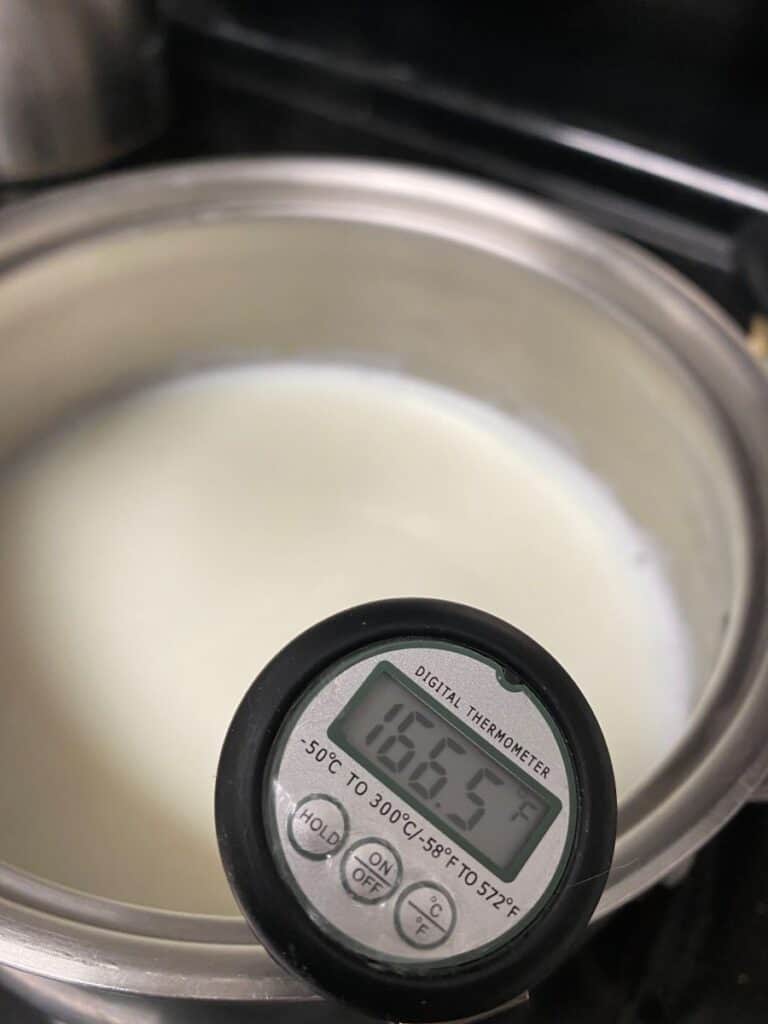
- Scald the milk to about 170°F. A candy thermometer makes this easy and takes the guesswork out. You’ll see small bubbles forming around the edge of the pan, but it shouldn’t come close to a full boil.
- Add the milk to the eggs slowly. Pour it in a little at a time while whisking, not all at once. This keeps the eggs from scrambling when they hit the hot milk.
- Stir constantly over the double boiler. The custard is done when it coats the back of a spoon, usually 20 to 30 minutes. If you run your finger through it on the spoon and the line holds, it’s ready.
- Don’t rush the chill time. Let the custard cool in the fridge for a full hour before stirring in the vanilla and evaporated milk. Adding them too early can cook off some of the vanilla flavor if the custard’s still warm.
- Use a loaf pan, not a wide shallow dish. The narrower shape freezes more evenly and makes it easier to slice cleanly once it’s solid.
- Freeze overnight, not just a few hours. A full 8 hours gives it time to set all the way through so it slices instead of crumbling.
- Let it sit out for a few minutes before slicing. Just 5 to 10 minutes on the counter makes it easier to cut clean slices without cracking the block.
Substitutions and Variations
- Milk: Swap in chocolate milk for a chocolate custard base, or try a splash of half-and-half in place of some of the milk for an even richer texture.
- Evaporated milk: If you don’t have any on hand, heavy cream works as a substitute, though the texture will be slightly softer once frozen.
- Vanilla: Try almond extract for a different flavor profile, or add a teaspoon of vanilla bean paste if you want visible flecks and a stronger vanilla flavor.
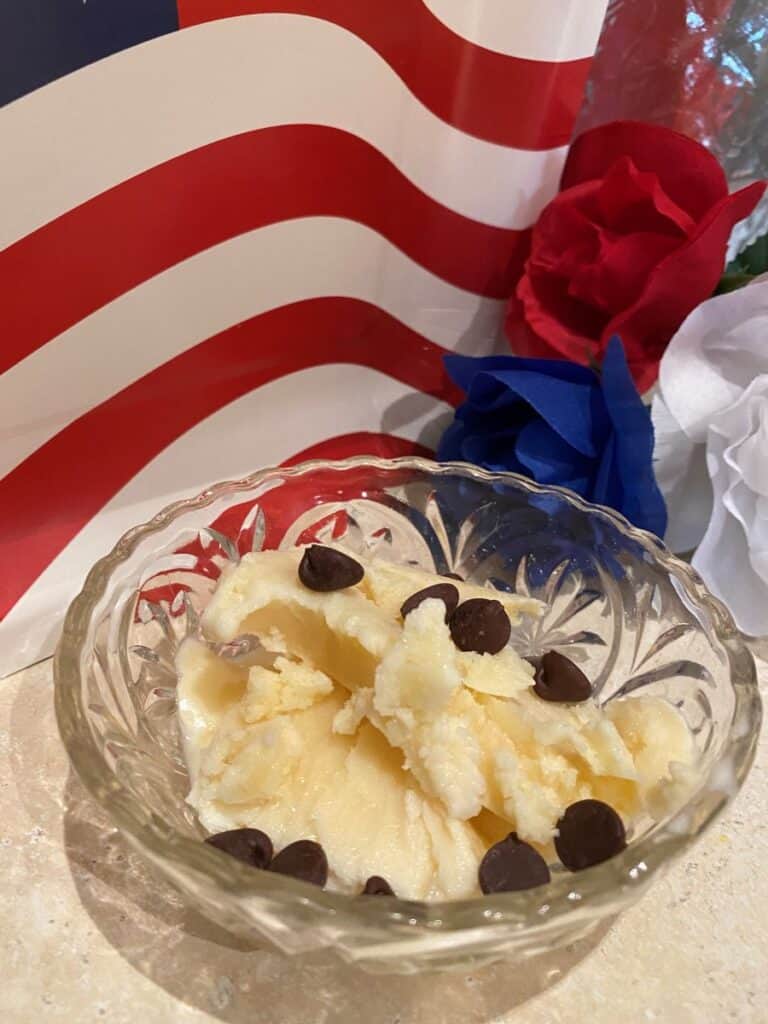
- Add-ins: Stir in mini chocolate chips, crushed cookies, or chopped nuts right before pouring the mixture into the loaf pan.
- Toppings: Serve with sprinkles, chocolate chips, caramel sauce, or fresh berries on top.
- Fruit swirl: Swirl in a few spoonfuls of jam or fruit preserves right before freezing for a marbled effect.
- Flavor mix-ins: A pinch of cinnamon or nutmeg added with the sugar gives it a warm, old-fashioned flavor without changing the base recipe.
Frequently Asked Questions
What’s the difference between custard ice cream and regular ice cream? Custard ice cream is made with a cooked egg base, which gives it a denser, richer texture. Regular ice cream, especially no-churn versions, usually skips the eggs and stovetop step entirely.
Can I make this without an ice cream maker? Yes, that’s the whole point of this recipe. It freezes in a loaf pan and gets sliced like bread instead of scooped, so no machine is needed.
Why isn’t my custard thickening? Your heat is probably too low, or you’re not stirring often enough. It should coat the back of a spoon after about 20 to 30 minutes over the double boiler, stirring frequently the whole time.
Can I use whole milk instead of scalding it myself? You need to scald the milk regardless of the type, since that step is what helps the custard thicken properly. Skipping it can leave you with a thinner, runnier base.
Storage Tips
- Press plastic wrap directly onto the surface before covering the loaf pan with foil or a lid. This keeps ice crystals from forming on top, which is the main thing that makes homemade ice cream turn icy.
- Keep it in the loaf pan you froze it in if you’re eating it within a week or so. Transferring it to another container isn’t necessary and just adds an extra chance for air exposure.
- For longer storage, wrap the whole loaf pan tightly in plastic wrap, then foil. Double wrapping cuts down on freezer burn if you’re planning to keep it more than a week.
- Store it toward the back of the freezer, not in the door. The door temperature fluctuates every time it opens, which speeds up ice crystal formation.
- Let it sit at room temperature for 5 to 10 minutes before slicing each time you serve it. This makes it easier to cut clean slices and keeps you from having to press too hard, which can cause the block to crack.
- If it starts getting icy after a week or two, it’s still fine to eat; just expect a slightly grainier texture than fresh.
What to Serve with No-Churn Custard Ice Cream
- Warm desserts. A slice of this next to something warm from the oven makes for a nice contrast. Try it with Apple Pan Dowdy or a slice of Victory Blueberry Pie still warm from baking.
- Cake. Custard ice cream pairs well with a dense, moist cake rather than something light and airy. A slice of Key Lime Pound Cake alongside it works especially well.
- Fresh fruit. Sliced peaches, berries, or a spoonful of fruit compote on top add a little brightness against the richness of the custard base.
- Cookies on the side. A couple of Chocolate Shortbread or Sugar Cookies alongside a slice makes it feel more like a full dessert plate instead of just ice cream.
- A drizzle on top. Warm caramel or hot fudge sauce works well spooned right over a slice while it’s still a little firm from the freezer.
Other Recipes You May Enjoy
If you like ice cream, you might want to try my Chocolate Ice Cream or my Chocolate Milkshake Recipe. It would also be great on top of Red Velvet Marbled Pound Cake or Bird’s Milk Cake.
No Churn Custard Ice Cream

Equipment
- Mixer
Ingredients
- 2 Eggs
- 2 Cups Milk Scalded
- 6 Tablespoons Sugar
- 1 teaspoon Vanilla
- ⅛ teaspoon Salt
- 1½ Cups Evaporated Milk
Instructions
- Beat eggs until well blended.
- Add sugar and salt and mix well.
- Add milk gradually, stirring constantly.
- Cook in top pan of double boiler (over hot water) until the mixture coats a spoon (about 20-30 minutes), stirring frequently.
- Remove from heat and chill for about an hour in the fridge.
- Stir in vanilla and evaporated milk.
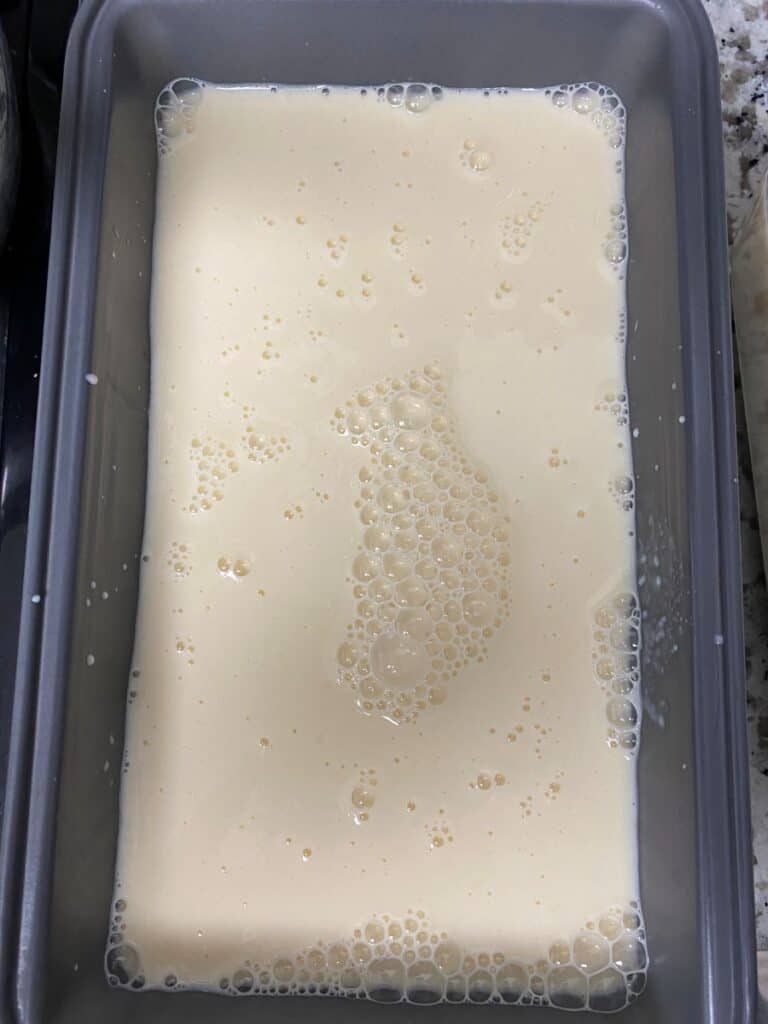
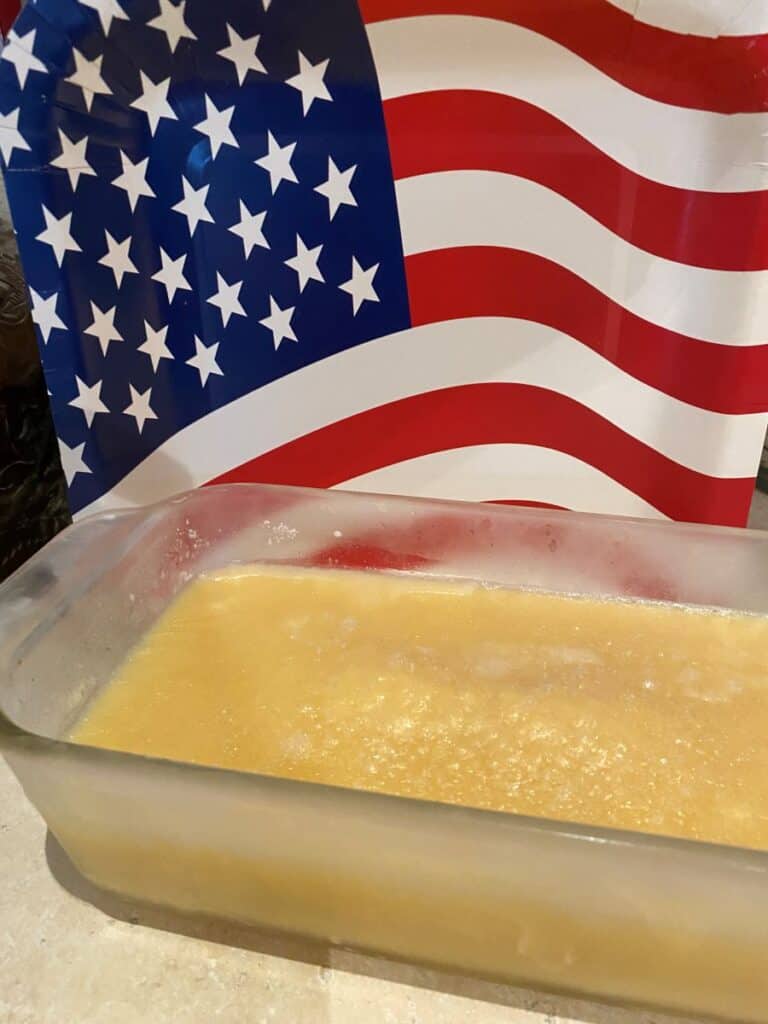
- Pour mixture into a loaf pan and freeze for at least 8 hours or until completely frozen.
- Slice with a knife to serve.
Notes
- Scald the milk to about 170°F. A candy thermometer makes this easy and takes the guesswork out. You’ll see small bubbles forming around the edge of the pan, but it shouldn’t come close to a full boil.
- Add the milk to the eggs slowly. Pour it in a little at a time while whisking, not all at once. This keeps the eggs from scrambling when they hit the hot milk.
- Stir constantly over the double boiler. The custard is done when it coats the back of a spoon, usually 20 to 30 minutes. If you run your finger through it on the spoon and the line holds, it’s ready.
- Don’t rush the chill time. Let the custard cool in the fridge for a full hour before stirring in the vanilla and evaporated milk. Adding them too early can cook off some of the vanilla flavor if the custard’s still warm.
- Use a loaf pan, not a wide shallow dish. The narrower shape freezes more evenly and makes it easier to slice cleanly once it’s solid.
- Freeze overnight, not just a few hours. A full 8 hours gives it time to set all the way through so it slices instead of crumbling.
- Let it sit out for a few minutes before slicing. Just 5 to 10 minutes on the counter makes it easier to cut clean slices without cracking the block.
Amazon and the Amazon logo are trademarks of Amazon.com, Inc, or its affiliates.


Great recipe! This looks delicious and just like something my dad would love, so I’ll definitely be making this for him! Thanks for sharing.
Thank you! I hope he likes it too. 🙂
I need this in my life right now! It is hot where I am in Virginia and a cold cup of something around midday hits the spot. Love that this can be made in the cooler evening and be ready for consumption next day.
Thanks for sharing!
Yes, it is so hot here too! It was nice to make it in the evening when it was cooler so we could enjoy it the next afternoon. 🙂
We absolutely love frozen custard! We prefer it over ice cream. It is richer and creamier. I am going to have to try this recipe, thanks for sharing!
I hope you enjoy this recipe then! 🙂
This looks really tasty! Great ideas.
Thank you! It was really good. 🙂
This recipe sounds absolutely delicious and I love that it was your Grandma’s!! I use several recipes from mine as well. Thanks for sharing.
Thank you! My grandma had the best recipes so I am glad that I have copies of some of them to share with others.
This sounds so gorgeous!! I would love to try this xx
Thank you! I hope you get to try it. You will have to tell me what you think. 🙂
This sounds delicious!! Custard is one of my favourite things so this is right up my street!
Sarah | http://www.aspoonfulofvanilla.co.uk
So let me get this straight, this is ice cream that will taste like custard? I’ve never heard of such an ice cream, let alone tasted it, how unique
Thank you! Yes, that is what it is. It is so delicious! 🙂
This recipes sounds amazing. I love ice cream and I love custard. This would sounds like the best thing. I cant wait to make this recipe. Thank you for sharing.
I hope you get to try it. I am sure you will enjoy it! 🙂
I love custard. I have never seen the this recipe before. It sounds so fab. I would love to give it a try. Thank you for sharing!
If you love custard, you will love this! I hope you get to try it. 🙂
Frozen custard!!This looks so tempting. Would love to give it a try and My mom will love it. Thanks for sharing! 🙂
Thank you!
Oh I love custard ice cream. This is a good recipe. Thank you for sharing.
Thank you. 🙂
I love ice creams. Good recipe thank you for sharing.
I love that you have your grandmother’s cookbook with her handwritten notes in it. It is the most wonderful connection to her to have and it’s so great you’re making things she did. I like the sound of this ice cream as it doesn’t require churning — thanks for sharing this!
It is so fun to read through her cookbooks and see her handwriting, especially because I never got to meet her. 🙂
I love custard. I would love to try and make my own this summer. such a great summer activity.
Yes, frozen desserts are so fun to make in the summer!
great recipe! looks so delicious
jessica | http://www.overdressedblogger.com
Thank you 🙂
Yummy! I swear I’m being targeted by homemade ice cream posts haha! I’ve seen a handful of them today and its probably a sign that I need to make some of my own soon. I’m going to pin this for later as its super easy! Thanks for sharing, Heidi xx
Lynn | https://www.lynnmumbingmejia.com
Haha, I guess you need to make some ice cream then! It really is easy and so rewarding when you get to have it for a tasty treat later!
I’ve never tried custard ice cream but it sounds delicious.
It is definitely very creamy and delicious. 🙂
This looks yummy ice cream, I like Oreo ice cream haha. But would love to try this.
Oreo ice cream is yummy too! That is one of my favorites. 🙂
I cannot wait to try this recipe! It looks yummy
Thank you so much!
I didn’t know no churn ice cream was possible! Sounds delicious. I can feel the grandmotherly love in making the gallon of it! Thanks for sharing!
I’ve never tried custard ice cream before, but it sounds amazing! I’ll have to give this recipe a go sometime x
This looks delicious, I’ll definitely have to give it a go!x
Ooo, I’ve never had no churn custard Ice cream before but it sounds and looks delicious. I’ve never had custard ice cream at all actually, definitely something I’d like to try. Thanks for sharing.
This recipe looks so delicious and wholesome. Kudos to grandma for documenting the recipe!
Madeline
madelinewilsonojo.com
Very interesting and cool. A night to cool off. And i also like slices most the time instead of scoops. And my fav flavor is coconut in ice cream. Thanks for sharing xx
Isa A. Blogger
https://bit.ly/39f9FN0
Yes, it is a great recipe for those hot days! The slices are fun to eat, too. Coconut is yummy for sure!
There is honestly nothing I would want more right now – the UK is the double boiler you need for this recipe at the moment, we’re not built for this heat! Ice cream all day every day – so definitely need to try this one out x
Ice cream is a great cure for this heat! 🙂
Tried this recipe, really nice round caramel-y flavour from the custard (:
Made half, the custard didn’t thicken too much so added a bit of corn starch too, and added yogurt instead of evaporated milk to make a yogurt and blackberry ice cream. Came out pretty nice, churned it for a bit to break up the crystalization. Good flavor!
Hi Uma,
I’m so glad you enjoyed it! The blackberry flavor sounds delicious. 🙂