
Old-Fashioned Fudge Nut Bars (My Great-Grandma’s Recipe)
Some of the links in this post are affiliate links. This means if you click on the link and purchase the item, I will receive an affiliate commission at no extra cost to you. All opinions remain my own.
As an Amazon Associate I earn from qualifying purchases.
Last Updated on August 23, 2026 by Heidi Bruaw
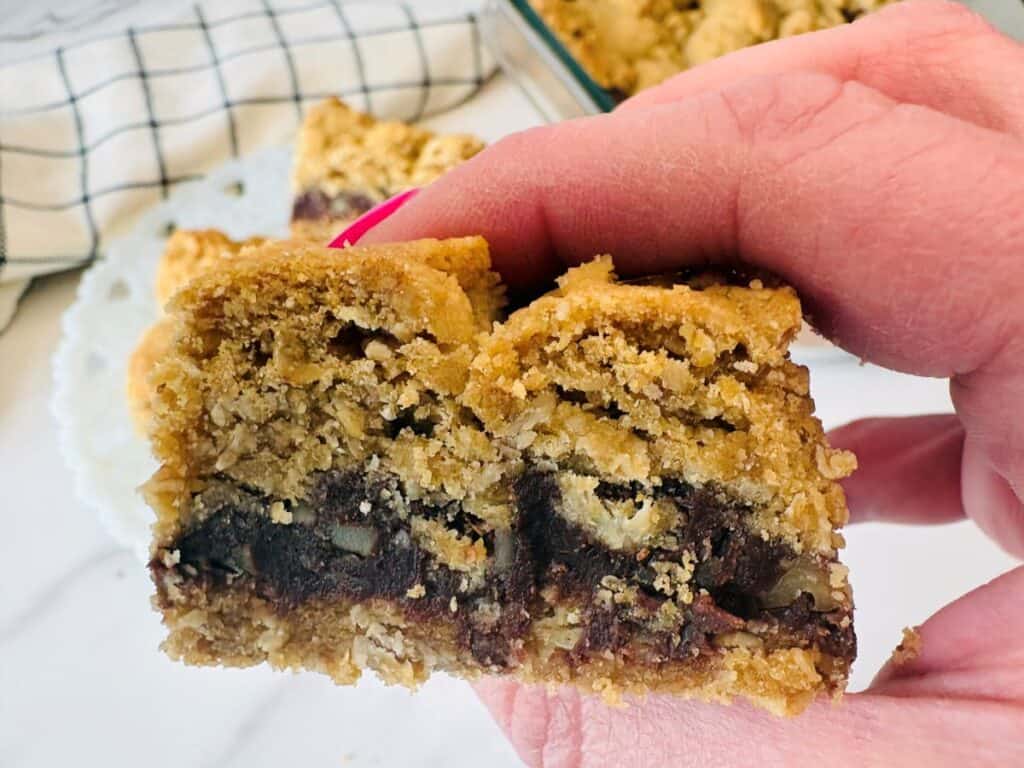
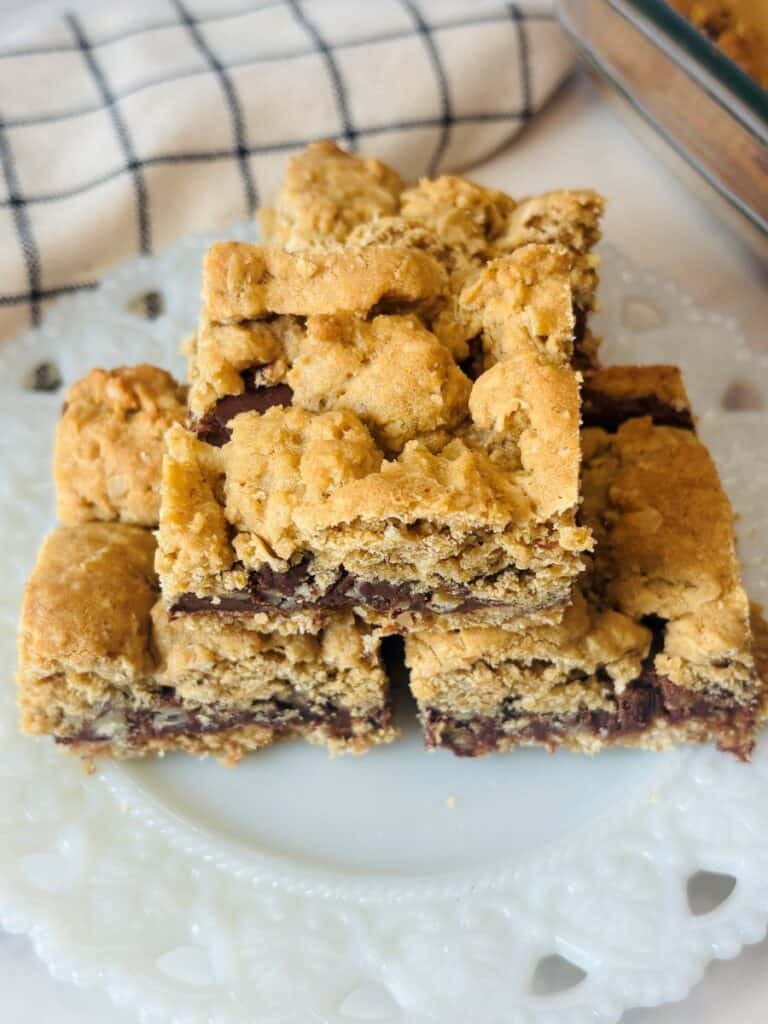
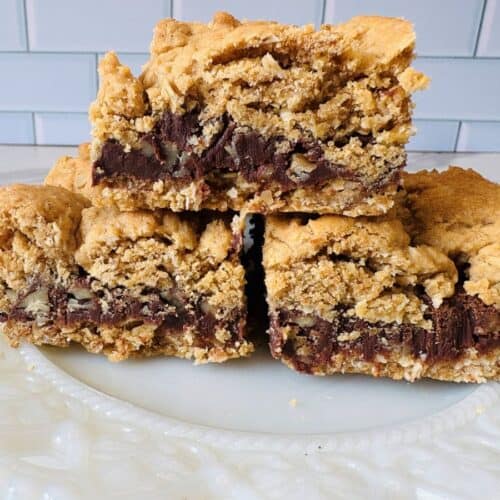
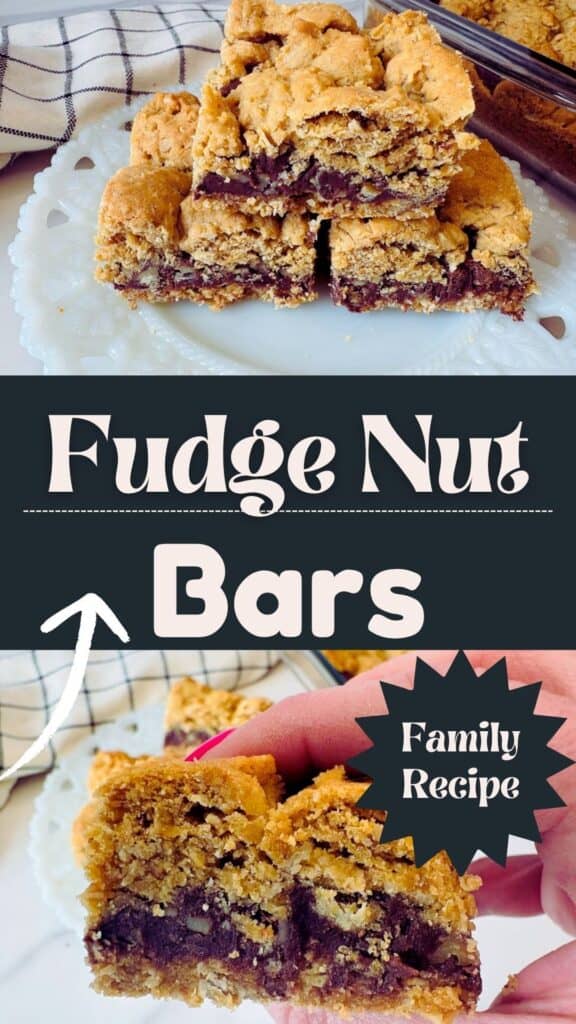
These old-fashioned fudge nut bars are a family recipe straight from my great-grandmother’s kitchen, passed down to my mom and now to me. My mom has been making them for as long as I can remember, and they’re still my dad’s favorite dessert every holiday season. Each bar has a buttery oatmeal top and bottom with a rich, gooey fudge layer sandwiched in the middle.
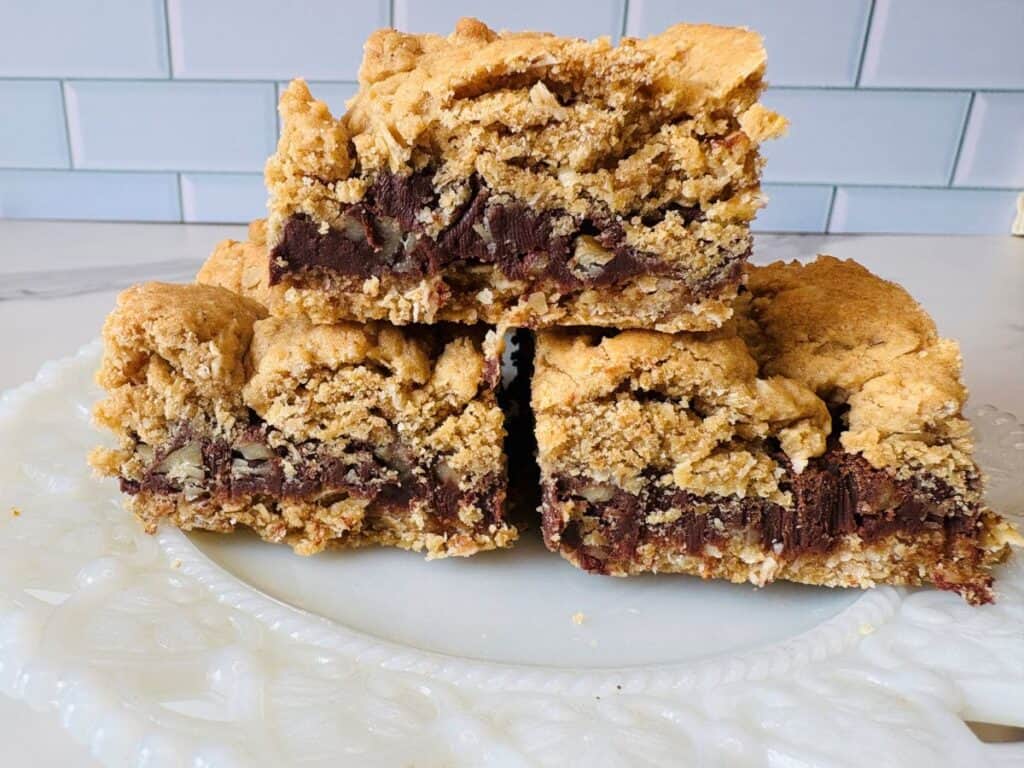
I’ve made this recipe dozens of times over the years, with and without nuts, and I always come back to the walnut version since that’s what earns them the “nut” in fudge nut bars. My mom and I have even talked about baking the fudge layer on its own, though I’m not convinced it would set up without the oatmeal holding it together. If you love layered bar cookies with old-fashioned roots, this is the one to bookmark.
Quick Facts
- Recipe name: Old-Fashioned Fudge Nut Bars
- From: My great-grandmother’s kitchen
- Yield: 24 bars
- Prep time: 30 minutes
- Bake time: 30 minutes
- Total time: 1 hour, plus cooling
- Pan size: 9×13-inch baking dish
- Skill level: Easy, beginner-friendly
- Old-fashioned layered bars with a buttery oatmeal crust
- Rich, creamy fudge center with crunchy walnuts
- A nostalgic recipe passed down through three generations
Ingredients You Will Need
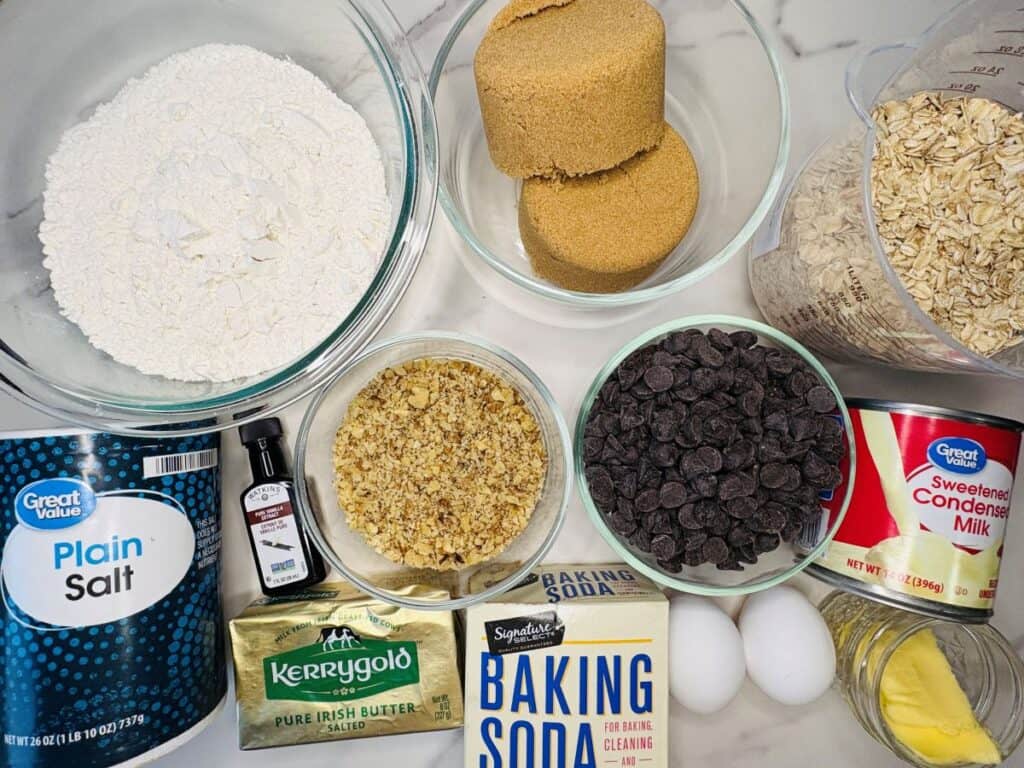
Oatmeal Bottom and Top
- Butter adds rich flavor and keeps the oatmeal layers tender and soft.
- Brown Sugar adds sweetness with a hint of caramel flavor and helps the bars stay chewy instead of dry.
- Eggs hold everything together and give the bars a soft, sturdy texture, so they slice nicely.
- Vanilla makes the whole recipe taste a little sweeter without adding more sugar.
- Flour gives structure to the oatmeal layers so they don’t fall apart.
- Baking Soda helps the bars bake up with a lighter texture instead of feeling too dense.
- Salt balances the sweetness and keeps the flavors from tasting flat.
- Quick Oats are the main ingredient in the crust and topping. Quick oats give a finer, more even texture than old-fashioned rolled oats, which can make the layers feel chunky.
- Fudge Middle
- Chocolate Chips melt down into the rich, chocolatey base of the fudge layer.
- Sweetened Condensed Milk makes the fudge layer smooth, creamy, and sweet while helping it set up.
- Butter adds extra richness and helps the chocolate melt into a silky filling.
- Salt cuts the sweetness just enough to make the chocolate flavor stand out.
- Walnuts add a little crunch and nutty flavor. They can be left out or swapped for another mix-in if you’d rather.
Helpful Tips
Don’t overmix the oatmeal dough: Mix just until everything comes together so the layers stay tender instead of tough. Overmixing develops the flour too much and can make the crust dense.
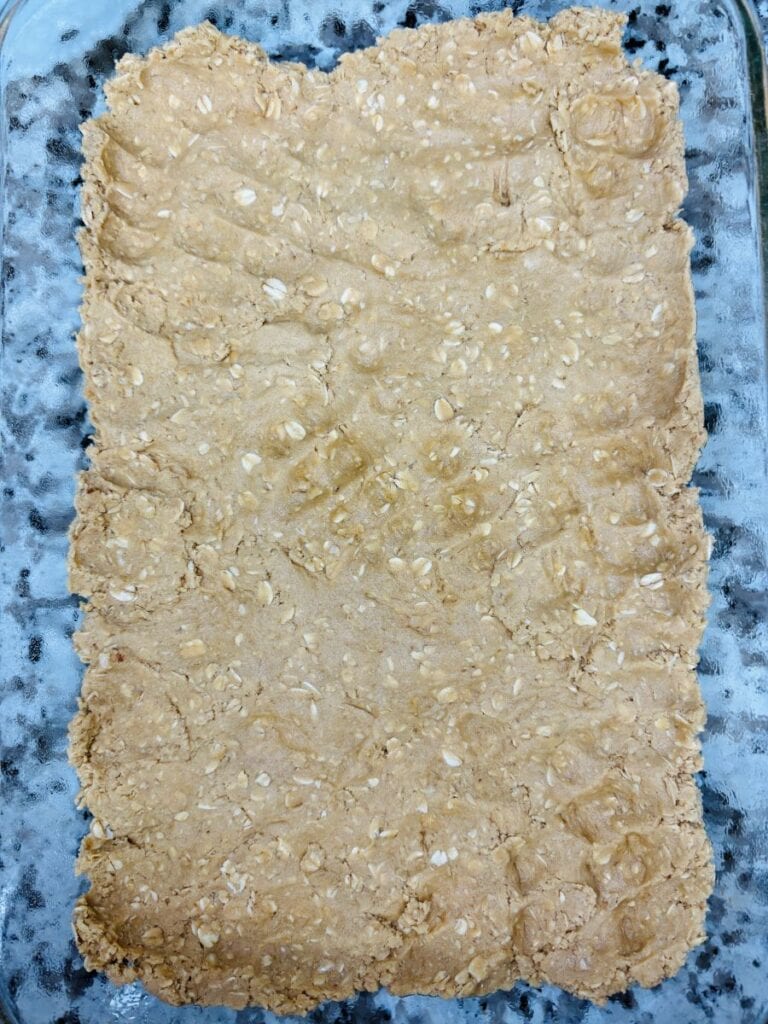
Press the bottom layer firmly into the pan: A solid, even base keeps the fudge layer from soaking through and helps the bars hold together when you slice them.
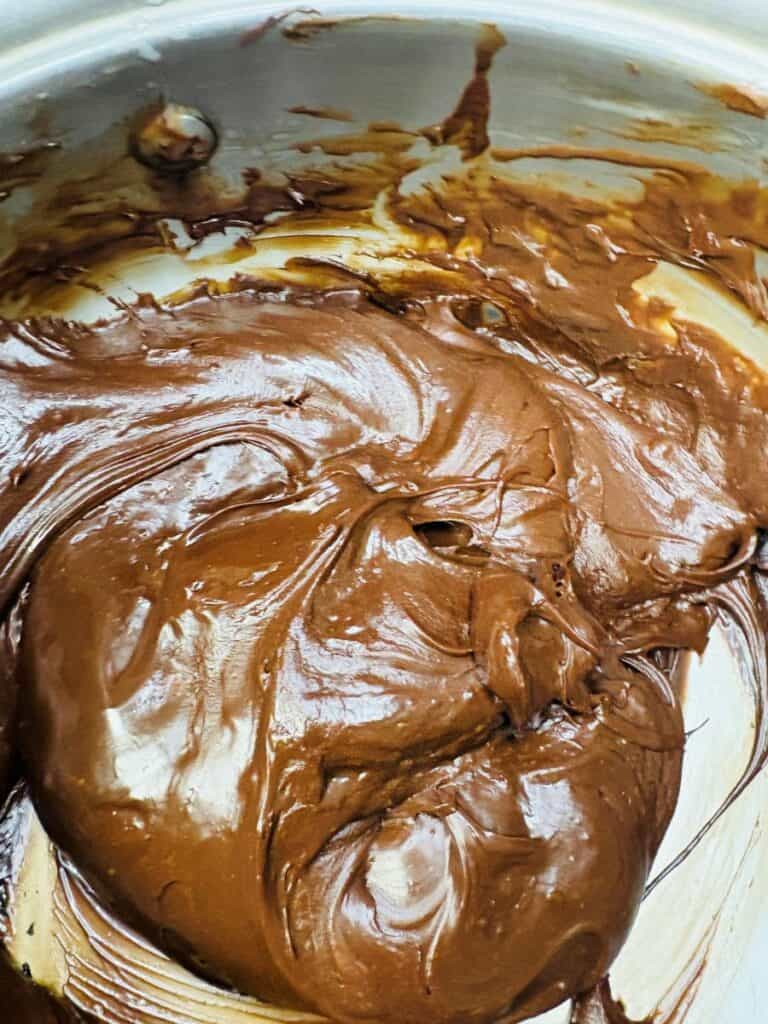
Melt the fudge layer low and slow: Keep the heat gentle and stir often so the chocolate stays smooth and doesn’t scorch or turn grainy.
Let the bars cool completely before cutting: This is the step people skip and regret. The fudge needs time to firm up as it cools, so cutting too early means soft, messy slices instead of clean bars.
Line the pan with parchment for easy removal: A parchment sling lets you lift the whole batch out in one piece, which makes cutting neat, even bars much easier than slicing inside the pan.
Why You’ll Love Fudge Nut Bars
- It’s a real, tested family recipe: This isn’t a trendy new bar cookie; it’s straight from my great-grandmother’s kitchen, tested by three generations of my family. That’s a long track record for a dessert to still be worth making.
- The layers are the best part: A buttery oatmeal base, a thick fudgy middle, and a crumbly oatmeal topping mean every bite has both chewy and rich, chocolatey texture. It’s what sets these apart from a flat pan of blondies or brownies.
- Made with simple pantry ingredients: No specialty items or hard-to-find ingredients here, just baking staples like butter, brown sugar, oats, and chocolate chips that you likely already have on hand.
- Perfect for sharing: These bars slice cleanly, hold up well at room temperature, and travel easily, which makes them a solid choice for potlucks, cookie trays, bake sales, or holiday gatherings.
- They taste even better the next day: The fudge layer continues to set, and the flavors settle overnight, so these bars actually improve with a day of rest, one more reason they’re a good make-ahead dessert.
Substitutions and Variations
Oats: Swap in a mix of rolled oats and shredded coconut for extra texture and a slightly toasted flavor. Old-fashioned rolled oats can replace quick oats, but expect a chewier, less uniform crust.
Chocolate Chips: White chocolate, dark chocolate, or a mix of varieties all work well for the fudge layer. Chopped candy bars or chocolate chunks can be substituted 1:1 for chocolate chips if that’s what you have on hand.
Nuts: For a nut-free version, simply leave the walnuts out or swap in sunflower or pumpkin seeds for the same crunch without the allergen. Chopped dried cranberries or apricots also work well in place of nuts if you want a fruitier bite.
Peanut Butter: Swap up to 1/2 cup of the chocolate chips for peanut butter chips, or stir 2 tablespoons of peanut butter into the fudge layer while it melts for a peanut butter fudge twist.
Toffee or Butterscotch: Fold in a handful of toffee bits or butterscotch chips along with the walnuts for extra crunch and a caramel-y flavor that pairs well with the oatmeal layers.
Holiday Twist: Add 1/4 teaspoon peppermint extract to the fudge layer around Christmas, or swap in white chocolate chips with dried cranberries for a festive red-and-white look on a cookie tray.
Storage Tips
- Room temperature (best for texture): Store in an airtight container for up to 4 days. This keeps the bars soft, chewy, and fudgy, which is the best way to store them if you’ll eat them within a few days.
- Refrigerator (for longer storage): Keep in a sealed container in the fridge for up to 1 week. Let bars sit at room temperature for 15 to 20 minutes before serving so the fudge layer softens back up.
- Freezer (up to 3 months): Wrap bars individually or freeze the whole batch tightly in plastic wrap and foil. Thaw overnight in the fridge or for a few hours at room temperature before serving.
- Layering multiple bars: Place parchment or wax paper between layers so the fudge doesn’t stick to the bar above it.
- Keep them covered: Fudge nut bars dry out quickly if left uncovered, so a tight seal is what keeps them tasting fresh from the day you baked them.
Frequently Asked Questions
How do I know when fudge nut bars are done baking? The top should look lightly golden and set, with edges that feel slightly firm. For a more precise check, insert a toothpick into the center; if it comes out with a few moist crumbs (not wet batter), the bars are done. Be careful not to overbake, since a couple extra minutes can make the fudge layer dry instead of gooey.
Can I cut the bars while they’re still warm? It’s best to let the bars cool completely before cutting to get clean, even slices. The fudge layer is still soft right out of the oven and needs time to firm up, so warm bars tend to be too soft and crumbly to cut neatly.
Why didn’t my fudge layer set? This usually means the bars were cut before fully cooling, since the fudge continues to firm up as it cools for at least an hour. It can also happen if the fudge mixture wasn’t heated long enough on the double boiler to fully combine the chocolate and condensed milk.
Can I double the recipe? Yes, but bake it in two separate 9×13-inch pans rather than one larger pan so the layers cook through evenly. A single oversized pan often leaves the center underbaked while the edges overbake.
Can I make fudge nut bars ahead of time? Yes, these bars actually taste better the next day once the fudge layer fully sets and the flavors settle. Store them at room temperature for up to 4 days, or freeze for up to 3 months if you want to make them further in advance.
Can I make these without nuts? Yes, you can leave the walnuts out entirely or swap them for sunflower or pumpkin seeds if you need a nut-free version. The bars will still hold together fine since the walnuts are for crunch and flavor, not structure.
What to Serve with Fudge Nut Bars
These bars are rich and chocolatey, so they pair best with something simple to balance them out.
- Hot coffee or espresso: The slight bitterness cuts through the sweet, fudgy layers and is the classic pairing for a reason.
- A cold glass of milk: Nothing balances a rich chocolate bar quite like cold milk; it’s the pairing most people reach for first.
- No-churn chocolate ice cream: Serve a slightly warm bar with a scoop on top for an easy dessert plate that takes two minutes to put together.
- Hot chocolate: Especially good for colder months when you want a full, cozy chocolate-on-chocolate treat.
- Chocolate milkshake: Blend one up alongside a plate of bars for a chocolate lover’s dessert spread.
- Fresh berries: Strawberries or raspberries add a fresh, slightly tart contrast to the rich chocolate layer.
- Whipped cream: A small dollop keeps things simple but makes the bars feel a little more special for company.
- Homemade eggnog: A festive, creamy pairing that works especially well if you’re serving these bars on a holiday dessert table.
- After-dinner drinks: A small glass of Baileys, Kahlúa, or a dessert wine rounds these out nicely if you’re serving guests.
Other Recipes You May Enjoy
If you like Fudge Nut Bars, you might also like my Chocolate Chip Dessert Pizza or my Quick Oatmeal Cookies. These Double Chocolate Chip Cookie Bars and this 3-Ingredient Fudge are also delicious.
Old-Fashioned Fudge Nut Bars

Equipment
Ingredients
Oatmeal Bottom and Top
- 1 cup butter softened
- 2 cups light brown sugar firmly packed
- 2 eggs
- 2 teaspoons vanilla
- 2½ cups flour
- 1 teaspoon baking soda
- 1 teaspoon salt
- 3 cups quick oats
Instructions
- Preheat oven to 350°F.
- Grease 9×13 glass baking dish.
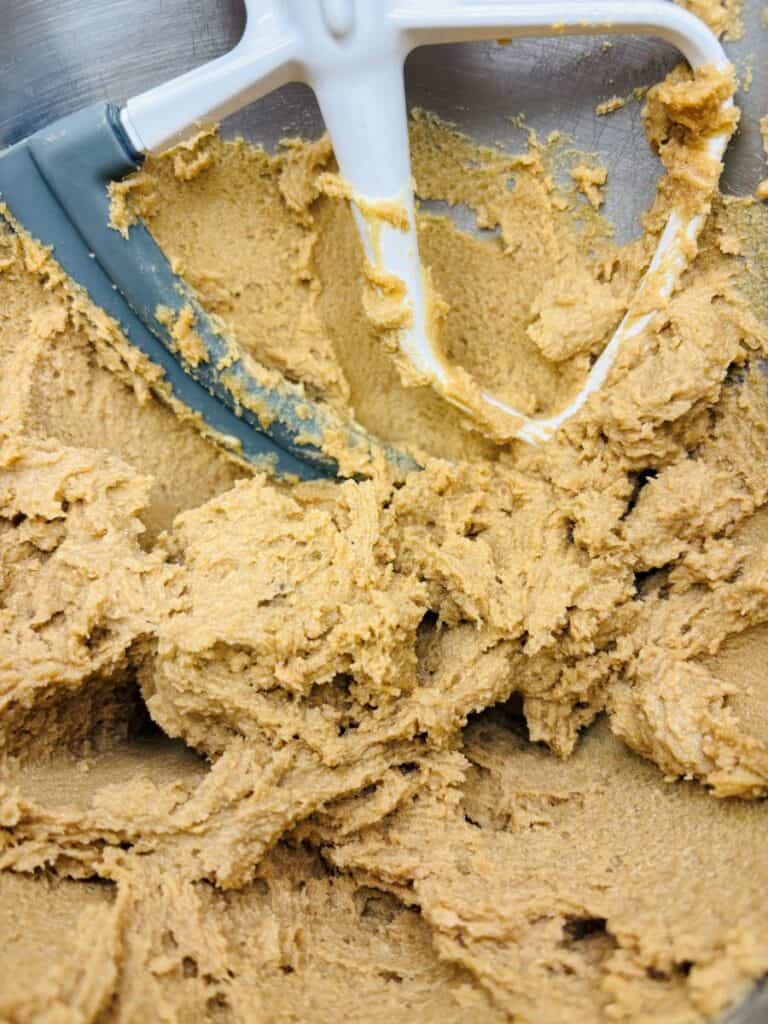
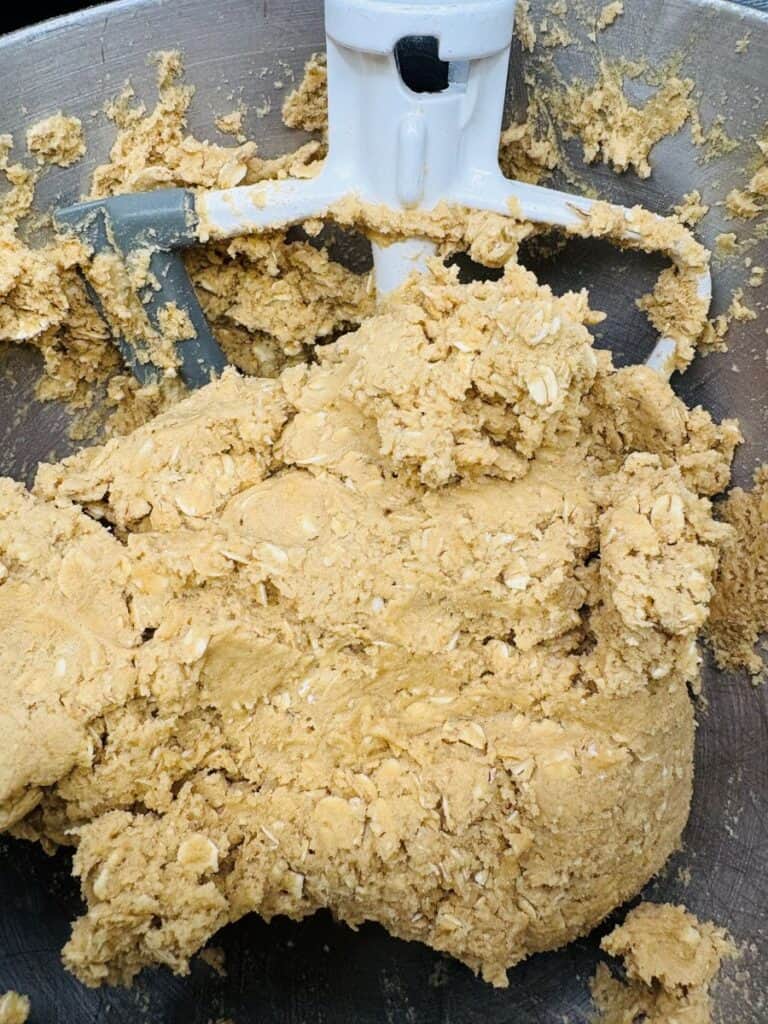
- Cream butter (1 cup) and sugar. Add eggs and vanilla (2 teaspoons) until smooth.
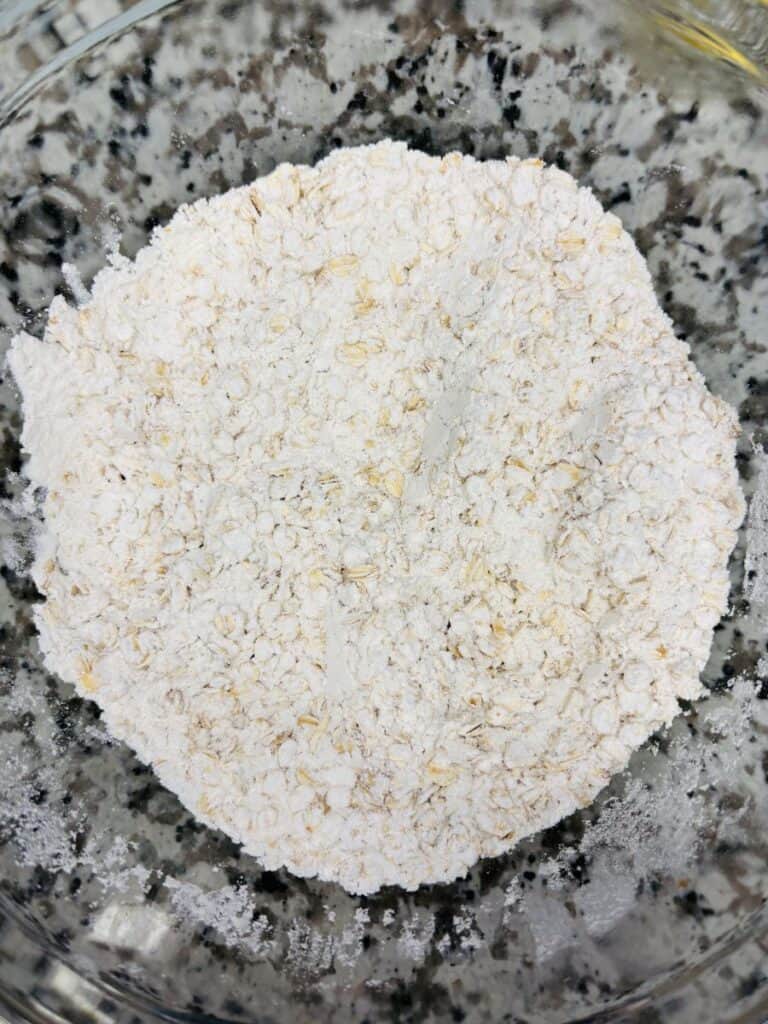
- In a separate bowl, stir flour, baking soda, and salt (1 teaspoon). Stir in quick oats.
- Gradually add flour mixture to butter mixture in small amounts. Mix in between until all of the flour mixture has been added.
- Use a double boiler to melt chocolate chips, sweetened condensed milk, butter (2 tablespoons) and salt (½ teaspoon).
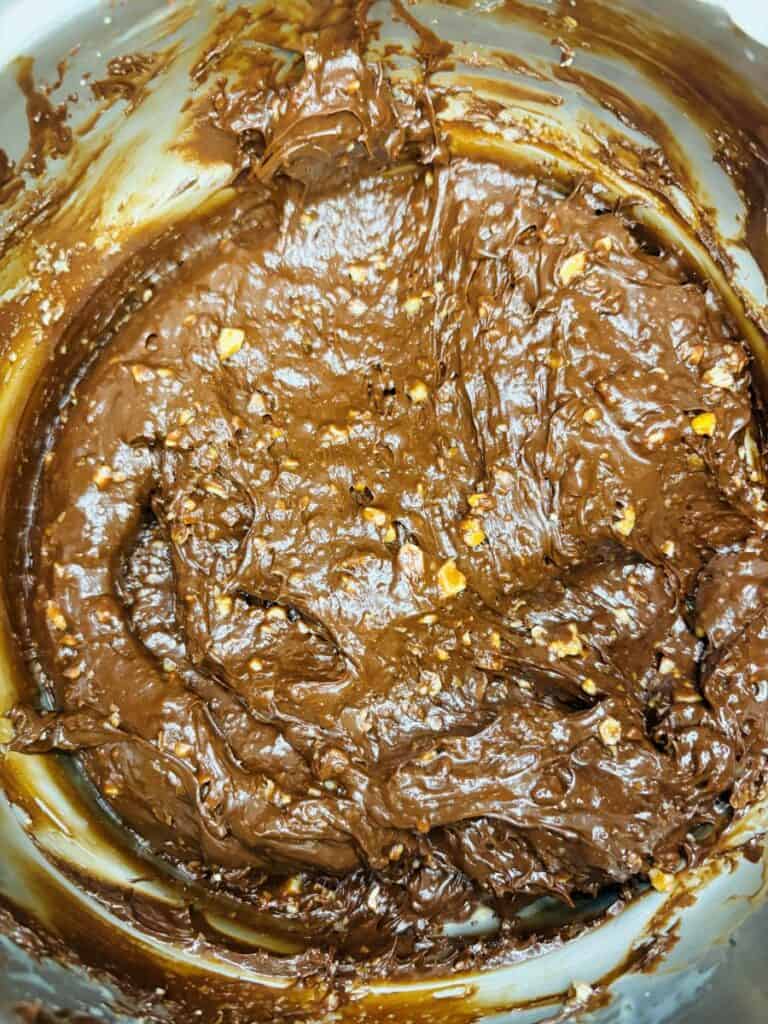
- Stir walnuts and vanilla into fudge mixture.
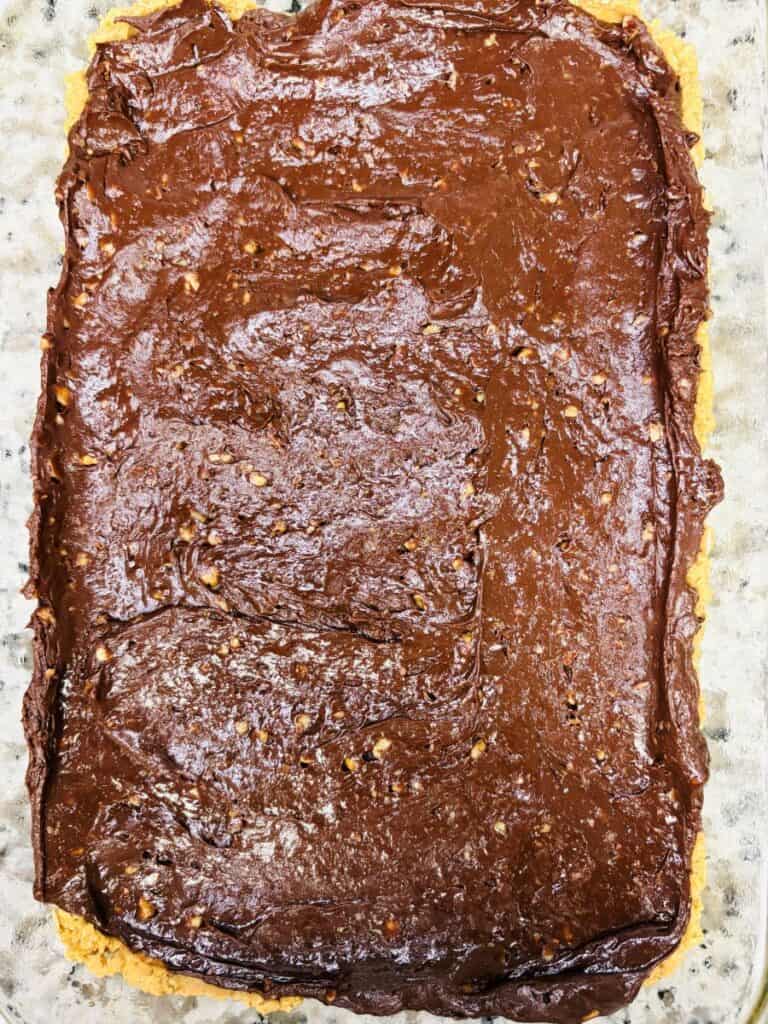
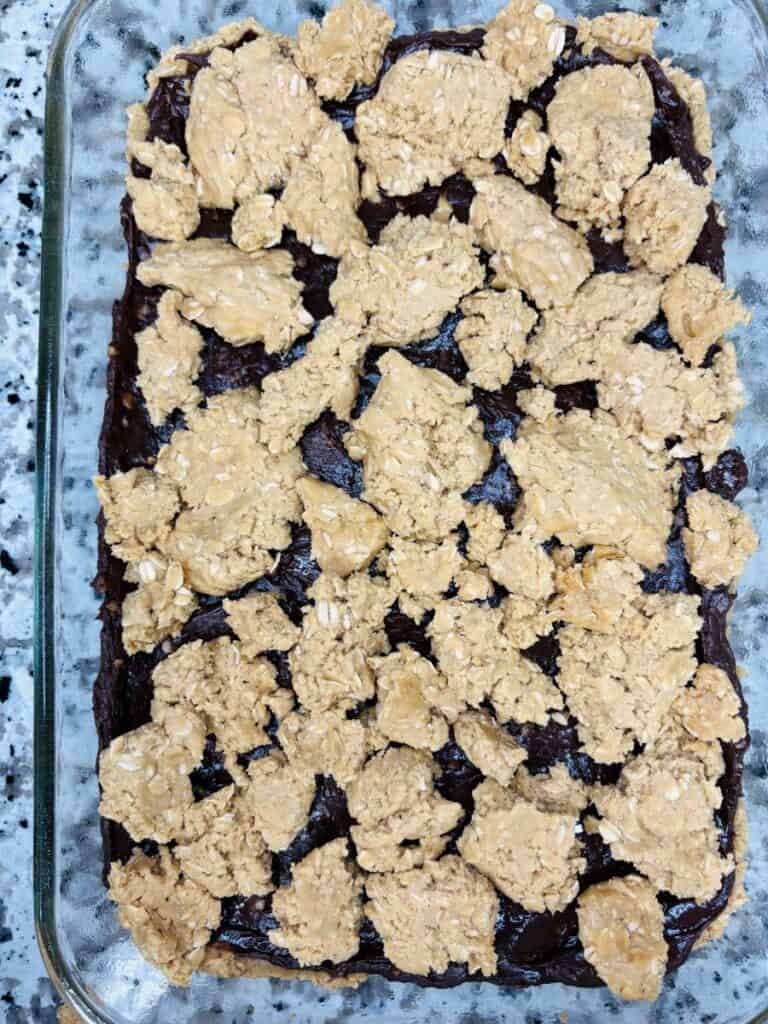
- Spread 2/3 of the oatmeal mixture into greased glass pan. Spread fudge mixture evenly over the top, completely covering the oatmeal layer. Drop spoonfuls of the remaining oatmeal mixture on top of the fudge layer.
- Bake 25 to 30 minutes or until light brown.
- Cool in pan on wire rack. Cut into bars.
Notes
- Don’t overmix the oatmeal dough: Mix just until everything comes together so the layers stay tender instead of tough. Overmixing develops the flour too much and can make the crust dense.
- Press the bottom layer firmly into the pan: A solid, even base keeps the fudge layer from soaking through and helps the bars hold together when you slice them.
- Melt the fudge layer low and slow: Keep the heat gentle and stir often so the chocolate stays smooth and doesn’t scorch or turn grainy.
- Let the bars cool completely before cutting: This is the step people skip and regret. The fudge needs time to firm up as it cools, so cutting too early means soft, messy slices instead of clean bars.
- Line the pan with parchment for easy removal: A parchment sling lets you lift the whole batch out in one piece, which makes cutting neat, even bars much easier than slicing inside the pan.
Amazon and the Amazon logo are trademarks of Amazon.com, Inc, or its affiliates.


Look delicious! Will have to try these.
Thank you! Post a picture and let me know what you think if you do!
These sound delicious! Definitely going to have to try these.
Thank you! Let me know if you try them. I would love to see a picture.
Looks and sounds delicious! I think it’s important and very cool to share family recipes.
Thank you! I love trying and sharing family recipes.
Love it to bits! I first shared one of your last sweet recipe link with my sis. But this time in sharing your whole blog with her since she likes to cook for her kids. Also I enjoy baking too so feel like trying this. Will tell when I make them. Lots of love your way <3
Isa A. Blogger
http://bit.ly/39f9FN0
Thank you so much! It is a delicious recipe and not too difficult to make. I appreciate you sharing with your sis. I hope she finds some recipes she wants to try. 🙂
Yummy! Looks so good! I love oat bars and I’m planning on creating a recipe for it too! Thank you for sharing xx
Lynn | http://www.lynnmumbingmejia.com
I love oat bars. I would love to make homemade ones. I’m never made homemade oat bars would love to try.
They are so good and definitely a family favorite! 🙂
Thank you very very very much for this DELICIOUS recipe !
Tutorial you made was easy and great, will defiantly made for my kids.
You’re welcome! I’m sure your kids will love it! 🙂